How to Remove Sticker Glue From Leather With a Step-By-Step Guide
To remove sticker glue from leather safely, start by identifying your leather type and the kind of glue to prevent any damage. Gather essential supplies such as soft cloths, a gentle leather cleaner, and isopropyl alcohol or an adhesive remover suitable for delicate surfaces.
Always test your chosen method on a hidden spot to ensure it won’t harm the leather. Then, gently apply the remover with a cloth, softening and lifting the glue carefully without rubbing harshly.
After removing the glue, clean and condition the leather to restore its finish and maintain its softness. Keep reading for detailed tips that guarantee your leather stays flawless and well cared for.
Assess the Type of Leather and Glue

Before you begin removing sticker glue, you need to identify both the type of leather and the glue involved. Different leathers respond differently to cleaning methods, so knowing whether you’re dealing with full-grain, top-grain, bonded, or synthetic leather helps you choose the right approach.
Next, check the glue type. Some adhesives are water-based, while others are solvent-based or rubbery. Water-based glue is easier to dissolve, but solvent-based glue might require stronger treatment.
To identify the glue, gently rub an inconspicuous spot with a damp cloth. If it softens, it’s likely water-based. Avoid guessing since applying the wrong cleaner can damage the leather’s finish or texture.
Taking these steps ensures you protect your leather while effectively removing the sticky residue.
Gather Necessary Materials and Tools

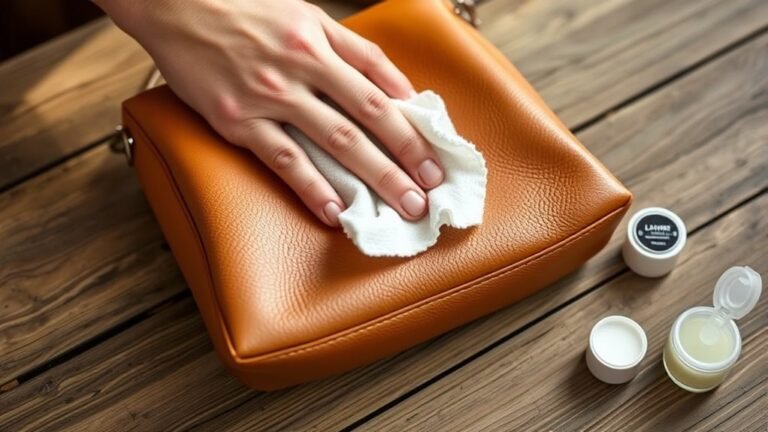
Once you know the type of leather and glue you’re dealing with, gather the right materials and tools to tackle the removal safely. You’ll need a soft cloth or microfiber towel to avoid scratching the leather. Have cotton swabs or cotton balls on hand for precise application of cleaning solutions.
Identify your leather and glue type, then gather soft cloths and cotton swabs for safe, precise glue removal.
Choose a gentle leather cleaner or mild soap mixed with water, depending on your leather type. Keep a small bowl of clean water nearby for rinsing.
If the glue is stubborn, isopropyl alcohol or a specialized adhesive remover can help, but use them sparingly.
Finally, have leather conditioner ready to restore moisture and protect the surface after cleaning. Gathering these items beforehand ensures you’re prepared to remove the glue effectively without damaging your leather.
Test Cleaning Method on an Inconspicuous Area

Although you might feel enthusiastic to remove the glue immediately, you should always test your chosen cleaning method on a hidden spot first. This step guarantees the leather won’t get damaged or discolored.
Here’s how you can do it effectively:
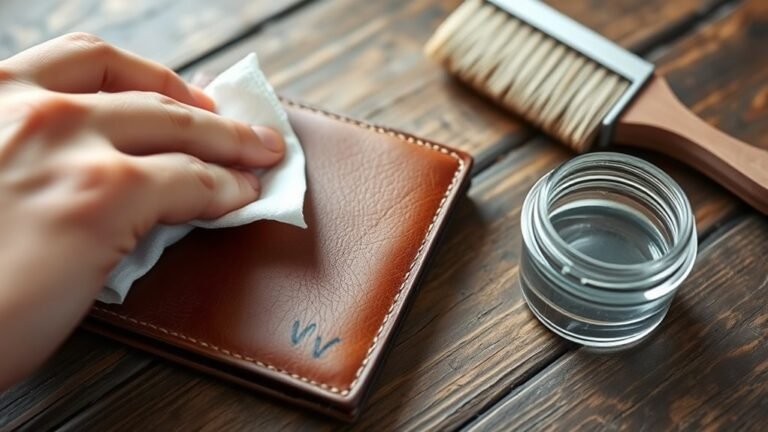
- Select a small, inconspicuous area of the leather, like inside a seam or under a flap.
- Apply a small amount of the cleaning solution or adhesive remover to a cotton swab or soft cloth.
- Gently dab the spot without rubbing aggressively, then wait a few minutes to observe any reaction.
- Check for changes in color, texture, or finish. If the leather remains unaffected, you can proceed with confidence on the main area.
Testing first prevents costly mistakes and keeps your leather looking its best.
Apply Gentle Adhesive Remover Techniques
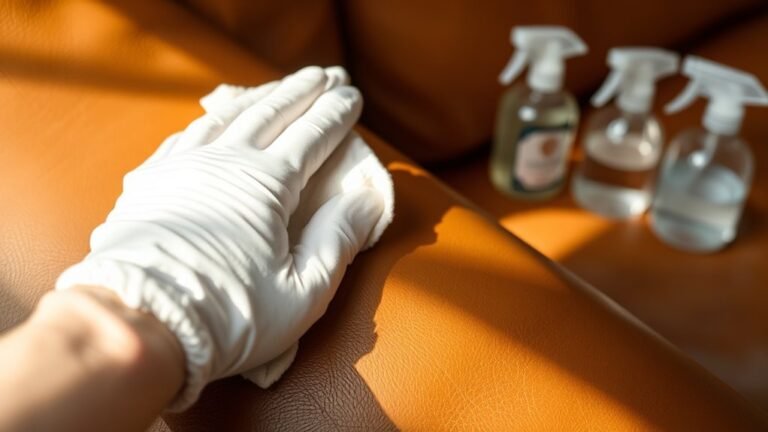
When you’re ready to tackle the sticker glue, choose an adhesive remover that’s specifically designed for delicate surfaces like leather to avoid damage. Apply a small amount of the remover onto a soft, clean cloth rather than directly on the leather.
Gently dab the glue spot, allowing the remover to soften the residue without saturating the leather. Avoid rubbing harshly, as this can cause discoloration or texture changes.
Work in small sections, and be patient. Let the remover sit for a minute or two to break down the adhesive.
After softening, use a soft cloth or your fingers to carefully lift the glue away. Repeat the process if necessary, but always proceed gently to protect the leather’s finish.
Clean and Condition the Leather After Glue Removal
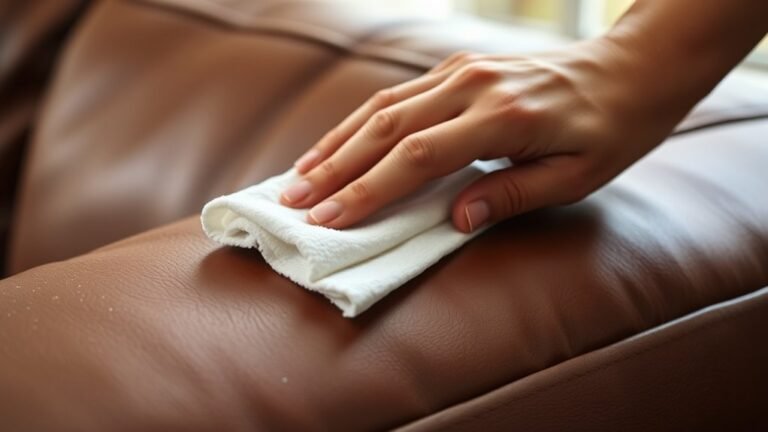
After removing the sticker glue, you’ll want to clean and condition the leather to restore its natural oils and prevent drying or cracking. Follow these steps to care for your leather properly:
1. Wipe with a damp cloth
Gently clean the area with a soft, damp cloth to remove any leftover residue or adhesive remover.
2. Apply leather cleaner
Use a leather-specific cleaner in small amounts, rubbing gently in circular motions.
3. Let it dry
Allow the leather to air dry completely before moving to the next step.
4. Condition the leather
Apply a good-quality leather conditioner to nourish and protect the surface, keeping it supple and preventing future damage.
Prevent Future Sticker Glue Residue on Leather
To keep your leather free from sticky residue in the future, you should take a few simple precautions before applying any stickers or labels.
First, avoid placing stickers directly on the leather; instead, use removable tags or attach labels to packaging.
If you must apply a sticker, choose ones with low-tack adhesive designed for delicate surfaces. You can also test a small, hidden area to check for any adverse reaction.
Another effective method is applying a thin layer of leather protector or conditioner before sticking anything on it. This creates a barrier that reduces adhesive bonding.
Finally, remove stickers gently and as soon as possible to prevent glue from settling in.
Frequently Asked Questions
Can Sticker Glue Damage All Types of Leather Permanently?
Yes, sticker glue can permanently damage some leather types if left too long or removed harshly.
You should act quickly and use gentle methods to avoid ruining the leather’s texture or color.
Is It Safe to Use Household Items Like Vinegar on Leather?
Vinegar’s vinegarous vibe can veer toward vulnerability on leather, so you shouldn’t use it carelessly. Instead, test a tiny, tucked-away spot first to see if it safely softens glue without staining or stiffening your supple surface.
How Long Should I Wait After Cleaning Before Using the Leather Item?
You should wait at least 24 hours after cleaning to let the leather fully dry and absorb any treatments.
Rushing use might cause damage or stickiness, so be patient for the best results.
Are There Specific Brands of Adhesive Removers Recommended for Leather?
You should try Goo Gone or 3M Adhesive Remover—they’re gentle on leather. Always test on a small area first, and avoid harsh chemicals.
These brands work well to remove glue without damaging your leather item.
Can Heat Help in Removing Sticker Glue From Leather Effectively?
You might be surprised, but yes, heat can help loosen sticker glue on leather.
Just don’t overdo it—use a warm, not hot, cloth to gently soften the adhesive before peeling it off carefully to avoid damage.
Conclusion
You might think removing sticker glue from leather is tough, but with the right steps, it’s easier than you expect. By evaluating your leather type and gently applying adhesive remover, you’ll restore its look without damage.
Funny enough, taking care of those stubborn spots often leads you to appreciate your leather even more. So, follow these simple tips, and not only will you remove glue, but you’ll also keep your leather looking great for years to come.
Properly removing sticker glue from leather is essential for maintaining its appearance and durability. Using the right methods ensures your leather stays smooth and blemish-free, helping you enjoy its beauty over time.