How to Clean Leather Boots: Step-by-Step Guide
To clean your leather boots effectively, start by removing the laces and brushing off any loose dirt with a soft cloth or brush.
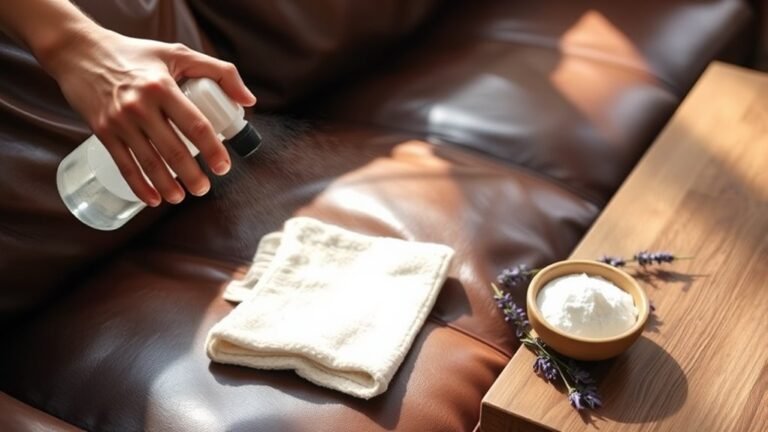
Using a cleaner specifically designed for leather is essential to avoid damage. Apply the cleaner gently with a damp cloth in circular motions to lift dirt and stains.
Next, allow your boots to air dry naturally, away from direct heat sources which can dry out the leather.
Once dry, condition the leather to keep it soft and flexible, preventing cracks and wear.
Finally, finish by applying a waterproofing treatment to protect your boots from moisture and extend their lifespan.
Keeping your boots well-maintained not only improves their appearance but also helps them last longer—there’s more to uncover for perfect care.
Why Cleaning Leather Boots Is Essential

Because dirt and grime can cause leather to crack and deteriorate, you should clean your leather boots regularly. Dirt builds up on the surface and seeps into the leather, leading to damage that shortens your boots’ lifespan.
Regular cleaning prevents dirt from damaging leather, keeping your boots durable and long-lasting.
By removing this dirt promptly, you prevent cracks and maintain the leather’s natural oils, which keep it soft and flexible. Cleaning also stops harmful bacteria and odors from developing, preserving hygiene.
When your boots stay clean, conditioning and waterproofing become more effective, further enhancing their longevity. Plus, wiping away stains and scuffs keeps your boots looking sharp and professional.
Regular cleaning isn’t just about appearance; it’s essential for protecting your investment and ensuring your leather boots last as long as possible.
Removing Laces and Preparing Your Boots
Before you start cleaning your leather boots, remove the laces to prevent dirt from getting trapped or tangled. Taking out the laces also makes it easier to access all areas of the boot during cleaning.
If your laces are worn or dirty, consider replacing them to keep your boots looking sharp and ensure a comfortable fit. Next, gently shake your boots to dislodge any loose dirt and debris from the surface and soles.
You can knock the boots together softly to help loosen stubborn dirt. Finally, use a soft-bristled brush or cloth to wipe off surface dirt. These steps will prepare your boots properly for a deeper clean, making the entire process more effective and efficient.
Brushing Off Surface Dirt and Debris
Once you’ve removed the laces and loosened dirt by knocking the boots together, use a soft-bristled brush or dry cloth to gently sweep away dust, mud, and small debris from the leather surface. Focus on these steps to effectively remove surface dirt and debris:
- Use a soft-bristled brush to clean creases, seams, and welt areas where dirt tends to accumulate.
- For stubborn dirt in textured or hard-to-reach spots, switch to an old toothbrush for precise cleaning.
- Always brush in gentle, circular motions to avoid scratching or damaging the leather finish.
Following this method guarantees your boots stay clean and well-maintained, ready for the next cleaning step.
Choosing the Right Cleaner for Your Leather
When selecting a cleaner for your leather boots, you should choose one specifically formulated for full-grain leather to protect its natural oils and prevent damage. Always check product labels to confirm the cleaner suits your leather type.
Avoid harsh chemicals like bleach or ammonia that can strip finishes and cause cracking. If you have suede or nubuck boots, pick a specialized cleaner or a gentle brush instead.
Before full use, test the cleaner on a small, hidden spot to ensure it won’t harm your boots.
| Leather Type | Recommended Cleaner |
|---|---|
| Full-grain | Leather cleaner for full-grain |
| Suede/Nubuck | Suede cleaner or soft brush |
| Delicate leather | Mild, pH-balanced cleaner |
| All types | Test on hidden area first |
Proper Cleaning Techniques for Leather Boots
Selecting the right cleaner sets the stage for properly maintaining your leather boots. For effective cleaning leather, start by removing surface dirt with a soft-bristled brush or dry cloth. Then, follow these steps for proper cleaning:
Choosing the right cleaner is essential for maintaining your leather boots and starting with surface dirt removal.
-
- Apply a damp cloth with mild soap or specialized leather cleaner, wiping in gentle circular motions to lift dirt.
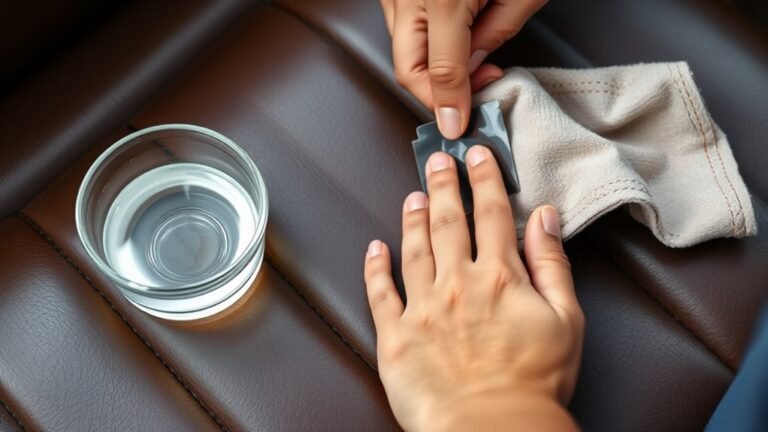
- Focus on seams and crevices, using a toothbrush to dislodge embedded debris without harming the material.
- Wipe off excess cleaner with a clean, damp cloth to avoid residue buildup.
Drying Your Boots Safely After Cleaning
After cleaning your leather boots, always let them dry naturally at room temperature in a well-ventilated spot. Avoid placing them near direct heat sources like radiators or hairdryers, as this can cause cracking or warping.
Using natural air drying helps maintain the leather’s shape and quality.
Natural Air Drying
How should you dry your leather boots to keep them in great shape? The best method is to air dry them naturally, which protects the leather from damage. Here’s how to do it right:
- Stuff your boots with newspaper or paper towels to absorb excess moisture and help maintain their shape.
- Place your boots in a well-ventilated area with good airflow. This promotes even drying and prevents moisture from lingering.
- Let them dry completely at room temperature, away from direct sunlight or heat sources to avoid cracking or stiffening.
Avoid Direct Heat
Natural air drying sets a solid foundation for preserving your leather boots, but it’s equally important to avoid exposing them to direct heat sources. You should always dry your boots at room temperature, away from radiators, heaters, or direct sunlight.
Using artificial heat can cause the leather fibers to shrink, warp, or become brittle, which damages your boots’ structure. For natural drying, stuff your boots with newspaper or use a boot tree to maintain their shape while drying.
If you must use a blow dryer, keep it on the coolest setting and hold it at a safe distance to prevent localized overheating. Avoiding direct heat sources helps keep your leather flexible, looking good, and extends the life of your boots.
Conditioning Leather to Maintain Softness
Though leather is durable, it needs regular conditioning to stay soft and flexible. Using a quality leather conditioner during your cleaning and conditioning routine helps replenish natural oils and keeps your boots from drying out or cracking.
To keep your boots in top shape, follow these steps:
- Apply a thin, even layer of leather conditioner with a clean cloth, using small circular motions.
- Let the conditioner absorb fully for 15-30 minutes to penetrate the leather.
- Buff off any excess with a soft cloth to restore the leather’s natural shine and softness.
Condition your boots every 3 to 6 months or after cleaning to maintain moisture balance and prolong their lifespan.

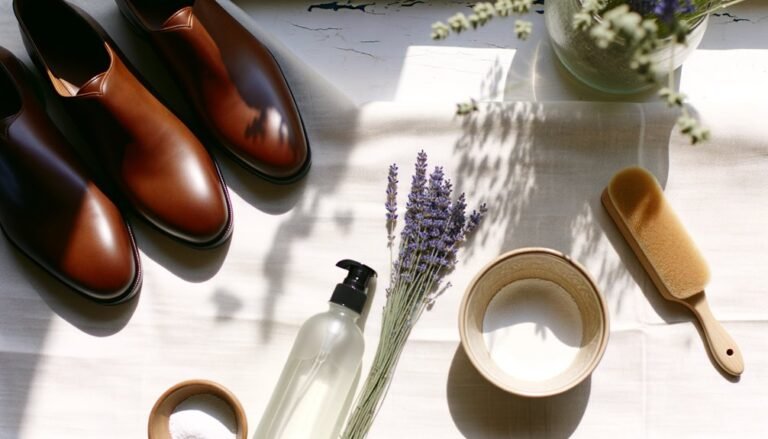
Applying Waterproofing for Extra Protection
To keep your leather boots protected, choosing the right waterproofing product is key. Options like beeswax, silicone spray, or liquid wax work well. Make sure your boots are clean and dry before you apply the product evenly with a soft cloth or sponge, covering all seams and stitching.
Remember to reapply every 4 to 6 weeks or after heavy rain to maintain that extra layer of defense.
Choosing Waterproofing Products
When you want to keep your leather boots protected from water, choosing the right waterproofing product is essential. The right choice guarantees lasting protection and maintains your boots’ appearance. Consider these points:
- Leather type: Use beeswax for full-grain leather and silicone sprays for synthetic or treated leather.
- Product form: Liquid wax or beeswax offers a durable barrier, while sprays provide quick, even coverage.
- Frequency of application: Reapply waterproofing after cleaning or exposure to moisture to keep protection effective.
Selecting a product suited to your leather type maximizes waterproofing benefits. Applying these treatments after cleaning helps restore and maintain your boots’ natural water resistance, ensuring they stay durable and looking great.
Proper Application Techniques
Since proper application guarantees your boots get the full benefit of waterproofing, you should apply treatments evenly with a sponge, brush, or cloth. Make sure you cover the entire leather surface to achieve full coverage and maximize protection.
Always start with clean, dry boots and follow the product’s instructions for the number of coats needed. When using wax-based waterproofing, work the product into the leather using circular motions to help it penetrate deeply.
After application, let the treatment cure for at least 24 hours before wearing your boots. To maintain effective water resistance, reapply the waterproofing product regularly, especially after cleaning or exposure to wet conditions.
Proper application ensures your boots stay protected and last longer.
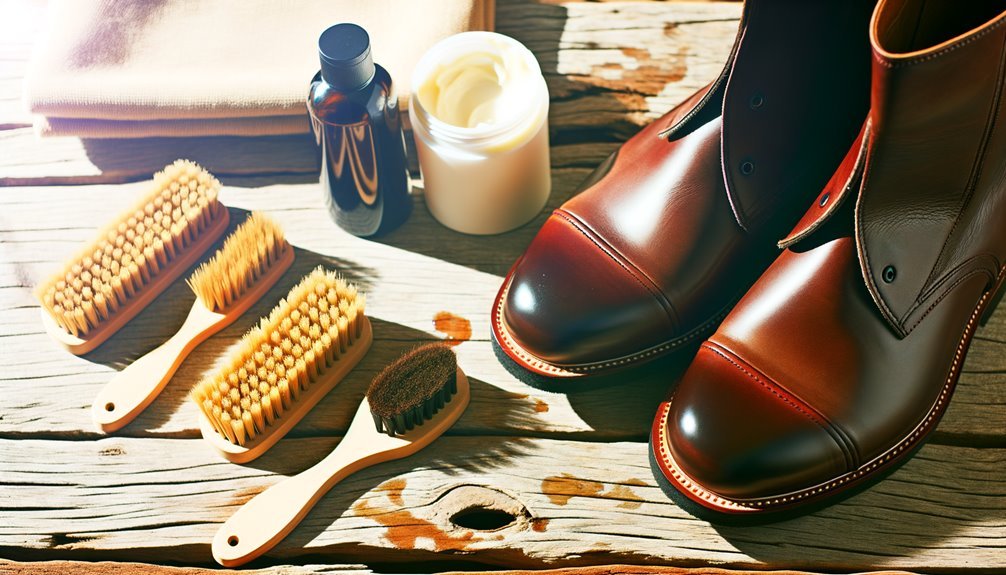
Tips for Polishing and Maintaining Shine
Although leather boots can look great on their own, maintaining their shine requires regular polishing. To keep your leather looking its best, follow these essential tips:
- Start by buffing the leather with a soft, clean cloth or horsehair brush to remove dust before applying polish.
- Use a small amount of high-quality shoe polish or cream in a matching color, applying it in circular motions to restore the leather’s shine.
- Let the polish sit for a few minutes, then buff it with a clean, dry cloth. For an extra glossy finish, use a microfiber cloth or polishing brush to achieve a mirror-like surface.
Regular polishing not only enhances shine but also protects your leather boots from drying out and cracking.

Frequently Asked Questions
Can You Use Dawn Dish Soap to Clean Leather Boots?
You can use Dawn dish soap sparingly if heavily diluted, but it’s not ideal. It may dry out your leather boots, so always follow with a good conditioner to keep them soft and prevent cracking.
What Is the Best Home Remedy to Clean Leather?
Like a gentle rain washing dirt away, the best home remedy is a mix of equal parts white vinegar and water. It’ll lift stains while preserving your leather’s natural beauty, so you’ll keep your boots looking sharp.
What Household Products Can You Use to Clean Leather?
You can use diluted white vinegar, mild dish soap with warm water, baking soda or cornstarch for grease, and non-gel toothpaste for scuff marks.
Always wipe gently with a soft, damp cloth to protect the leather.
How to Clean Boots Without Ruining Them?
Like a gentle whisper, you’ll clean boots by brushing dirt off first, then wiping with a damp cloth. Use leather-specific cleaners sparingly, test first, and air dry away from heat to keep them looking sharp.
Conclusion
Now that you know how to care for your leather boots, treating them with a little love will keep them looking sharp and lasting longer. Think of your boots as loyal friends—they deserve attention, cleaning, and conditioning to stay comfortable and strong.
With each step you take in well-maintained leather, you’re not just walking—you’re making a statement. So, roll up your sleeves and give your boots the care they crave! Proper cleaning and conditioning are essential to extend the life of your leather boots and keep them looking their best.