How to Change Leather Color in 10 Easy Steps
To change your leather’s color in 10 easy steps, start by gathering leather dye, prep materials, and protective gear, then prepare a clean, ventilated workspace. Cleaning and stripping the old finish gently is essential to ensure the new color adheres well.
Next, condition the leather to keep it flexible and prevent cracking. Apply your dye in thin, even layers, letting each dry completely before adding the next.
Finally, finish by sealing the leather for protection against wear and moisture. Follow these steps carefully, and you’ll transform your leather beautifully.
There’s plenty more to learn about mastering each step for perfect results and achieving a professional-looking leather color change.
Gather Necessary Materials and Tools

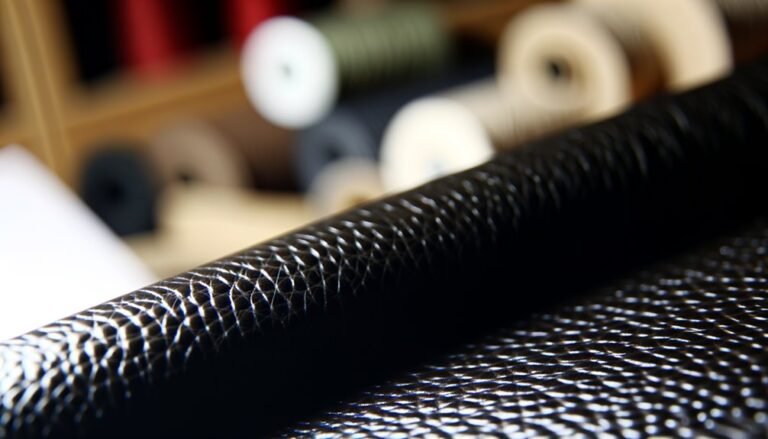
Before you begin changing the color of your leather, make sure you have all the necessary materials and tools on hand. You’ll need leather dye in your chosen color, leather prep or deglazer to remove the existing finish, and a sponge or soft cloth for application.
Have gloves ready to protect your hands and masking tape to cover areas you want to keep untouched. Additionally, keep a small brush for precise work and a clean, lint-free cloth for wiping excess dye.
If you want extra protection after dyeing, get a leather conditioner or sealant. Having everything prepared before starting saves you time and helps achieve a smooth, even color change without interruptions.
Gathering your materials carefully sets you up for success in the process.
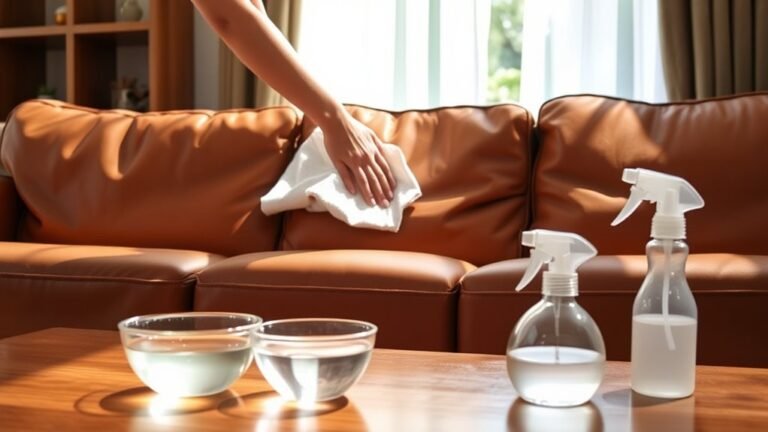
Prepare Your Workspace

Since leather dye can be messy, you’ll want to set up your workspace in a well-ventilated area with plenty of light. This helps you see the color changes clearly and prevents fumes from building up.
Cover your surface with newspaper, plastic, or a disposable cloth to protect it from stains. Gather all your materials within reach to avoid interruptions once you start.
Wear old clothes or an apron, and use gloves to keep your hands clean. Keep a bowl of water and some paper towels nearby for quick cleanups.
Make sure your workspace has enough room to move the leather item around freely. Taking these steps will help you work efficiently and keep your area tidy throughout the dyeing process.
Clean the Leather Thoroughly

Although it might seem simple, cleaning the leather thoroughly is essential to guarantee the dye adheres evenly and lasts longer. Start by dusting off any loose dirt with a soft brush or cloth.
Next, use a leather cleaner or a mild soap diluted in water to wipe down the surface gently. Avoid soaking the leather; instead, dampen a cloth and work in small sections. Pay close attention to seams and crevices where grime tends to accumulate.
After cleaning, wipe away any residue with a clean, damp cloth and let the leather dry completely in a well-ventilated area, away from direct sunlight or heat.
Taking these steps ensures your leather is ready for the next phase of color transformation.
Remove Old Finish and Color
Once your leather is clean and dry, you’ll need to strip away the old finish and color to prepare the surface for a fresh coat. Use a leather stripper or acetone applied with a cotton ball to gently remove the existing dye and finish. Be sure to work in a well-ventilated area and test on a small spot first.
After stripping, wipe the leather with a damp cloth to remove residue and let it dry completely.
| Step | Tip |
|---|---|
| Choose stripper | Use leather-specific products |
| Test first | Always try on an inconspicuous area |
| Apply gently | Avoid soaking leather |
| Remove residue | Use a clean, damp cloth |
| Dry fully | Let air dry before next step |
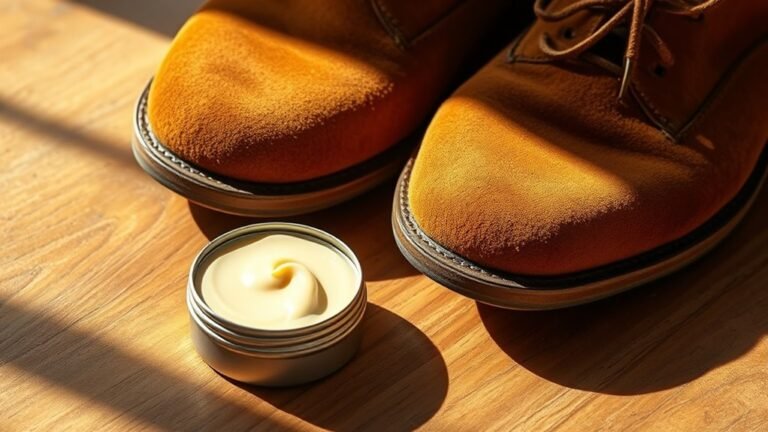
Condition the Leather Surface
Before applying any new color, you’ll want to condition the leather to restore its moisture and flexibility. Conditioning prevents the leather from drying out and cracking after you change the color.
Use a leather conditioner specifically designed for your leather type. Apply a small amount onto a clean, soft cloth and gently rub it into the surface using circular motions. Make sure to cover the entire piece evenly.
Let the conditioner absorb fully, usually for about 20 to 30 minutes. If needed, wipe off any excess with a dry cloth.
Proper conditioning helps the leather accept dye or paint better, ensuring a smoother, more durable finish.
Don’t skip this step. It’s key to achieving professional-looking results and prolonging your leather’s lifespan.
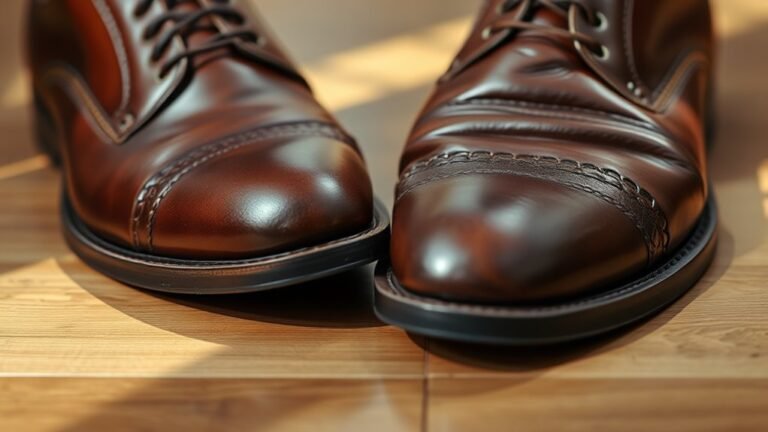
Choose the Right Leather Dye or Paint
With your leather properly conditioned, you’re ready to select the dye or paint that will bring your desired color to life.
Choose a dye if you want the color to soak into the leather, preserving its natural texture and flexibility.
Leather dyes work best on porous leather and offer a rich, long-lasting finish.
If you prefer a more vibrant or opaque look, consider leather paint.
Paint sits on the surface, allowing for bold colors and creative designs, but may feel less natural.
Always pick a product specifically made for leather to ensure proper adhesion and durability.
Check the label for compatibility with your leather type, and test the dye or paint on a small, hidden area first to confirm the color and finish meet your expectations before proceeding.
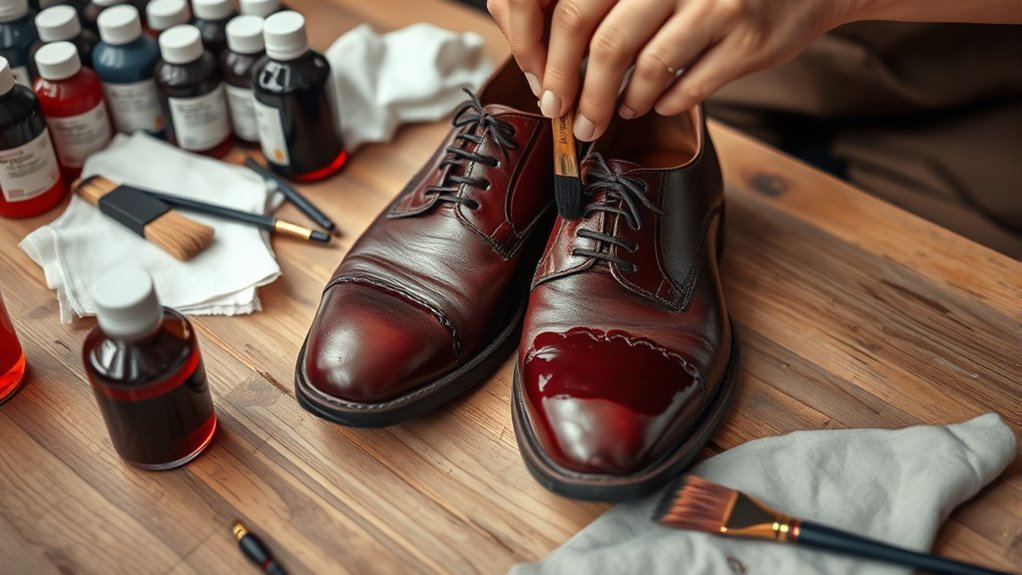
Apply the First Coat Evenly
Although applying the first coat may seem straightforward, you need to guarantee it’s even to achieve a smooth, professional finish. Start by dipping your applicator, whether a sponge, brush, or cloth, into the dye or paint. Use consistent, gentle strokes to cover the leather surface uniformly.
Avoid overloading the applicator to prevent drips and uneven patches. Work in small sections, blending edges as you go for a seamless look.
Keep these tips in mind:
- Apply thin layers rather than one thick coat
- Follow the leather’s grain direction for natural coverage
- Maintain a steady hand and consistent pressure
- Check your work under good lighting to spot missed spots
An even first coat sets the foundation for a flawless color transformation.
Let the Leather Dry Completely
Once you’ve applied the first coat, you need to let the leather dry completely to guarantee the color sets properly. This step is vital because rushing it can cause uneven color or peeling later on.
Find a well-ventilated area free from direct sunlight and dust. Place the leather on a flat surface, allowing air to circulate around it.
Depending on the product and humidity, drying can take anywhere from 30 minutes to a few hours.
Avoid touching or disturbing the leather during this time to prevent smudges or fingerprints. Be patient, as thorough drying ensures the dye bonds well with the leather fibers, giving you a smooth, lasting finish.
Only once it’s fully dry should you proceed with any further steps.
Apply Additional Coats for Desired Color
Since achieving the perfect shade often requires more than one layer, you’ll need to apply additional coats to deepen and even out the color. After the first coat dries completely, inspect the leather carefully. If the color looks patchy or too light, apply another thin coat.
Avoid heavy layers to prevent uneven drying or cracking. Here’s how to do it right:
Use a soft brush or sponge for smooth application.
Apply thin, even coats to maintain texture.
Allow each coat to dry fully before adding the next.
Check the color in different lighting to guarantee consistency.
Seal and Protect the New Color
After you’ve built up the color to your liking with additional coats, it’s important to lock in that finish. You’ll want to apply a leather sealer or finisher designed to protect the dye and prevent fading or rubbing off.
Once the color is just right, seal the finish to protect against fading and wear.
Use a clean, soft cloth or a sponge to spread a thin, even layer over the entire surface. Allow it to dry completely, following the product’s instructions.
This step not only seals the color but also adds a protective barrier against moisture and dirt.
For extra durability, you can apply a second coat after the first has dried.
Frequently Asked Questions
Can I Change Leather Color Without Professional Help?
Yes, you can change leather color without professional help. Just clean the leather, apply a leather preparer, use quality leather dye evenly, and finish with a sealant.
Take your time, and you’ll get great results yourself.
How Long Does Leather Dye Typically Last?
You’ll enjoy your leather’s fresh look for several years—typically 3 to 5—before it starts showing signs of wear.
With proper care, you can stretch its vibrant charm well beyond the usual timeframe.
Is It Safe to Use Leather Dye on All Leather Types?
You shouldn’t use leather dye on all types, especially suede or nubuck, as it can damage them. Always test a small area first and use dyes specifically designed for the leather type you’re working with.
Can I Mix Different Leather Dye Colors?
Yes, you can mix different leather dye colors to create custom shades.
Just make sure to test the blend on a small leather patch first to guarantee the colors combine well and achieve the tone you want before applying it fully.
Will Changing Leather Color Affect Its Texture?
Yes, changing leather color can slightly affect its texture. You’ll notice some stiffness or dryness, but conditioning afterward helps restore softness.
Just make sure to test on a small area before fully dyeing your leather piece.
Conclusion
Now that you’ve followed these steps, your leather piece will look like a million bucks. Changing leather color isn’t as intimidating as it seems—you just need patience and the right technique.
Remember, Rome wasn’t built in a day, so don’t rush through the drying and coating process. Take your time, and you’ll be rewarded with a beautifully transformed item that feels fresh and vibrant.
Your effort will truly pay off! By following these leather color change tips and techniques, you can confidently update your leather goods and enjoy a stunning new look.