How to Clean Leather Car Seats: Step-by-Step Guide
To clean your leather car seats effectively, start by vacuuming debris using a soft brush attachment.
It’s important to maintain the leather’s quality by using a pH-neutral leather cleaner. Before applying, test a small, hidden spot to ensure the cleaner won’t damage the material.
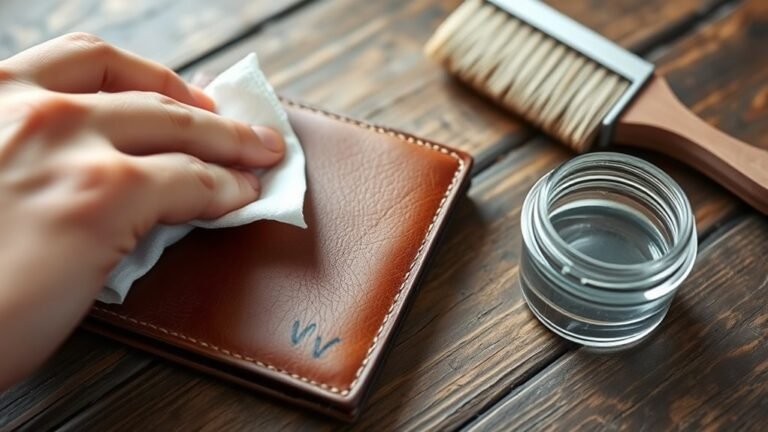
Gently apply the cleaner with a microfiber cloth using circular motions. Afterward, wipe away any residue with a dry cloth.
Avoid using harsh soaps or soaking the leather, as this can cause damage.
Once the seats are clean, condition them to keep the leather soft and protected from sun damage. Conditioning helps maintain the leather’s suppleness and extends its lifespan.
If you want to keep your seats looking pristine, there’s more to learn about cleaning and care techniques to ensure long-lasting beauty and durability.
Preparing Your Leather Car Seats for Cleaning
Before you begin cleaning your leather car seats, make sure they’re cool and dry to prevent streaks or quick drying of the cleaner. Start by removing all personal items and accessories from the seats to avoid stains or damage.
Next, vacuum thoroughly using a soft-bristle attachment to get rid of loose dirt and debris from cracks and crevices. Before applying any leather cleaner, perform a patch test on a hidden area to check for adverse reactions.
Choose a gentle, pH-neutral leather cleaner designed specifically for leather surfaces. This careful preparation ensures the cleaning process is effective and safe, protecting your seats from damage while restoring their appearance.
Taking these steps will make your leather seats easier to clean and maintain.
Choosing the Right Cleaning Products
When choosing products, decide if you need a cleaner, a conditioner, or a combo to keep your leather soft and protected. Pay attention to scents and safety, especially if you have allergies or pets.
Also, gather the right tools like soft cloths or brushes to apply your products effectively.
Cleaner Vs Conditioner
Although leather cleaners and conditioners serve different purposes, choosing the right product is key to keeping your car seats looking and feeling great. A leather cleaner removes dirt and stains from the surface, while a conditioner restores moisture and prevents cracking. Some products combine both functions for convenience, but always check labels to know what you’re using.
Here’s a simple comparison:
| Product Type | Purpose | Key Benefit |
|---|---|---|
| Leather Cleaner | Removes dirt and stains | Cleans surface effectively |
| Conditioner | Moisturizes leather | Prevents cracks, nourishes |
| 2-in-1 Formula | Cleans & conditions | Saves time, dual action |
Use the right product to maintain your leather’s appearance and extend its life.
Scent and Safety
Since your car’s interior is a space you spend a lot of time in, choosing leather cleaners with mild, fragrance-free formulas helps prevent skin irritation and keeps the environment fresh. For safety, always pick products specifically labeled safe for automotive leather to avoid damage or discoloration.
While scents like apple or mint can make cleaning more pleasant, confirm they’re compatible with your leather type to prevent adverse reactions. Steer clear of harsh chemical scents such as ammonia or strong solvents, which can harm your seats.
Also, maintain proper ventilation during and after cleaning to dissipate any lingering odors, enhancing safety for you and your passengers. Prioritizing these factors ensures your leather stays clean, safe, and comfortable without compromising your health or the material’s integrity.
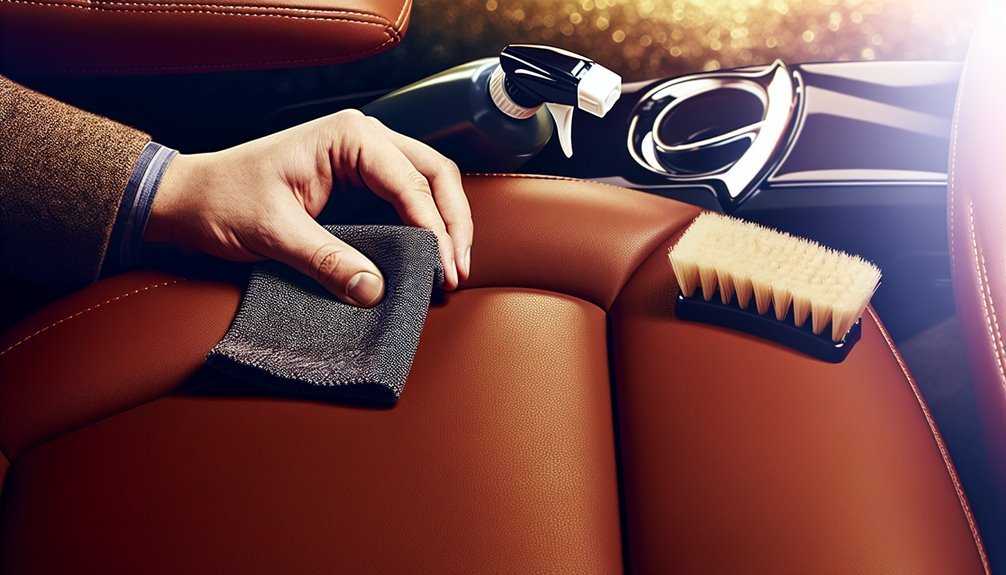
Application Tools Needed
Choosing the right tools makes all the difference in protecting your leather seats while cleaning. Start by selecting a cleaner specifically formulated for leather to prevent discoloration and damage. Use foam or spray-on cleaners for even distribution, which helps avoid oversaturating the leather.
For targeted stains, opt for products with applicator pads or spray bottles to apply the cleaner precisely where needed. When applying, rely on microfiber cloths and a soft-bristled brush to gently work the cleaner into the surface without causing scratches.
Always follow the manufacturer’s instructions for application techniques and recommended tools. By carefully choosing your cleaning products and tools, you’ll maintain your leather’s appearance and longevity while keeping the process efficient and safe.
Step-by-Step Cleaning Process
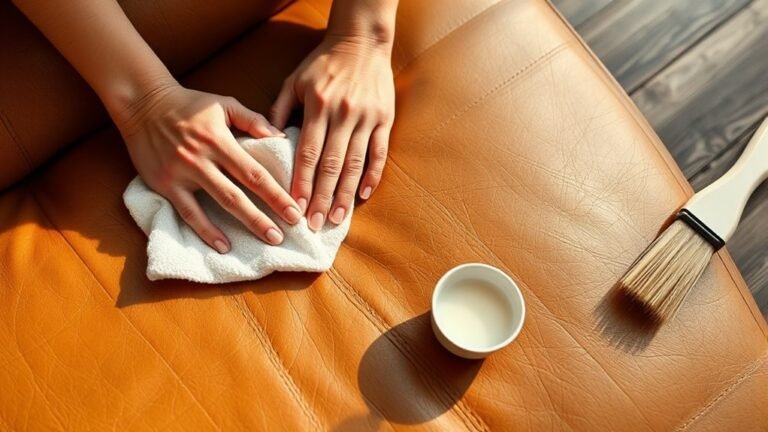
Before you start cleaning, make sure to prepare your seats by vacuuming thoroughly to remove dirt and debris. Next, apply the leather cleaner carefully with a soft cloth, working in gentle circular motions. Finally, don’t forget to condition the leather to keep it soft and protected after cleaning.
Preparing Seats Properly
Although cleaning leather car seats might seem straightforward, preparing them properly guarantees the best results and protects the material. Start by thoroughly vacuuming the seats using a soft brush attachment to remove loose dirt and debris. This step guarantees your cleaning products work effectively without trapping grit that could scratch the leather.
Next, perform a patch test by applying a small amount of your chosen cleaner to an inconspicuous area, checking for any adverse reactions. Use a microfiber cloth or soft sponge to apply the cleaning products evenly, avoiding oversaturation. Gently scrub the seats in circular motions, focusing on stained or heavily soiled spots.
Finally, wipe the seats dry with a clean microfiber cloth to remove residue and prevent moisture damage. Proper preparation sets the foundation for a thorough, safe cleaning process.
Applying Cleaner Correctly
Once you’ve prepared the seats properly, it’s time to apply the cleaner with care to protect the leather and get the best results. Start by shaking the leather cleaner bottle well to mix ingredients. Spray the cleaner onto a microfiber cloth instead of directly on the seat to avoid oversaturation.
Use gentle circular motions with light pressure to lift dirt without harming the leather. Let the cleaner sit for about 10 seconds to loosen grime. Finally, wipe away any residue with a clean, dry microfiber cloth to keep the leather fresh and clean.
| Step | Action | Tip |
|---|---|---|
| 1 | Shake bottle | Mix ingredients thoroughly |
| 2 | Spray on cloth | Prevent oversaturation |
| 3 | Apply in circles | Use light pressure |
| 4 | Let sit 10 seconds | Loosen grime |
| 5 | Wipe with dry cloth | Remove residue completely |
Conditioning After Cleaning
After you’ve thoroughly cleaned and dried your leather seats, it’s essential to apply a conditioner to keep the leather soft and protected. First, make sure the surface is completely dry to avoid trapping moisture under the leather conditioner.
Use a clean microfiber cloth to spread the conditioner evenly in circular motions, paying special attention to seams and creases where leather tends to dry out. Let the conditioner absorb for 10-15 minutes or follow the product’s instructions.
Then, buff the seats with a dry microfiber cloth to remove any excess and restore a smooth, uniform finish. Regularly conditioning your leather seats at least twice a year helps maintain suppleness, prevents it from drying, cracking, and extends the leather’s lifespan.
How to Handle Stubborn Stains
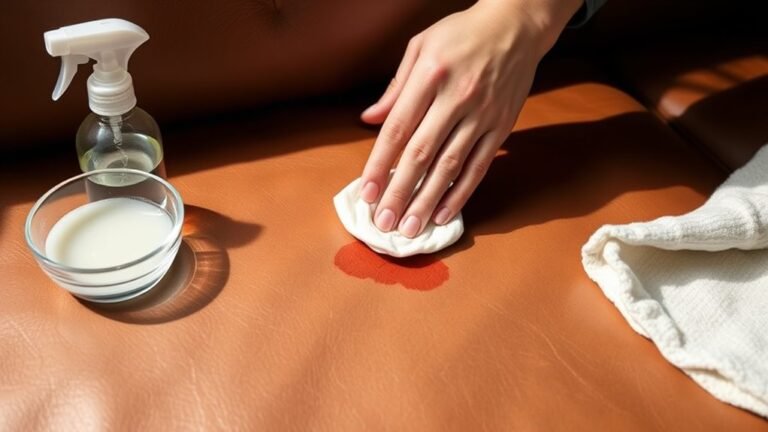
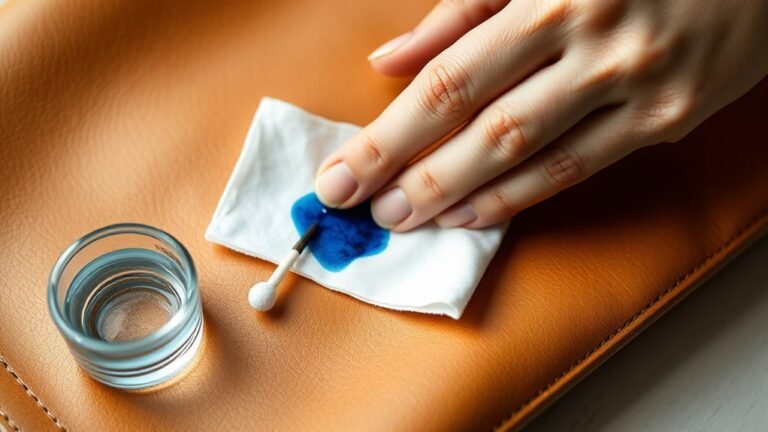
When you encounter stubborn stains on your leather car seats, using a specialized leather stain remover or a vinegar-and-water solution can effectively lift the marks without harming the material. Soak a soft cloth in your chosen solution and gently rub the stain, taking care not to scrub too hard, which could damage the leather.
For tougher stains like ink or lipstick, lightly dab a cotton swab with rubbing alcohol and test it on a hidden spot first to ensure it won’t cause discoloration. After treating the stain, clean the area with a leather cleaner to remove any leftover residue and restore the seat’s surface.
This approach helps you tackle stubborn stains efficiently while safeguarding your leather’s integrity.
The Importance of Leather Conditioning
Although cleaning removes dirt and stains, conditioning your leather seats is essential to keep them soft and supple. Leather conditioning replenishes the natural oils lost over time, which maintains the leather’s softness and prevents dryness, cracks, and stiffness.
This process not only preserves the leather’s texture but also protects it by creating a barrier against harmful UV rays that cause fading and deterioration. By regularly applying a high-quality leather conditioner, you restore the appearance of worn or faded seats, making them look newer and well-maintained.
To ensure your leather seats stay in top condition, aim to condition them at least twice a year. This simple step extends the life of your seats and keeps your car’s interior looking its best.
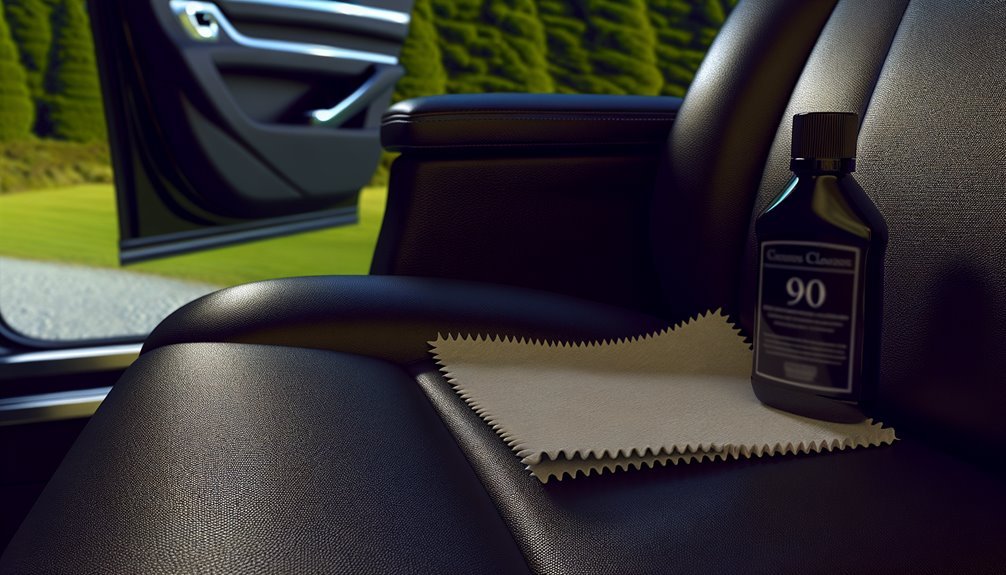
Best Tools for Cleaning Leather Seats
Several essential tools can make cleaning your leather car seats easier and more effective. Start with a vacuum equipped with a soft brush attachment to remove loose dirt and debris without scratching the surface. Use microfiber cloths to gently lift dirt while protecting the leather’s finish.
For grime in crevices or textured areas, a soft-bristled brush helps loosen dirt thoroughly. When it comes to applying cleaning products, foam or spray leather cleaners ensure even coverage and prevent oversaturation.
For stubborn stains, specialized tools like horsehair brushes provide gentle agitation without damaging the leather. Using these tools together allows you to clean leather seats efficiently, preserving their appearance and durability while avoiding harsh treatments that could cause harm.
Tips for Maintaining Leather Seat Appearance
To keep your leather car seats looking their best, you should vacuum them regularly to remove dirt and prevent buildup that can dull the surface. When cleaning your leather, use a pH-neutral cleaner and a soft microfiber cloth to preserve its natural shine.
Conditioning your seats twice a year keeps the leather supple and helps prevent cracking. Avoid harsh chemicals and abrasive tools that can strip oils and damage the leather.
| Step | Tool Needed | Purpose |
|---|---|---|
| Vacuum seats | Vacuum with brush | Remove dirt and debris |
| Wipe surface | Microfiber cloth | Gentle cleaning |
| Apply conditioner | Leather conditioner | Maintain suppleness |
Protecting Leather Seats From Sun Damage
Keeping your leather seats clean and conditioned is a great start, but protecting them from sun damage takes your care routine further. UV inhibitors in leather conditioners play a vital role in preventing fading and cracking caused by prolonged exposure to sunlight.
To reduce UV exposure, try parking in shaded areas or use sunshades when parking outdoors. This helps lower temperature fluctuations that can dry out the leather and cause stiffness.
Regularly applying a leather protectant with UV-blocking properties strengthens this defense, extending the lifespan of your seats. Consistent leather care creates a protective barrier against sun-induced deterioration, keeping your seats supple and looking their best.
Prioritize these steps to maintain your leather’s appearance and durability over time.
Avoiding Common Mistakes When Cleaning Leather Seats
When cleaning your leather seats, you’ll want to avoid common mistakes that can cause lasting damage. First, don’t use household cleaners like dish soap or furniture polish. They strip leather’s natural oils, leaving it vulnerable.
Avoid oversaturating the leather with water or cleaner, as excess moisture can lead to mold, mildew, or warping. Steer clear of abrasive brushes or harsh scrubbing tools, which can scratch or puncture the leather surface.
Also, use only light-colored, lint-free cloths to prevent dye transfer and staining. Before applying any cleaner, always perform a patch test on a hidden spot to ascertain it won’t harm your leather.
Following these tips helps you clean leather safely, keeping your seats looking fresh and durable.
Frequently Asked Questions
What Is the Best Thing to Clean Leather Car Seats?
You want to use a pH-neutral leather cleaner made specifically for car seats. Avoid harsh soaps or household detergents.
Always clean gently with a microfiber cloth, then apply a leather conditioner to keep your seats soft and protected.
Is Dawn Dish Soap Good for Leather Seats?
Dawn dish soap isn’t the best dance partner for your leather seats. It can strip their natural oils and leave them dry. If you use it, dilute well and follow up with a conditioner to keep leather happy.
What Household Products Can You Use to Clean Leather?
You can use a damp microfiber cloth with warm water or mild soap diluted in water to clean leather. Woolite diluted with water works gently, but avoid vinegar, lemon juice, and harsh household cleaners that can damage leather.
What Should You Not Put on a Leather Car Seat?
You shouldn’t put bleach, ammonia, alcohol-based cleaners, or household soaps on leather seats. Avoid oil-based products, sharp objects, abrasive scrubbers, and vinyl protectants.
They can damage, discolor, or stain your leather car seats.
Conclusion
If you skip cleaning your leather car seats, they might start screaming for help louder than your morning alarm! By following these simple steps, you’ll keep your seats looking so flawless, people might think you drive a brand-new luxury car every day.
Don’t let dirt and cracks take over—clean, condition, and protect like your seats’ lives depend on it. Trust me, your leather will thank you with style and durability that’s practically legendary!
In conclusion, regular leather car seat cleaning is essential for maintaining their appearance and longevity. Proper cleaning methods help prevent damage, preserve the leather’s softness, and keep your car interior looking pristine. Make leather car seat cleaning a part of your routine to enjoy a comfortable and stylish ride every time.