How to Repair a Peeling Faux Leather Jacket: Easy DIY Fixes
If your faux leather jacket is peeling, start by cleaning it gently with mild soap and water, then let it dry completely.
Repair peeling faux leather by addressing minor and major damage appropriately. Taking quick action can help restore your jacket’s look and extend its lifespan.
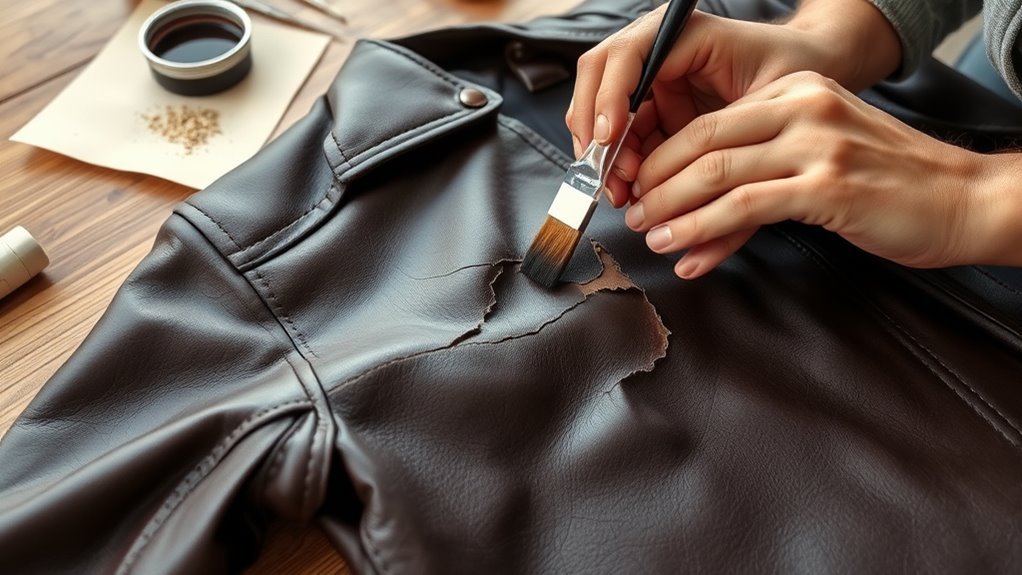
For minor peeling, apply matching faux leather dye in thin layers, allowing each coat to dry before applying the next. This method helps blend the repaired area seamlessly with the rest of the jacket.
For larger damaged areas, use a synthetic leather patch with strong adhesive to cover and protect the surface. After patching, seal the repaired spots to enhance durability and prevent further peeling.
Following these steps helps maintain your jacket’s appearance and longevity. Explore further tips on prevention and consider professional repair options for severe damage.
Why Does Faux Leather Peel?

Several factors cause your faux leather jacket to peel, with heat, sunlight, and humidity being the main culprits. These elements break down the synthetic materials used in faux leather, which lack the natural elasticity found in real leather.
Over time, heat exposure causes the surface to crack and peel, especially when combined with poor maintenance. If you don’t clean or condition your jacket regularly, oils, sweat, and dirt will weaken the bonding layer, accelerating peeling and flaking.
Additionally, manufacturing defects or low-quality faux leather make your jacket more prone to premature damage. Understanding these causes helps you take better care of your jacket and prevent further peeling, ensuring it stays in good condition longer.
Identifying the Extent of Damage

Before you start repairing, you need to thoroughly assess the damage on your faux leather jacket. Begin with a careful surface inspection in good lighting to spot all peeling or cracking areas.
Start by closely inspecting your faux leather jacket in bright light to identify all peeling and cracks.
Run your fingers gently over the jacket to feel for weak spots or thinning faux leather. Use a bright flashlight or magnifying glass to uncover hidden or subtle peeling sections you might miss at first glance.
Lay the jacket flat on a clean surface and examine both the exterior and seams for deterioration. Mark every damaged spot with tape or a fabric marker to keep track of repair areas.
This detailed damage assessment guarantees you address all peeling and worn parts effectively, setting you up for a successful restoration.
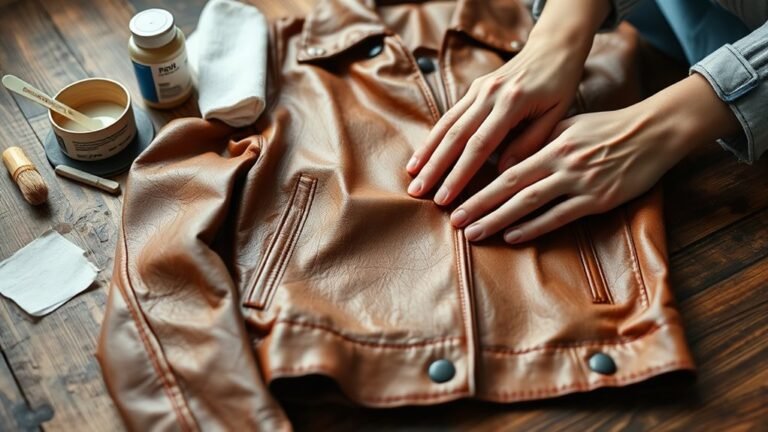
Preparing and Cleaning the Jacket

Once you’ve marked all the peeling areas, lay your faux leather jacket flat on a clean, dry surface to get a clear view of the damage. Begin the prep by gently cleaning the synthetic surface using a soft cloth dampened with warm water and mild soap. This step removes dirt, oils, and residues that could interfere with the repair.
Avoid soaking the jacket or using harsh chemicals that might weaken the material. Next, carefully perform removal of any loose peeling flakes with small scissors or a soft-bristled brush, ensuring the surface is smooth. Finally, allow the jacket to dry completely before moving forward.
Proper cleaning and drying are essential to prevent moisture from getting trapped beneath the surface during repair.
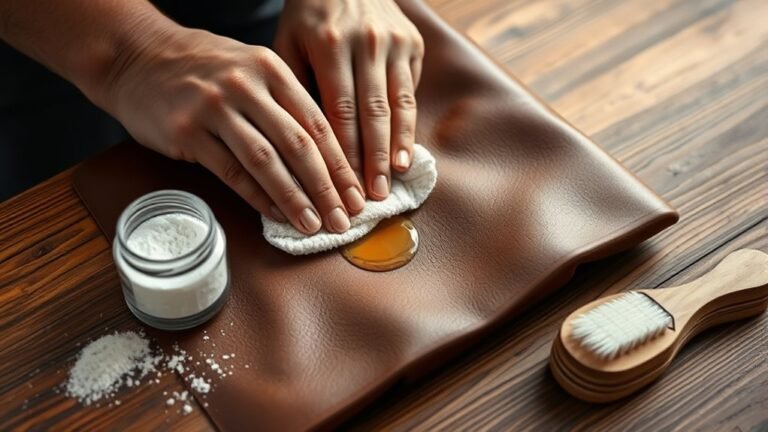
Repairing Minor Peeling With Dye
If you want to restore the look of minor peeling on your faux leather jacket, applying a matching dye can provide a quick cosmetic fix. Start by cleaning the jacket thoroughly to remove dirt and oils.
Use leather dye from a faux leather repair kit that matches your jacket’s color precisely. Dab or spray the dye evenly on peeling faux leather areas, allowing 15 minutes between coats for drying.
Remember, this method addresses minor peeling and offers a temporary cosmetic improvement rather than a lasting repair.
| Step | Tip |
|---|---|
| Clean jacket | Remove dirt and oils |
| Select dye | Match color exactly |
| Apply dye | Dab or spray evenly |
| Drying time | Wait 15 minutes between coats |
| Repair scope | Suitable for minor peeling only |
Applying Synthetic Leather Patches for Larger Areas
When dealing with larger peeling areas, choosing the right synthetic leather patch is key to matching your jacket’s texture and color. You’ll need to prep the damaged surface thoroughly to guarantee strong adhesion.
Then, follow precise steps to apply the patch smoothly for a clean, durable repair.
Patch Material Selection
Selecting the right synthetic leather patch is essential for repairing larger peeled areas on your jacket. Choose a faux leather patch that closely matches your jacket’s color, texture, and thickness to guarantee a seamless look.
When cutting your patch material, trim it slightly larger than the damaged spot using sharp scissors for clean, straight edges. Apply a high-quality leather adhesive designed for synthetic leather evenly on the patch’s back.
Press the patch firmly onto the peeled area, smoothing out air bubbles or wrinkles with a roller or flat tool. This ensures strong adhesion and a smooth finish.
Allow the adhesive to cure fully, typically 24 hours, before using the jacket or stressing the repair. Using the right patch material and repair filler guarantees a durable, professional-looking fix.

Preparing Jacket Surface
Before you apply a synthetic leather patch, make sure to clean the damaged area thoroughly with water and mild soap to remove any dirt or oils. This cleaning prep is vital for strong adhesive bonding and successful patching.
Next, trim the patch to fit the peeling section precisely, ensuring neat edges. Use a strong fabric or synthetic leather adhesive, applying it evenly on the patch’s back.
Press the patch firmly onto the jacket, smoothing out air bubbles to secure it well. Allow the adhesive to dry completely before handling.
| Step | Action | Tip |
|---|---|---|
| 1 | Cleaning | Use mild soap and water |
| 2 | Trimming patch | Match peeling size |
| 3 | Applying adhesive | Spread evenly |
| 4 | Pressing patch | Remove air bubbles |
| 5 | Drying | Follow adhesive instructions |
Patch Application Steps
Although applying a synthetic leather patch to larger peeling areas demands patience, following each step carefully guarantees a smooth, lasting repair. Start by cleaning the damaged area with water and mild soap, then let it dry completely to guarantee the adhesive bonds well.
Next, trim your synthetic leather patch to match the size and shape of the peel, creating neat, straight edges for a seamless look. Apply an even layer of fabric or leather adhesive to the back of the patch, covering all edges thoroughly.
Press the patch firmly onto the peeled area, smoothing out any air bubbles or wrinkles with your fingers or a spatula. Finally, allow the adhesive to dry fully, usually 24 hours, before wearing your jacket to secure a durable repair.
Using Faux Leather Repair Kits Effectively
You’ll find that faux leather repair kits come with everything you need, like adhesives, fillers, and colorants, to fix peeling spots precisely. Start by cleaning the area thoroughly, then follow the step-by-step instructions to apply each product carefully and let it dry properly. Matching the color and sealing the repair will help your jacket look smooth and last longer.
Kit Components Overview
A typical faux leather repair kit contains everything you need to fix peeling areas effectively, including adhesives, colorants, fillers, and applicators. The adhesive is specially formulated to bond synthetic materials securely without harming your jacket’s surface.
Fillers help smooth out cracks or peeling spots, creating an even base before you move on to color-matching. Most kits include a dye or paint that matches your jacket’s color, ensuring your repair blends seamlessly.
Applicators guide precise application for each component, so you get clean, professional-looking results. By understanding how each part works and following the proper steps, like cleaning and drying before repair, you’ll make the process easier and achieve durable, visually appealing fixes every time.
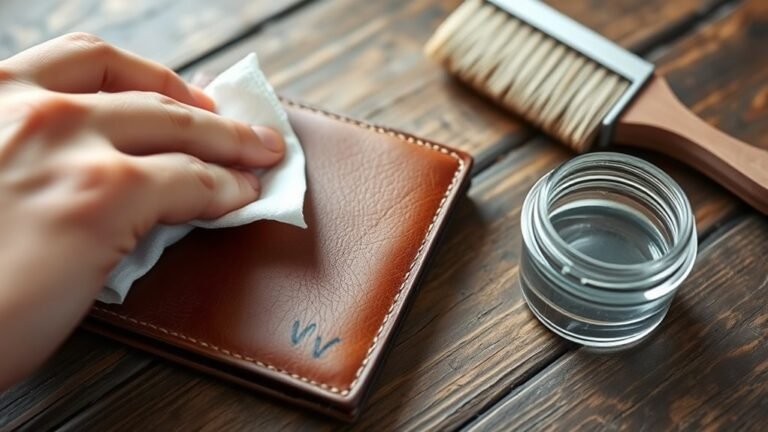
Step-by-Step Repair Process
Before you start repairing, clean the peeling area thoroughly with mild soap and water to remove dirt, oils, and residues. Next, use the filler from your faux leather repair kit to reattach any loose pieces, pressing firmly to avoid air bubbles.
If the damage is larger, cut a patch to size, apply adhesive around the edges, and press it smoothly onto the jacket. Once the repair is dry, apply color-matching dye in thin coats, letting each layer dry for 15 minutes. Finally, seal the area with the kit’s clear sealant to protect and extend the fix.
Keep these points in mind:
- Clean surface guarantees better adhesion
- Use filler for small tears, patch for bigger damage
- Sealant protects the repair and improves durability
Preventing Future Peeling and Damage
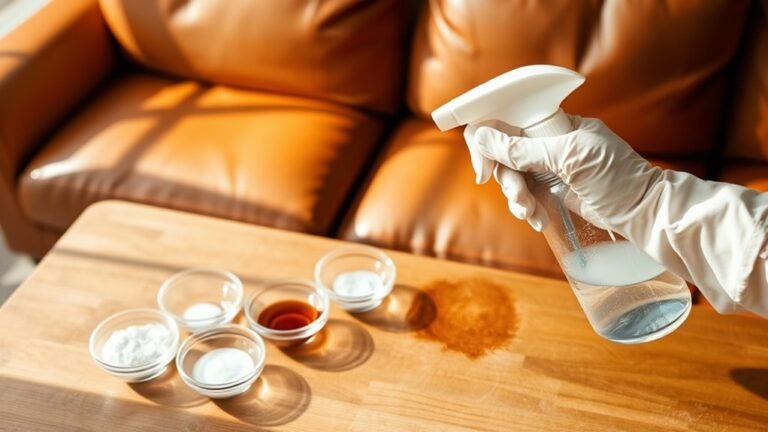
Although repairing your faux leather jacket fixes current issues, preventing future peeling requires consistent care. Regular cleaning with a mild, non-abrasive cleaner helps prevent dirt buildup that can cause damage.
Conditioning your jacket every 3-6 months keeps the material flexible and reduces cracking. Store it in a cool, dry place away from sunlight and heat to avoid surface degradation.
Avoid harsh chemicals during cleaning and inspect your jacket regularly for early wear signs to address them promptly and prevent further peeling.
| Action | Benefit |
|---|---|
| Gentle cleaning | Removes dirt, prevents peeling |
| Conditioning | Maintains flexibility |
| Proper storage | Prevents heat damage |
| Avoid harsh agents | Protects synthetic surface |
| Regular inspection | Early damage detection |
Maintenance Tips to Extend Jacket Lifespan
When you care for your faux leather jacket regularly, you’ll keep it looking fresh and prevent peeling or cracking. Proper maintenance plays a key role in prolonging your jacket’s lifespan and reducing the need for repair.
Regular care keeps your faux leather jacket looking fresh and prevents peeling or cracking.
To maintain your jacket effectively:
- Clean it gently with a soft cloth and mild soap to remove dirt that causes peeling.
- Condition the faux leather every few months to keep it flexible and prevent cracking.
- Store it in a cool, dry place away from sunlight and heat to avoid surface damage.
Avoid harsh chemicals and inspect your jacket often for early damage. Tackling minor issues promptly helps extend its use, keeping your faux leather jacket in great shape longer.

When to Consider Professional Repair or Replacement
If peeling covers more than 30% of your faux leather jacket or exposes the fabric underneath, you should consider professional repair or replacement to restore its appearance and durability. When peeling faux leather causes structural damage or compromises waterproofing, expert intervention is often necessary.
DIY repairs like patching or dyeing can be effective for minor issues, but if these fixes don’t last or blend well, professional repair becomes the better choice. For a high-end jacket, professional restoration preserves its value and ensures a seamless finish.
Ultimately, if your jacket’s protective qualities are compromised or damage is extensive, replacement may be the safest option. Don’t hesitate to seek professional advice to keep your jacket looking great and functioning properly.
Frequently Asked Questions
Can You Fix Peeling Faux Leather?
Yes, you can fix peeling faux leather by using repair dyes, adhesive fillers, or patches. For minor damage, color-matching dyes work well, but extensive peeling may require professional repair for a lasting solution.
How to Fix Peeling Faux Leather Reddit?
Before you start, channel your inner medieval craftsman: gently sand peeling areas, clean thoroughly, then apply leather adhesive or filler. Use color-matching dye or permanent markers to blend, and consider patches for bigger damage.
Do All Faux Leather Jackets Peel?
No, not all faux leather jackets peel. If you buy a higher-quality one and take good care of it, you can avoid peeling.
Lower-quality jackets, though, tend to peel faster despite your efforts.
What Is the Best Glue for Faux Leather Jacket?
You should use contact cement or specialized leather glue like E6000 for your faux leather jacket. These adhesives stay flexible and strong, preventing further damage.
Avoid super glue, as it can become brittle and cause cracks.
Conclusion
Now that you know how to tackle peeling faux leather, the question is—will you save your jacket or let it go? Minor damage? A quick dye touch-up might just bring it back to life.
Bigger tears? Patches and repair kits can work wonders. But remember, sometimes professional help is the best call.
The choice is yours, and your jacket’s fate hangs in the balance. Ready to give your peeling faux leather jacket a second chance?