How to Make Leather Patches for Hats in 5 Easy Steps
To make leather patches for hats in five easy steps, first gather vegetable-tanned leather, a sharp knife, and glue. These materials are essential for creating durable and stylish leather patches that enhance your hat’s look.
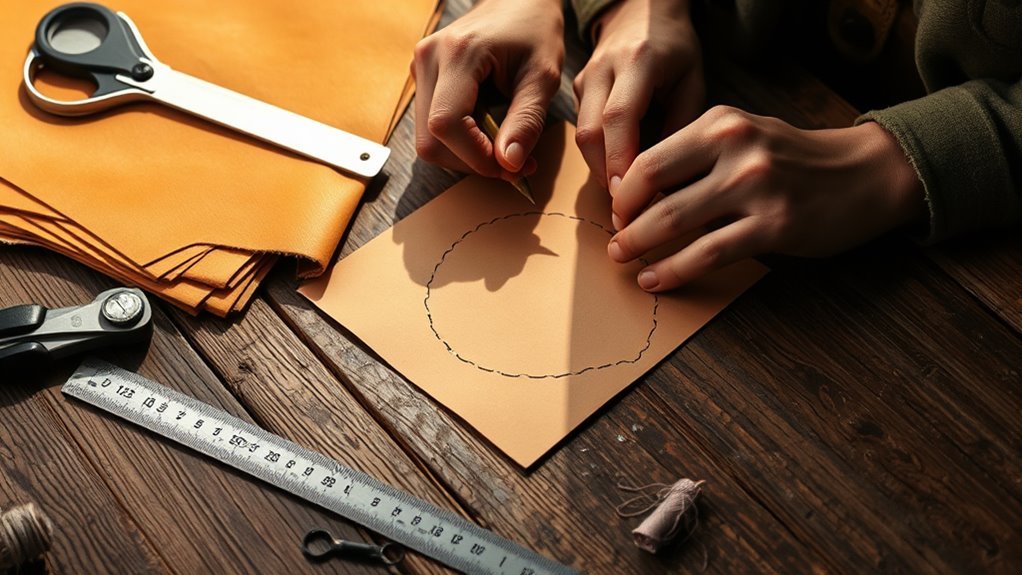
Next, design and trace your patch shape to fit your hat’s style. Carefully cut along your outline, then add details like stamping or paint to customize.
Finally, clean the hat surface and firmly glue the patch in place, sewing edges for extra hold if needed. Keep going, and you’ll discover tips to perfect each step.
Gather Your Materials and Tools

Before you begin crafting your leather patches for hats, gather all the necessary materials and tools to guarantee a smooth process. You’ll need a piece of vegetable-tanned leather, which is ideal for stamping and shaping.
Start your leather patch project by gathering vegetable-tanned leather and essential tools for smooth crafting.
Grab a sharp utility knife or rotary cutter for clean cuts. Have a cutting mat handy to protect your work surface.
You’ll also want some fine sandpaper to smooth edges after cutting. For attaching your patch, prepare strong thread and a sturdy needle or leather sewing machine.
A ruler and pencil will help measure your patch accurately. If you plan to add designs later, consider having stamping tools or leather paint ready.
Finally, keep some leather glue nearby for extra adhesion. Collecting these essentials upfront will keep your project organized and efficient.
Design and Trace Your Patch Shape

Once you’ve gathered your materials, decide on the shape and size of your leather patch to fit your hat perfectly. This step guarantees your patch complements the hat’s style without overwhelming it.
Follow these steps to design and trace your patch shape:
- Choose a shape that suits your hat. Common options include circles, rectangles, or custom logos.
- Use a paper template or stencil to outline the shape on your leather piece, ensuring precision.
- Mark the traced shape lightly with a pencil or chalk made for leather, so it’s visible but easy to remove or cover later.
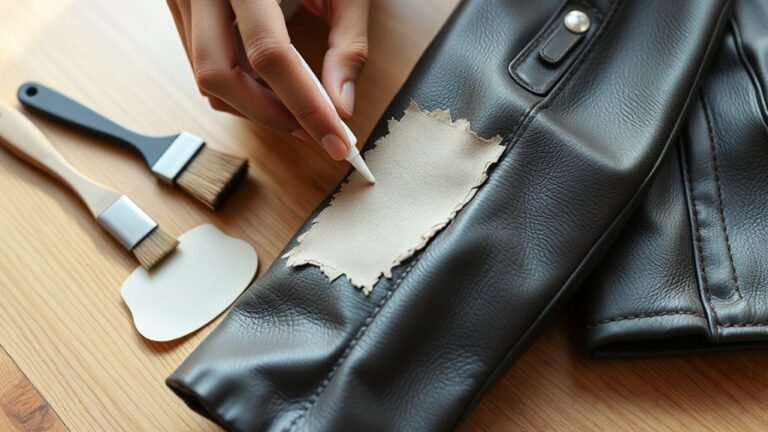
Cut the Leather Patch

Although tracing the shape accurately is essential, cutting the leather patch with steady hands is what brings your design to life. Begin by securing the leather on a cutting mat to prevent slipping.
Secure your leather firmly on a cutting mat to ensure steady, precise cuts that bring your design to life.
Use a sharp utility knife or rotary cutter for clean edges. Dull blades can cause jagged cuts. Follow your traced lines carefully, applying consistent pressure to avoid uneven edges.
If your design has curves, take your time and make multiple shallow cuts rather than one deep slice.
After cutting, inspect the edges and trim any rough spots for a polished look.
Add Details and Customize
How can you make your leather patch truly stand out? Adding details and customizing it will give your hat a unique touch. Here’s how you can enhance your patch:
- Engrave or Stamp Designs: Use leather stamps or a pyrography tool to imprint patterns, initials, or logos. This adds texture and personality.
- Paint Accents: Apply leather paint sparingly to highlight specific areas or create colorful designs. Use fine brushes for precision.
- Add Stitching or Rivets: Incorporate decorative stitching around the edges or add metal rivets for an industrial look. This not only embellishes but also reinforces the patch.
Attach the Patch to Your Hat
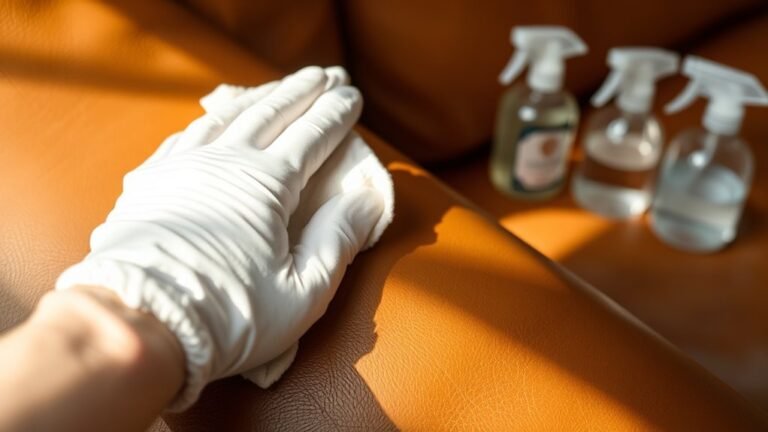
Before you attach your leather patch to the hat, make sure the surface is clean and dry to guarantee a strong bond.
Position the patch exactly where you want it, then use fabric glue or a strong adhesive designed for leather and fabric.
Apply a thin, even layer of glue to the back of the patch, avoiding excess that can spill over.
Press the patch firmly onto the hat and hold it in place for a minute or two to ensure it sticks well.
Let it dry completely according to the adhesive’s instructions, usually a few hours.
If you prefer extra durability, consider sewing the patch around the edges after gluing.
This will keep your patch secure through wear and washing.
Frequently Asked Questions
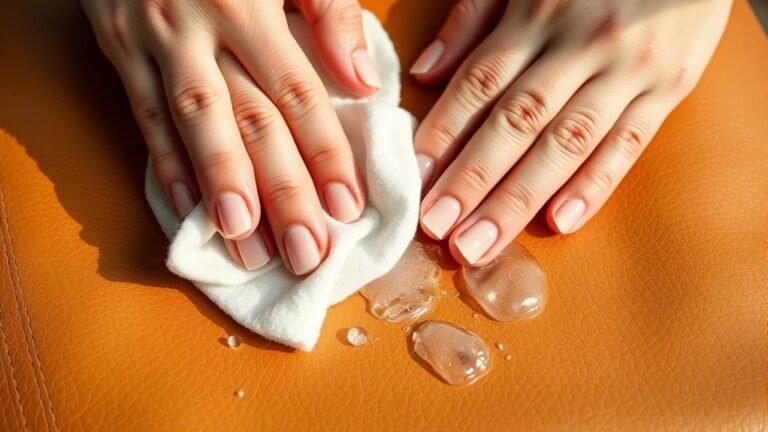
How Do I Care for Leather Patches to Ensure Longevity?
You should clean your leather patches regularly with a damp cloth, avoid excessive water, and apply leather conditioner to keep them supple.
Store hats in a cool, dry place to prevent cracking and fading, ensuring longevity.
Can I Use Synthetic Leather Instead of Genuine Leather?
Absolutely, you can use synthetic leather instead of genuine leather. It’s like swapping a quill for a keyboard—both get the job done, but synthetic is often more affordable and easier to maintain for your hat patches.
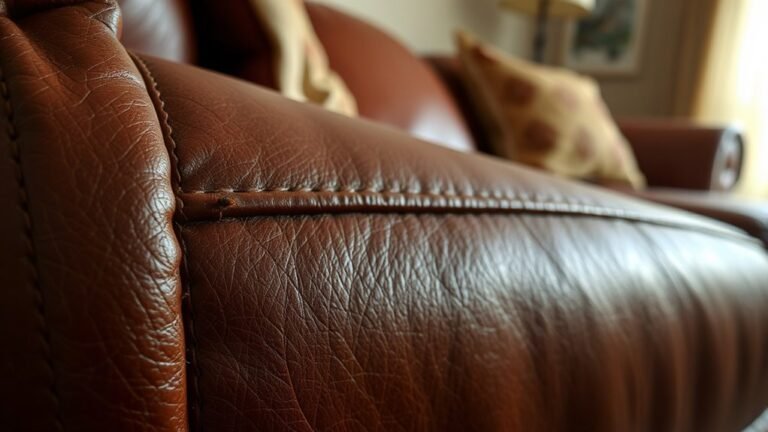
What Type of Leather Is Best for Patches on Hats?
You’ll want to use vegetable-tanned leather for hat patches because it’s durable, molds well, and takes dye beautifully.
It’s also lightweight and breathable, making your patches comfortable and long-lasting on your hats.
How Do Weather Conditions Affect Leather Patches on Hats?
You’ll find that leather absorbs up to 30% moisture, so rain and humidity can cause it to swell or warp.
Protect your patches with waterproof treatments to keep them looking sharp and durable in changing weather conditions.
Are There Specific Adhesives Recommended for Different Hat Materials?
You should use fabric glue for cloth hats, while leather-specific adhesives work best on leather or synthetic hats. Always choose a flexible, waterproof adhesive to guarantee durability and strong bonding across different materials.
Conclusion
Congrats, you’re officially a leather-patch-making pro! Who knew that transforming a plain hat into a fashion statement was just five easy steps away?
Now, instead of buying overpriced patches, you get to proudly say, “I made this”—and watch everyone pretend they can tell the difference between real leather and your masterpiece.
So go ahead, patch up your hat and your ego. After all, nothing says “I’ve got style” like a DIY leather patch for hats that screams, “I tried!”