7 Steps to Fix a Rip in Your Leather Car Seat
To fix a rip in your leather car seat, start by gathering a repair kit that includes backing fabric, adhesive, filler, and colorant. Having the right materials is essential for a successful leather seat repair.
Begin by cleaning the damaged area thoroughly using a leather cleaner. This removes dirt and oils that could prevent proper adhesion. Then, carefully trim any loose threads around the rip.
Next, slip a backing fabric underneath the rip to stabilize it. Apply leather adhesive to secure the tear in place. After that, use filler to smooth the surface for a uniform texture.
Finish the repair by matching and applying dye to achieve a seamless look. Following these steps will help restore your leather car seat effectively. Keep going to uncover tips for perfect results.
Gather the Necessary Repair Materials

Before you begin repairing your leather car seat, gather all the necessary materials to guarantee a smooth process. You’ll need a leather repair kit designed for car seats, which typically includes a backing fabric, adhesive, filler compound, and colorant.
Start your leather seat repair by gathering a kit with backing fabric, adhesive, filler, and colorant.
Grab a pair of scissors to trim the backing fabric and a spatula or applicator tool for spreading the filler. Keep some fine-grit sandpaper handy to smooth the repair once it dries. Have a clean cloth ready for any wiping or dabbing.
If your kit doesn’t include a colorant, find one that matches your leather’s shade precisely. Finally, make sure you have good lighting and a workspace where you can comfortably work on the seat.
Having these materials ready will help you fix the rip efficiently and effectively.
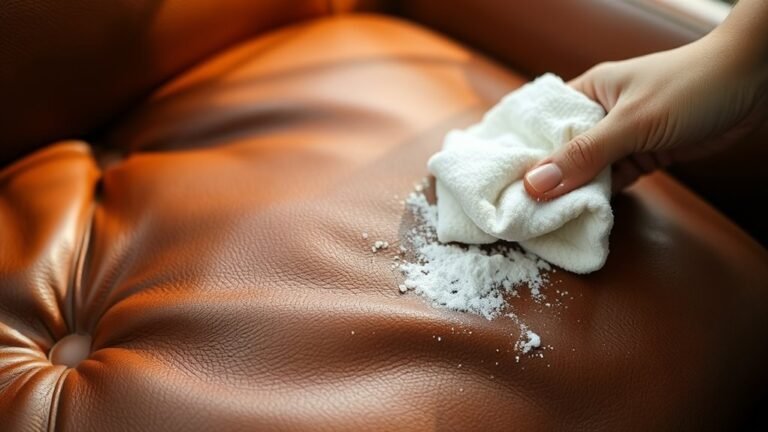
Clean the Damaged Area Thoroughly

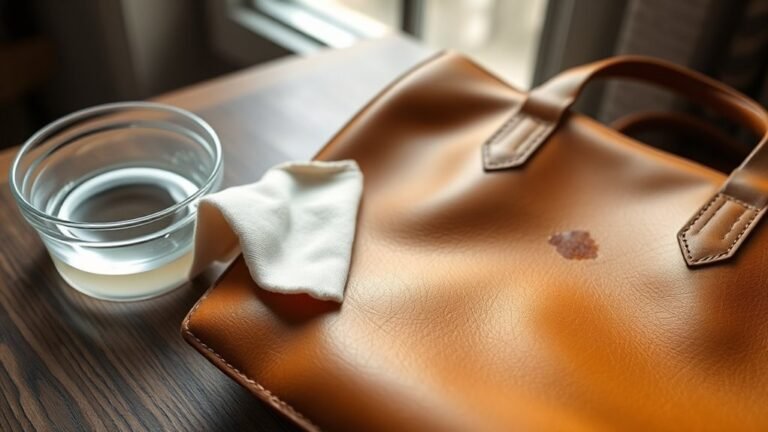
Since dirt and oils can prevent adhesives from bonding properly, you’ll need to clean the damaged area thoroughly before starting the repair. Begin by vacuuming the seat to remove loose debris and dust.
Next, dampen a soft cloth with a leather cleaner or a mild soap solution and gently wipe the rip and surrounding area. Avoid soaking the leather; use just enough moisture to lift dirt and grease.
After cleaning, dry the area completely with a clean, dry cloth. This ensures the surface is free from contaminants that could weaken the adhesive bond.
Taking the time to prepare the seat properly will help your repair last longer and look better once finished.
Trim Any Loose Threads or Edges

How should you handle loose threads or edges around the rip? First, grab a pair of sharp scissors or small snippers. Carefully trim any frayed threads and uneven edges to create a smooth surface. This step prevents further unraveling and ensures the repair material adheres properly.
Avoid cutting too close to the intact leather to maintain strength.
Use the table below to guide your trimming process:
| Tool Type | Purpose |
|---|---|
| Sharp scissors | Precise cutting of threads |
| Small snippers | Close trimming in tight spots |
| Tweezers | Removing tiny loose fibers |
| Magnifying glass | Inspecting edges for frays |
| Soft brush | Cleaning trimmed area gently |
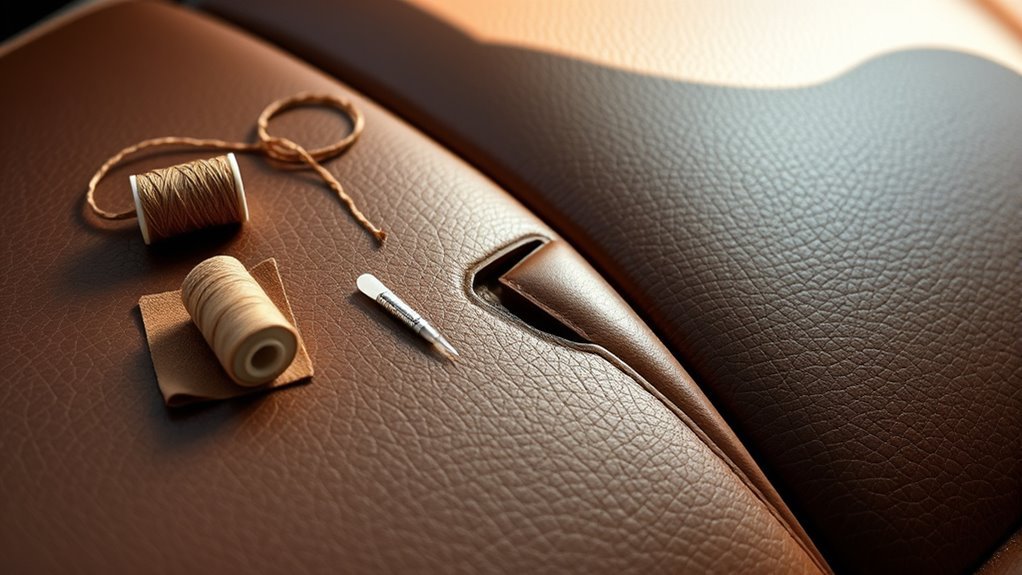
Insert a Backing Fabric Beneath the Rip
Why is inserting a backing fabric essential for repairing your leather seat? It provides a stable base that supports the torn leather, preventing the rip from worsening and ensuring a smoother repair surface.
Inserting backing fabric stabilizes torn leather, preventing further damage and creating a smoother repair surface.
Here’s how to do it right:
- Cut a piece of backing fabric slightly larger than the rip to cover the entire damaged area.
- Gently lift the torn leather edges and slide the backing fabric underneath, making sure it lies flat without wrinkles.
- Press the fabric firmly so it adheres well to the underside of the leather, providing strength and preventing future tears.
This step strengthens your repair and prepares the seat for the next phase, ensuring a durable and professional-looking finish.
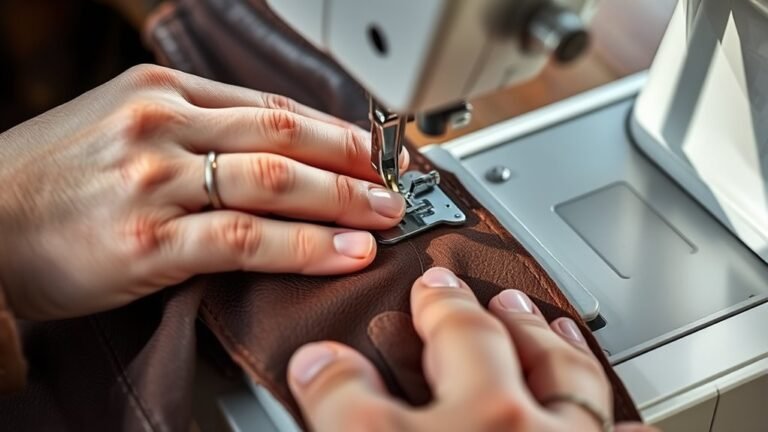
Apply Leather Adhesive to Secure the Tear
Once you’ve positioned the backing fabric, apply leather adhesive carefully to bond the torn edges together. Use a small brush or applicator to spread a thin, even layer of adhesive along both sides of the rip.
Be sure not to overapply, as excess glue can seep out and cause unwanted marks.
Gently press the edges together, aligning them as precisely as possible. Hold the seam in place for a few minutes to allow the adhesive to set.
If needed, use clamps or heavy objects to maintain pressure while drying.
Follow the adhesive manufacturer’s recommended drying time to guarantee a strong bond. This step is vital for stabilizing the tear before moving on to surface repairs.
Use a Leather Filler to Smooth the Surface
After the adhesive has fully dried, you’ll want to apply a leather filler to even out the surface and conceal any gaps or roughness left by the tear.
This step guarantees the repair looks smooth and natural before you move on to coloring.
Here’s how to apply the filler effectively:
- Use a small spatula or applicator to spread the filler evenly over the ripped area.
- Press the filler gently into the tear, filling any holes or gaps completely.
- Allow the filler to dry according to the product instructions, usually around 20-30 minutes, then lightly sand the area with fine-grit sandpaper for a smooth finish.
This process prepares your leather seat for a flawless, professional-looking repair.
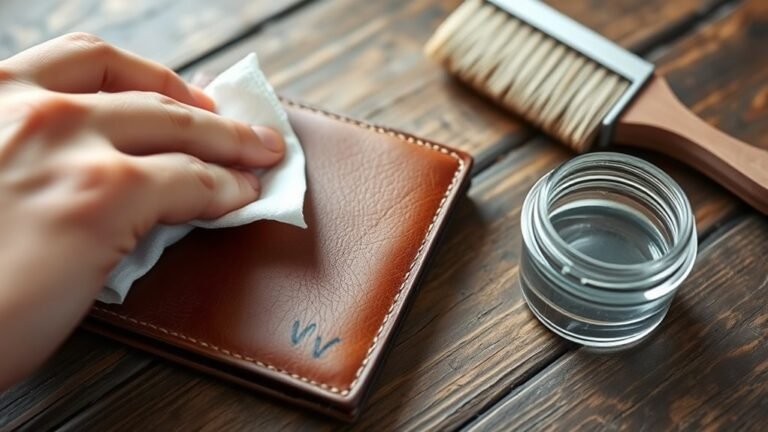
Match and Apply Leather Dye for a Seamless Finish
How do you guarantee your leather repair blends perfectly with the rest of your car seat? Start by carefully matching the leather dye to your seat’s original color. Test the dye on a hidden area or scrap leather to ensure a perfect match.
Once satisfied, apply the dye with a sponge or small brush, working in thin, even layers. Avoid heavy coats to prevent streaks or uneven coloring. Allow each layer to dry fully before applying the next.
This gradual buildup creates a natural, seamless finish. After the final coat, let it cure completely.
This process not only restores the seat’s appearance but also helps protect the leather from future damage.
With patience and precision, your repair will be virtually invisible.
Frequently Asked Questions
Can I Use Household Glue Instead of Leather Adhesive?
You shouldn’t use household glue instead of leather adhesive because it often lacks flexibility and durability.
Leather adhesive is designed to bond leather fibers without cracking, so stick to it for a long-lasting, professional repair.
How Long Does a Leather Seat Repair Typically Last?
A leather seat repair typically lasts 1 to 5 years, depending on the repair quality and how well you care for it.
Proper maintenance and avoiding harsh conditions can help your repair hold up longer.
Is It Safe to Repair Leather Seats Myself?
Yes, you can safely repair leather seats yourself if you follow instructions carefully and use quality repair kits. Just be patient, work gently, and avoid harsh chemicals to prevent further damage or discoloration on your seat.
What Causes Leather Car Seats to Rip Easily?
Well, leather seats rip easily because they’re secretly drama queens craving attention—actually, it’s wear, sun damage, sharp objects, and neglect.
If you don’t care for them, they’ll tear faster than your patience during traffic!
Can Repaired Leather Seats Affect Car Resale Value?
Yes, repaired leather seats can affect your car’s resale value. If the repair looks professional and blends well, it won’t hurt much.
But noticeable fixes might lower value since buyers prefer original, flawless interiors.
Conclusion
By following these steps, you can restore your leather seat and prevent the rip from worsening. For example, Sarah fixed a tear in her car seat before it grew, saving her hundreds in professional repairs.
Taking care early not only preserves your car’s look but also its value. So, don’t wait—grab your materials and start repairing now to keep your leather seats looking great for years to come.
Proper leather car seat repair is essential for maintaining your vehicle’s interior. With these simple steps, you can achieve professional results and extend the life of your leather seats.