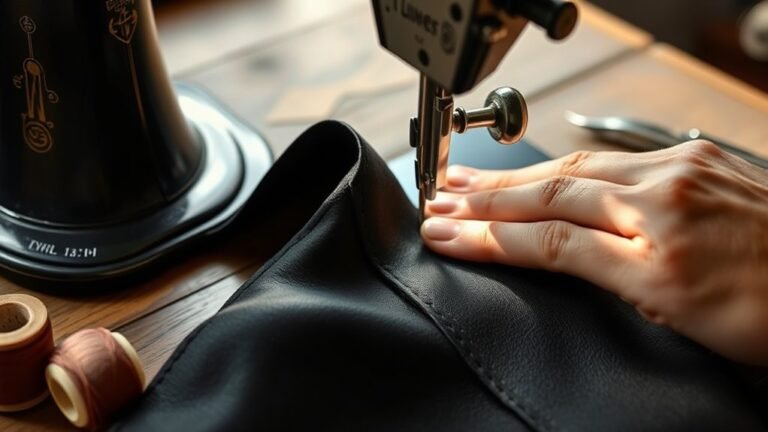
How You Put an Iron Patch on Leather Step by Step
To put an iron patch on leather effectively, start by cleaning the area with rubbing alcohol and let it dry completely. This step is crucial for ensuring the patch adheres properly. Set your iron to medium heat without steam to avoid damaging the leather.
Position the patch exactly where you want it. Then, place a thin cloth over the patch to protect both the patch and the leather. Press firmly with the iron for about 30-40 seconds to activate the adhesive.
Allow the patch to cool completely before handling to ensure a strong bond forms. Following these detailed steps will help your patch last longer and look great on your leather item.
Gather Your Materials and Choose the Right Patch

Before you begin, gather all the materials you’ll need and pick a patch that suits your leather item. You’ll want an iron-on patch specifically designed for leather or one with a strong adhesive backing. Avoid fabric-only patches, as they may not adhere properly.
Grab a clean cloth, an iron with temperature control, parchment paper or a thin cloth to protect the leather, and scissors if trimming is necessary. Make sure your patch size fits the area you want to cover without overwhelming it.
Also, check the patch’s instructions to confirm it’s compatible with leather. Having everything ready upfront saves time and guarantees you apply the patch smoothly, avoiding any damage or poor adhesion during the process.
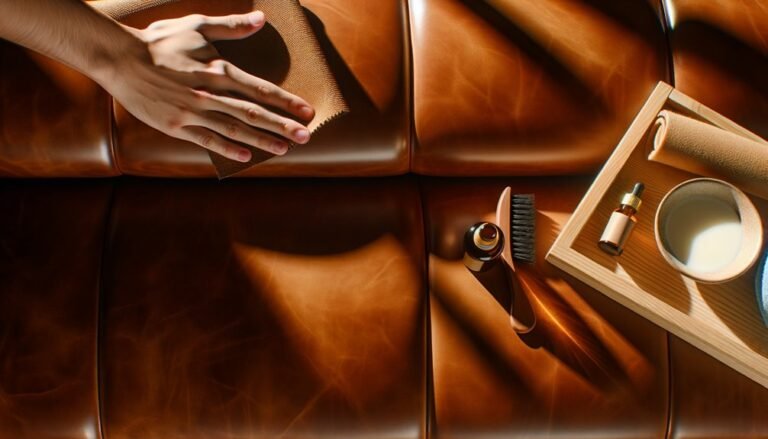
Clean and Prepare the Leather Surface

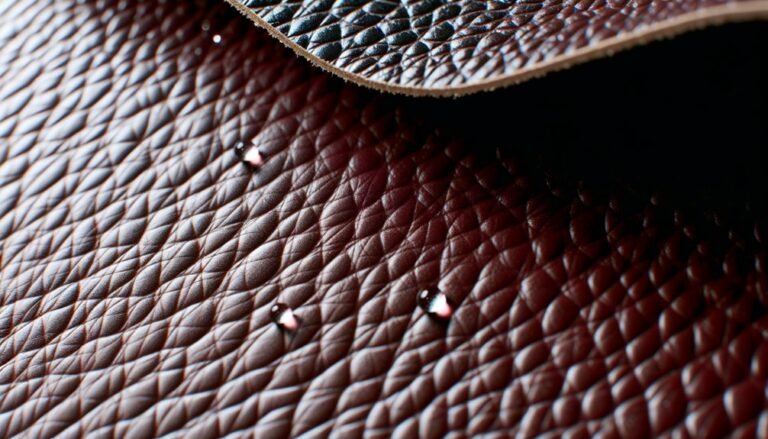
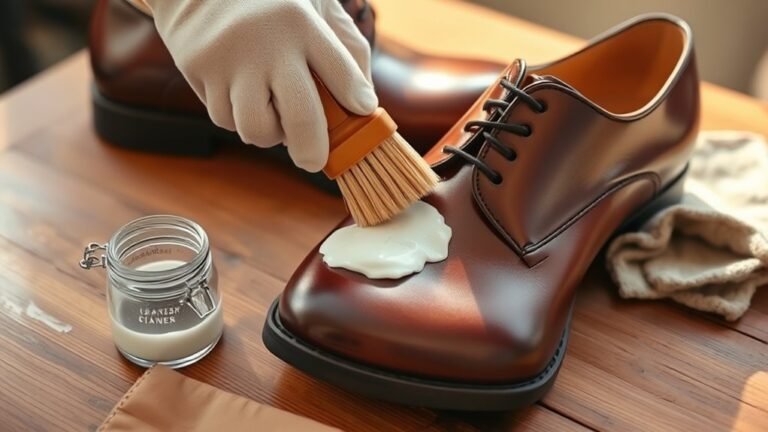
Once you have your patch and materials ready, focus on cleaning the leather surface to guarantee the patch sticks properly. Start by wiping the area with a soft cloth dampened with a little rubbing alcohol or mild soap and water. This removes oils, dirt, and residues that can prevent adhesion.
Avoid soaking the leather; just use enough moisture to clean it gently. After wiping, let the leather dry completely. A dry surface ensures the adhesive bonds well.
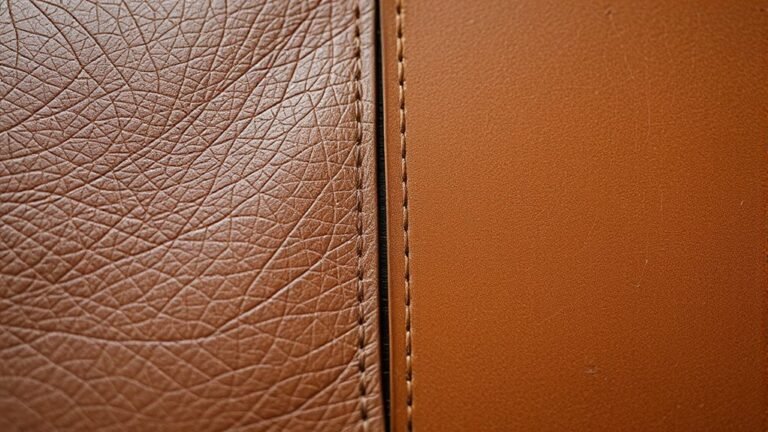
If the leather is scuffed or rough, smooth it lightly with fine-grit sandpaper, but be careful not to damage the material. Preparing the leather this way sets a solid foundation for your iron patch to adhere securely and last longer.
Set Your Iron to the Correct Temperature

Although leather requires careful heat application, you’ll want to set your iron to a temperature that’s hot enough to activate the adhesive without damaging the material. Typically, a medium heat setting works best, but always check your iron’s manual and the patch instructions.
Avoid steam, as moisture can harm leather. Test on a scrap piece if possible.
| Iron Setting | Temperature (°F) | Leather Type | Recommended Use | Notes |
|---|---|---|---|---|
| Low | 250-300 | Delicate leather | Thin patches | Use cautiously |
| Medium | 300-350 | Most leathers | Standard iron-on patches | Ideal for most projects |
| High | 350-400 | Thick leather | Heavy-duty patches | Risky, test first |
| No steam | N/A | All types | Ironing leather | Prevents damage |
| Test first | Varies | Any | Trial on scrap | Ensures safety |
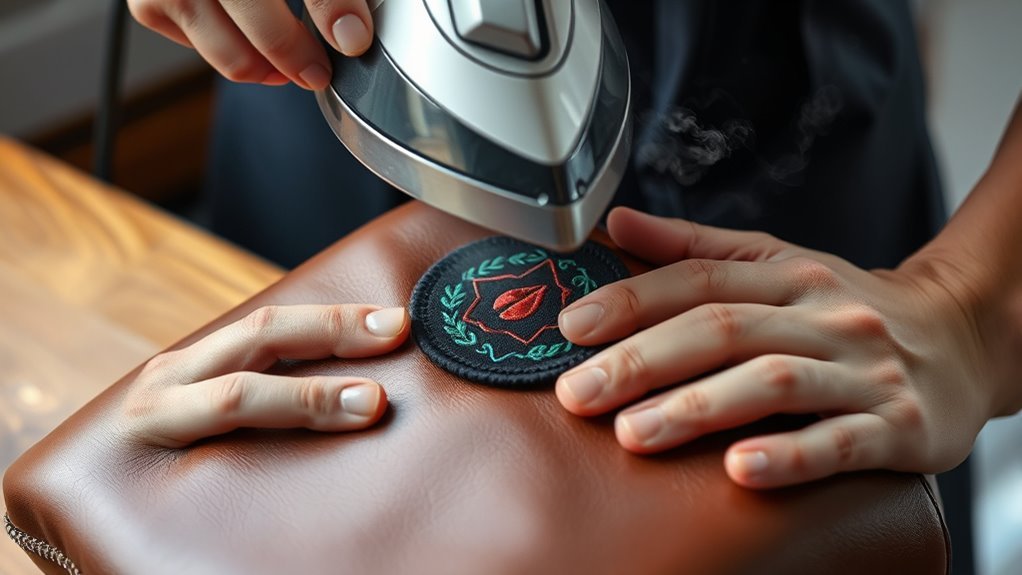
Position the Patch on the Leather
After setting your iron to the right temperature, you’ll want to carefully position the patch on the leather. Place the patch exactly where you want it to stay because once heat is applied, adjusting it becomes difficult.
Make sure the leather surface is clean and flat to guarantee good adhesion. Hold the patch in place and check that it aligns with any seams or design elements on your leather item. Avoid stretching or pulling the leather as this can distort the patch’s shape.
If the patch has a backing paper, keep it on for now to protect the patch’s adhesive until you’re ready to iron.
Taking your time with this step sets the foundation for a clean, professional-looking finish.
Apply Heat and Pressure Carefully
Before you apply heat, make sure your iron is set to the appropriate temperature for leather and that steam is turned off. You want to prevent damaging the material by overheating or adding moisture.
Set your iron to the right leather temperature and turn off steam to avoid damage.
Place a thin cloth between the iron and the patch to protect both surfaces. Apply firm, even pressure for about 30-40 seconds, moving the iron slightly to cover the entire patch.
Keep these tips in mind:
- Use consistent pressure to ensure proper adhesion.
- Avoid sliding the iron too much to prevent shifting the patch.
- Don’t rush; heating for too short or too long can weaken the bond.
Let the Patch Cool and Check Adhesion
Once you’ve applied heat and pressure, let the patch cool completely so the adhesive can set properly. Avoid touching or moving the patch during this time, as doing so can weaken the bond.
Cooling usually takes about 5 to 10 minutes, but it depends on the patch size and leather thickness. After it’s cool, gently check the edges to ensure they’re firmly attached.
If any corners lift, press them down and apply heat again briefly with a protective cloth. Don’t rush this step; a strong bond means your patch will last longer and resist peeling.
Taking time to cool and inspect guarantees your repair looks neat and holds up well through wear and washing. This final check is key to a successful iron-on patch application.
Frequently Asked Questions
Can I Remove an Iron Patch Without Damaging the Leather?
You can remove an iron patch carefully, but there’s a risk of damaging the leather. Use low heat and gently peel the patch off.
Test a small area first to avoid burns or distortion.
How Long Does an Iron Patch Typically Last on Leather?
An iron patch typically lasts several months to a year on leather, depending on usage and care.
You’ll want to avoid excessive heat or moisture to keep it intact longer, and always handle your leather gently.
Are There Any Leather Types That Shouldn’T Be Patched With Iron-On Patches?
If your leather’s as delicate as a butterfly’s wing, like suede or nubuck, you shouldn’t iron-on patches—they’ll scorch or lose texture.
You’ll want to choose tougher hides that can brave the heat without damage.
Can I Wash Leather With an Iron Patch on It?
You shouldn’t machine wash leather with an iron patch on it, as water and heat can damage both.
Instead, gently spot clean the area with a damp cloth and mild soap to keep your patch and leather safe.
What Should I Do if the Patch Doesn’T Stick Properly?
Think of stubborn glue like a shy cat—sometimes it just needs a little coaxing.
If your patch won’t stick, try reheating with a press cloth, apply firm pressure, or use leather-specific adhesive for a stronger bond.
Conclusion
Now that you’ve mastered putting an iron patch on leather, think of it like sewing a new thread into the fabric of your favorite jacket’s story. Each step, from prepping to pressing, helps you weave durability and style back into your gear.
With patience and care, you’re not just fixing leather—you’re giving it a fresh chapter to wear proudly. Keep this skill handy, and your leather will always look as good as new.
Remember, learning how to iron a patch on leather is more than a repair—it’s a way to extend the life and beauty of your leather items. This technique ensures your leather goods stay stylish and durable for years to come.