How You Can Dye Leather Seats in a Car Step by Step
To dye your car’s leather seats effectively, start by gathering essential materials such as leather dye, cleaner, applicators, and sealant. Proper preparation is key to achieving a professional finish.
Begin by thoroughly cleaning the seats and removing any old finishes. Repair any cracks or holes to ensure a smooth surface.
Next, prep the leather by sanding gently and wiping away all dust. Apply thin, even coats of dye, allowing each layer to dry completely before applying the next.
Finally, finish with a protective sealant to guarantee durability and longevity. Follow these steps carefully, and you’ll transform your seats beautifully. Keep exploring to find tips on achieving an even, lasting finish.
Gather Necessary Materials and Tools

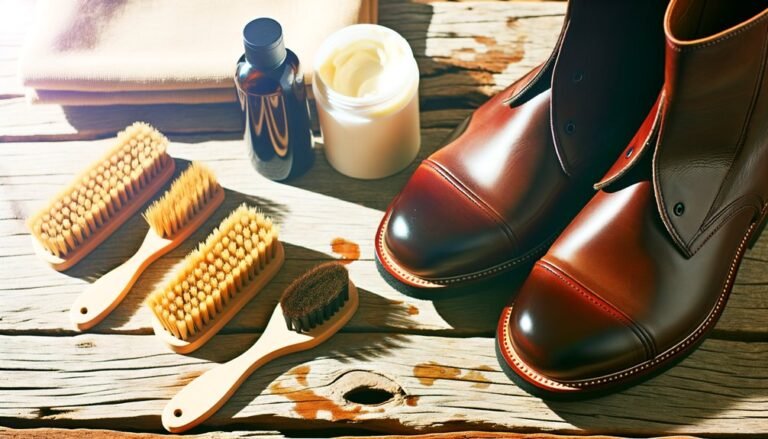
Before you begin dyeing your leather car seats, make sure you’ve gathered all the necessary materials and tools. You’ll need a high-quality leather dye suited to your seat’s color and finish.
Grab some leather cleaner, a sponge or soft cloth, and a foam brush for precise application. Don’t forget a sealant or leather finish to safeguard the dye afterward.
Have painter’s tape ready to mask off areas you don’t want to dye, such as stitching or surrounding trim. It’s helpful to have disposable gloves to keep your hands clean and avoid contaminating the dye.
Also, get a small bucket or container for mixing dye if necessary. By preparing these materials ahead of time, you’ll ensure a smooth, efficient dyeing process with professional results.
Clean the Leather Seats Thoroughly

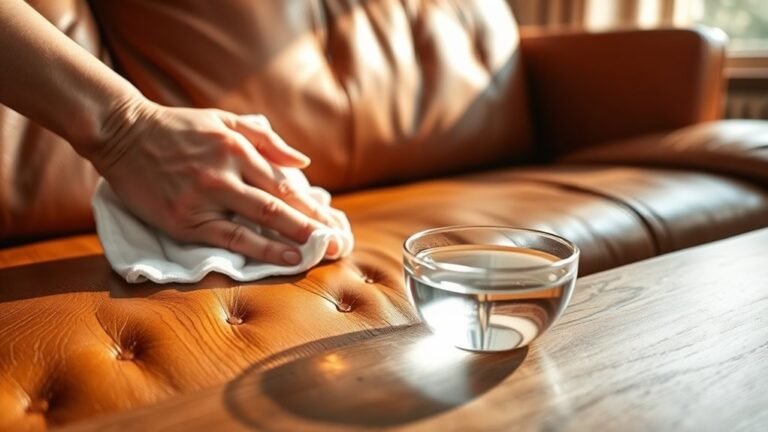
Since the dye adheres best to clean leather, you’ll want to thoroughly clean your car seats before applying any color. Start by vacuuming the seats to remove loose dirt and debris.
Next, use a leather cleaner or a mild soap mixed with water. Apply the cleaner with a soft cloth or sponge, gently scrubbing the surface to lift grime.
Avoid saturating the leather with too much water. After cleaning, wipe the seats with a damp cloth to remove any residue.
Let the seats dry completely in a well-ventilated area, but keep them out of direct sunlight to prevent drying out or cracking.
Proper cleaning guarantees the dye bonds evenly, giving you a smooth, professional finish.
Remove Any Old Finish or Coating

Even if your leather seats look clean, old finishes or coatings can prevent dye from penetrating properly. To get the best results, you need to strip these layers off first.
Start by applying a leather prep or deglazer with a clean cloth, working in small sections. This product removes the factory finish and any protective coatings, ensuring the dye adheres evenly.
Rub gently but firmly, avoiding soaking the leather. After applying, wipe away any residue with a separate clean cloth.
Let the leather dry completely before moving on.
Skipping this step can cause uneven color and poor dye absorption, so take your time here. Removing the old finish creates a fresh surface, setting you up for a smooth and lasting dye job.
Repair Cracks, Scratches, and Holes
Once the old finish is removed and your leather is dry, you can focus on fixing any cracks, scratches, or holes. Start by cleaning the damaged area with a leather cleaner to remove dirt and oils.
For small cracks and scratches, apply a leather filler with a spatula, smoothing it evenly. Let it dry completely before lightly sanding it smooth with fine-grit sandpaper.
For larger holes, use a leather repair kit that includes a backing fabric. Insert the fabric beneath the hole, then apply the filler in thin layers, allowing each to dry before adding the next.
After the repair is flush and smooth, wipe away dust.
Properly repairing these imperfections guarantees your dyed leather seats will look flawless and last longer.
Prepare the Leather Surface for Dyeing
Before you apply any dye, you need to make sure the leather surface is completely clean and dry. Start by vacuuming the seats to remove loose dirt and debris.
Then, use a leather cleaner or a mild soap solution with a soft cloth or sponge to gently scrub the surface.
Avoid harsh chemicals that can damage the leather. After cleaning, wipe the seats with a damp cloth to remove residue, then let them air dry completely.
If the leather feels oily or has old conditioner buildup, use a leather prep or degreaser to ensure the dye adheres properly.
Taking these steps will give you a smooth, even base to work on, helping your dye job last longer and look professional.
Choose the Right Leather Dye and Color
Although selecting the right leather dye and color might seem straightforward, choosing products designed specifically for automotive leather guarantees better adhesion and durability. You’ll want to pick a dye formulated to withstand sunlight, heat, and regular wear, ensuring your seats look great for years.
Next, consider the color carefully. Matching the original seat color helps maintain your car’s value and appearance, but you can also opt for a custom shade if you want a fresh look. Test the dye on a hidden spot first to check color accuracy and absorption.
Avoid cheap dyes; they often fade quickly or peel. Investing in high-quality, automotive-grade leather dye saves you time and effort down the road, making your dye job both beautiful and long-lasting.
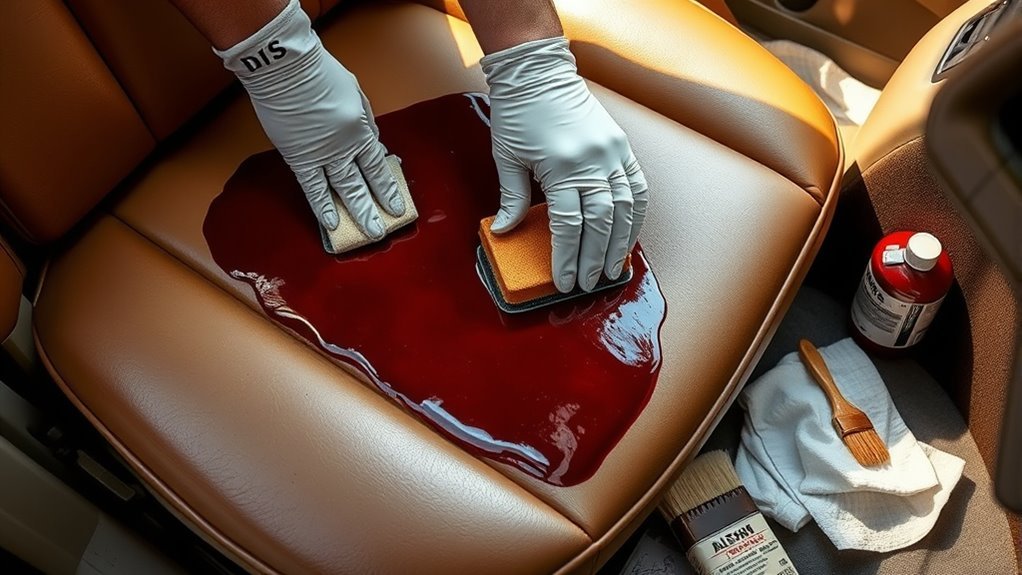
Apply the Dye Evenly to the Leather Seats
Selecting the right dye sets the foundation, but applying it evenly guarantees a smooth, professional finish. To guarantee even coverage on your leather seats, follow these key steps:
- Use a clean, soft sponge or applicator pad to prevent streaks.
- Apply the dye in thin, consistent layers, moving in circular motions.
- Work on small sections at a time to maintain control and avoid drying lines.
- Pay extra attention to seams and creases, ensuring the dye reaches all areas without pooling.
Avoid rushing; even application is vital for the dye to bond properly and look natural.
Allow the Dye to Dry and Apply Additional Coats
Once you’ve applied the first layer of dye, let it dry completely to prevent uneven coloring and guarantee proper adhesion. This drying period usually takes about 20 to 30 minutes, but check the manufacturer’s instructions for exact times. Avoid rushing this step, as moisture can cause the dye to smear or patch.
After the initial coat dries, inspect the leather carefully. If you notice any spots that appear lighter or uneven, apply a second coat using the same smooth, even strokes.
You can repeat this process, allowing each coat to dry fully before applying the next, until you achieve the desired depth and uniformity of color.
Patience here ensures a professional, lasting finish on your car’s leather seats.
Seal and Protect the Newly Dyed Leather
After achieving an even and fully dried color on your leather seats, you’ll want to lock in your work by sealing and protecting the dye. This step ensures durability, prevents fading, and keeps your seats looking fresh longer.
Here’s how you can do it effectively:
- Choose a high-quality leather sealant designed for dyed leather.
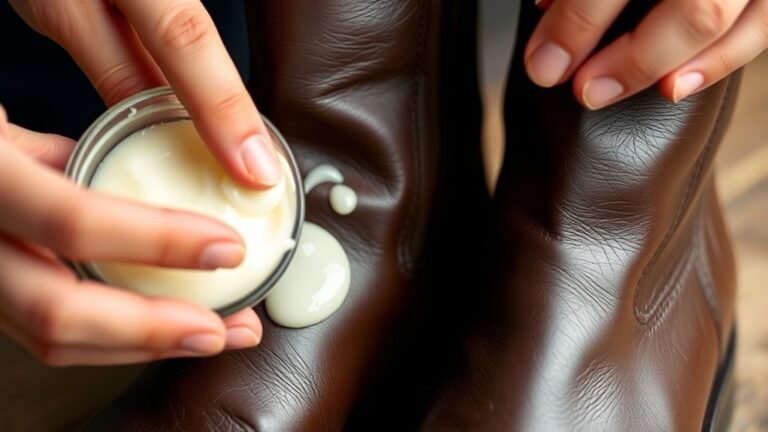
- Apply the sealant evenly using a soft cloth or sponge, working in small sections.
- Allow the sealant to dry completely, following the manufacturer’s instructions.
- For extra protection, apply a second coat once the first is fully dry.
Sealing your leather seats not only safeguards the dye but also adds a subtle shine and smooth finish, enhancing your car’s interior appearance.
Frequently Asked Questions
How Long Does the Leather Dye Typically Last on Car Seats?
Leather dye on car seats typically lasts about 1 to 3 years, depending on usage and care.
You’ll want to regularly clean and condition to keep the color vibrant and prevent fading or cracking over time.
Can I Dye Leather Seats at Home Without Professional Help?
Absolutely, you can! With patience and the right tools, you’ll transform your leather seats like a magician waving a wand.
Just prep carefully, apply dye evenly, and seal it properly for lasting results.
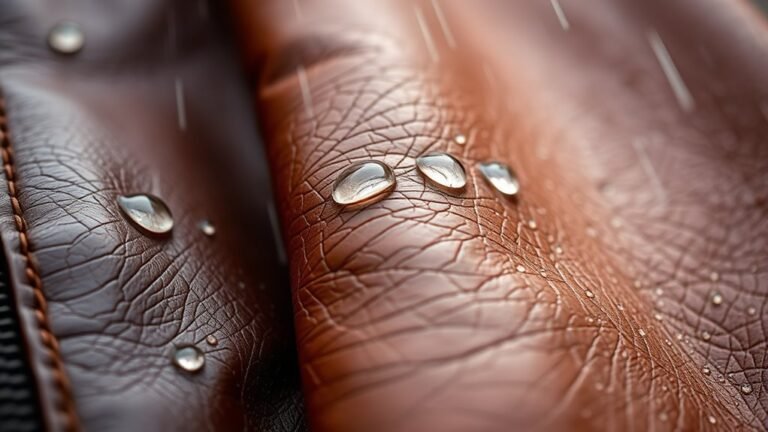
Will Leather Dye Affect the Seat’s Breathability or Comfort?
Yes, leather dye can slightly reduce breathability, but you won’t notice much difference in comfort if you apply it properly.
Just make sure to use a breathable finish and avoid heavy, thick coatings on your seats.
How Do I Remove Dye Stains From Clothing or Skin?
If dye stains scream like a wild beast on your skin or clothes, grab rubbing alcohol or nail polish remover, dab gently, and watch them vanish!
Wash immediately—don’t let those stains throw a permanent party on you!
Is It Safe to Dye Leather Seats With Pets or Children in the Car?
It’s not safe to dye leather seats with pets or children in the car. The fumes and chemicals can be harmful, so keep them away until the dye fully dries.
Make sure the area is well-ventilated to avoid risks. This helps reduce exposure to any lingering fumes. Always prioritize safety for your loved ones during the process.
Conclusion
Now that you know how to dye your leather seats step by step, remember that “practice makes perfect.” Take your time cleaning, repairing, and applying dye evenly to get the best results.
Don’t rush the drying process, and be sure to seal your work to protect it. With patience and care, you’ll transform your car’s interior and give it a fresh, vibrant look that lasts.
By following these leather seat dyeing steps carefully, you can achieve professional-quality results. You’ve got this!