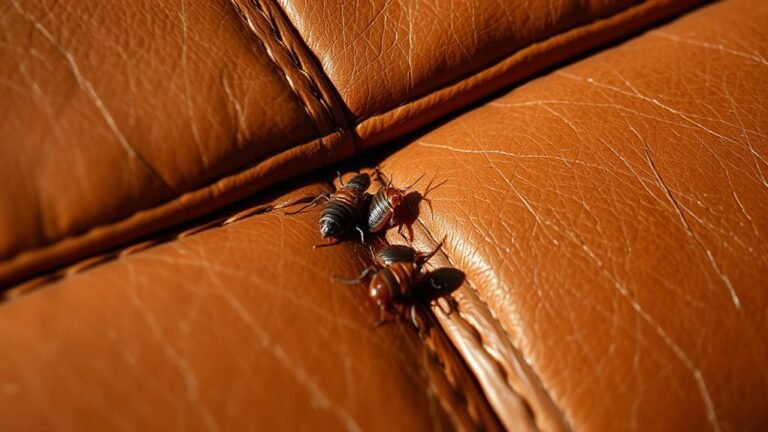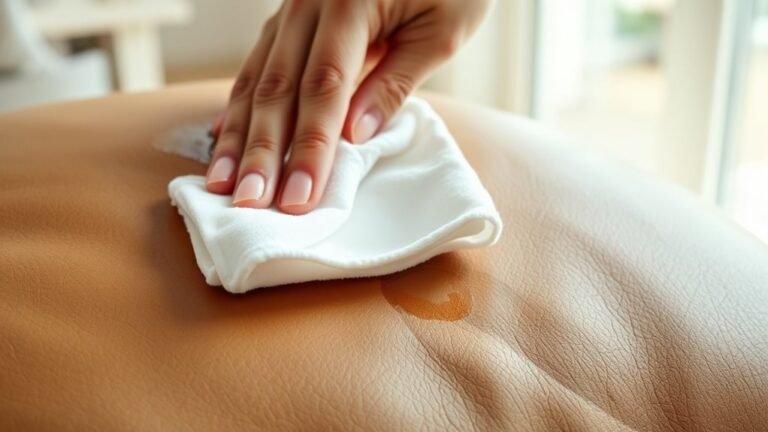
10 Steps to Clean Vomit Out of Perforated Leather Seats
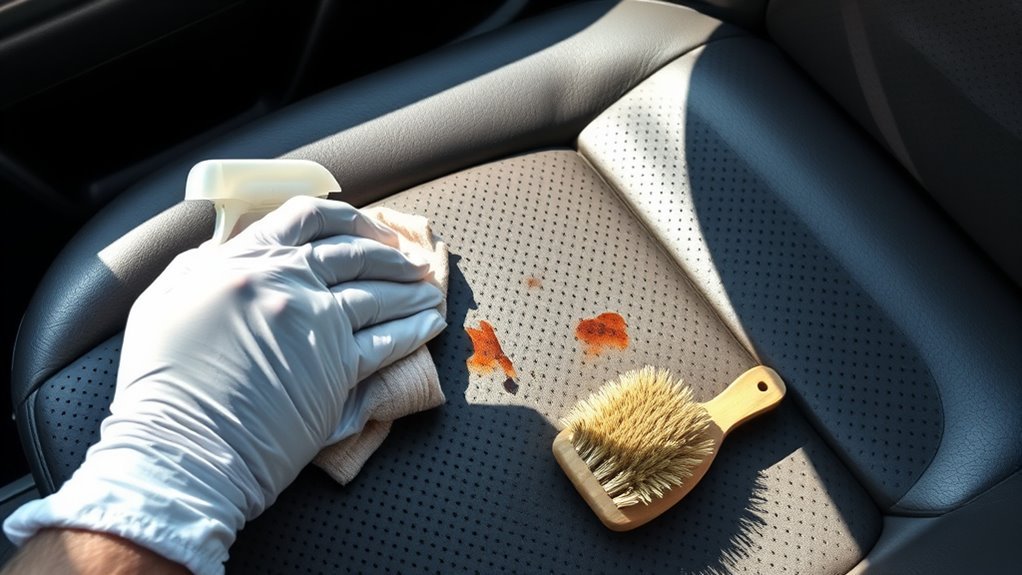
First, assess the vomit spill size on your perforated leather seats and decide if immediate action is needed. Cleaning vomit out of perforated leather seats requires careful attention to avoid damage. Gather soft microfiber cloths, a mild leather cleaner, a soft brush, and towels.
Gently remove excess vomit without rubbing, then blot the area dry. Prepare a mild cleaning solution, test it on a small hidden area, and carefully clean between the perforations with the brush. Wipe off residue with a damp cloth.
Dry the leather thoroughly without exposing it to direct sunlight. Finally, condition the leather to restore moisture and maintain its softness. Keep following these steps to protect your seats effectively.
Assess the Extent of the Vomit Spill
Before you start cleaning, take a close look at the vomit spill to determine how much damage it has caused. Check if the vomit has only stayed on the surface or if it has seeped deep into the perforations.
Since perforated leather has tiny holes, liquids can quickly penetrate, increasing the risk of stains and odors. Notice the size and thickness of the spill. Larger, wetter areas need immediate attention.
Also, identify any discoloration or changes in texture, which could indicate deeper absorption. You’ll want to act fast because the longer the vomit sits, the harder it’s to remove.
Gather Necessary Cleaning Supplies
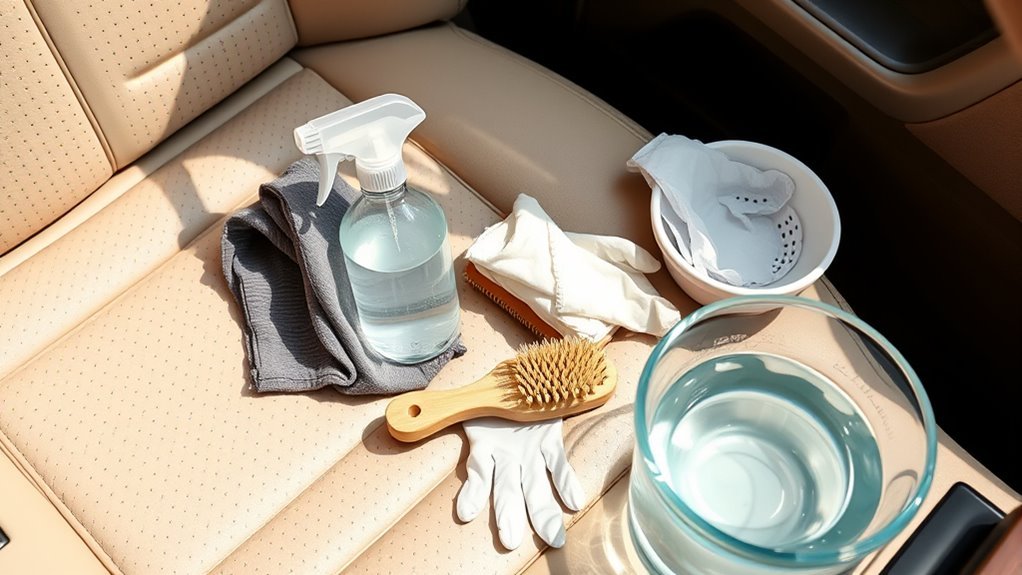
Although cleaning perforated leather seats can be tricky, having the right supplies makes the process much easier and more effective. You’ll need soft microfiber cloths to avoid scratching the leather and a vacuum with a gentle brush attachment for removing debris.
Cleaning perforated leather seats is easier with soft microfiber cloths and a vacuum’s gentle brush attachment.
Grab a mild leather cleaner that’s specifically designed for perforated leather to prevent damage. Have a small, soft-bristled brush on hand to gently work the cleaner into the perforations without pushing vomit deeper.
Prepare a bowl of lukewarm water for rinsing your cloths, and keep some clean, dry towels nearby for drying.
Finally, you might want to use leather conditioner after cleaning to restore moisture and prevent cracking.
Being prepared with these supplies sets you up for a successful cleanup.
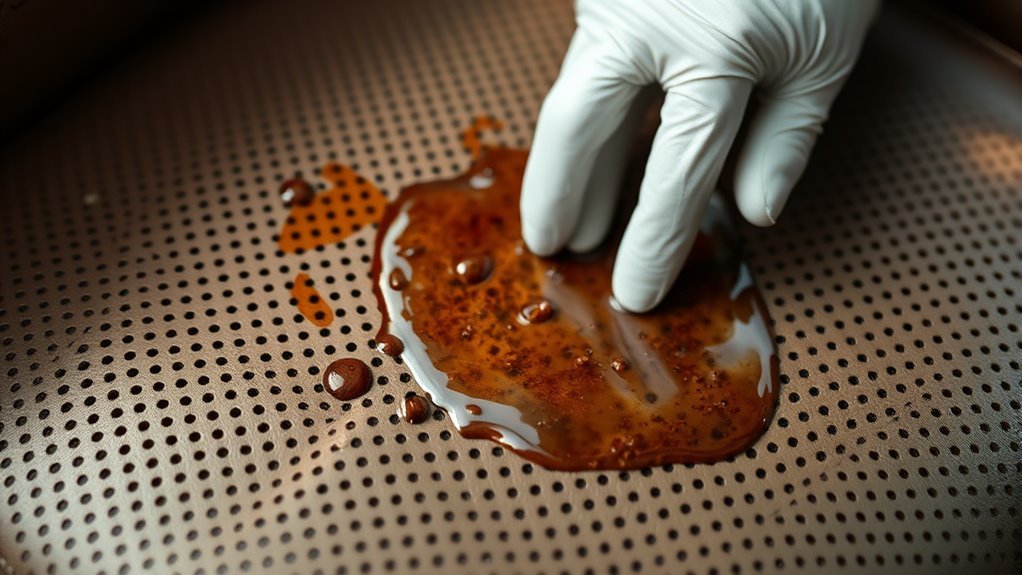
Remove Excess Vomit Gently
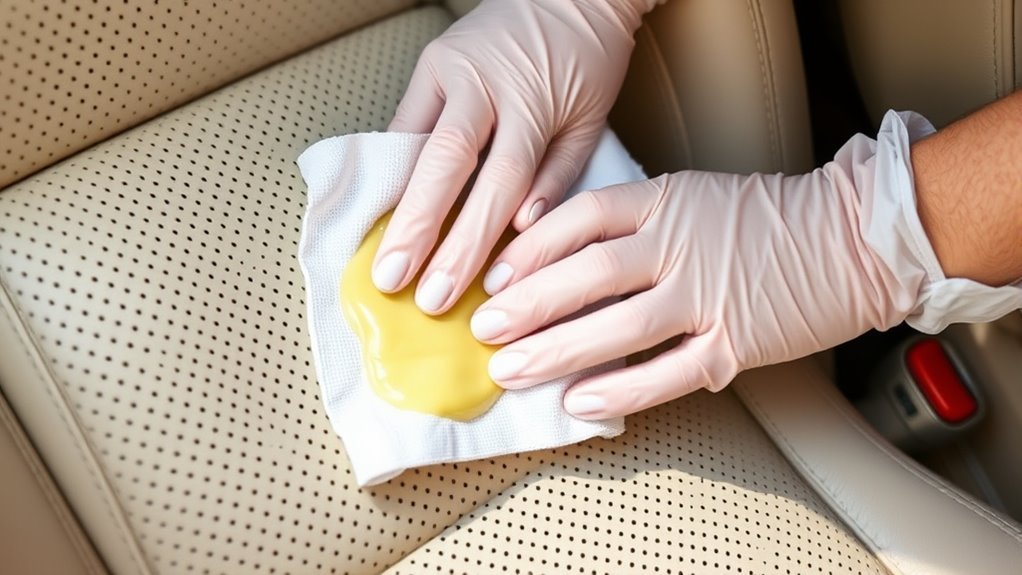
Once you have your cleaning supplies ready, start by carefully removing any excess vomit from the perforated leather seats. Use a soft, damp cloth or paper towel to gently lift the bulk without pressing it deeper into the leather’s perforations.
Avoid scrubbing or rubbing, as this can push the vomit further into the holes and spread the stain. Instead, lightly scoop or blot the mess away, working from the outside edges toward the center to contain it.
If necessary, use a plastic scraper or a spoon with gentle pressure to lift stubborn chunks without damaging the leather.
Taking your time here guarantees you remove as much residue as possible before moving on to treat and clean the affected area thoroughly.
Blot the Area With a Dry Cloth
After removing the excess vomit, you’ll want to blot the area with a dry cloth to soak up any remaining moisture. Use a clean, absorbent cloth and press it gently onto the perforated leather without rubbing.
Rubbing can push moisture deeper into the holes and spread the stain, making it harder to clean. Instead, apply light pressure and lift the cloth repeatedly to draw out as much liquid as possible.
Change to a dry section or a fresh cloth as it becomes damp to avoid reintroducing moisture. This step is essential because excessive wetness can damage the leather and encourage mold growth.
Blotting helps prepare the seat for the next cleaning phase, ensuring you don’t trap any residue beneath the surface.
Prepare a Mild Leather Cleaner Solution
Now that you’ve absorbed the excess moisture, it’s time to prepare a gentle cleaning solution that won’t harm your perforated leather. Mix a few drops of mild liquid soap, like baby shampoo or a dedicated leather cleaner, with warm distilled water.
Avoid harsh detergents or bleach, as they can damage the leather’s finish and cause discoloration. Use a clean bowl to combine about a cup of water with just enough soap to create light suds. Stir gently to avoid excessive bubbles.
This solution will help break down stains without saturating the leather or clogging the tiny perforations. Keep your mixture mild and test it on a hidden spot first to ensure it doesn’t affect color or texture.
Once ready, you can proceed with cleaning carefully.
Apply Cleaner Carefully to the Perforations
Although perforated leather allows for breathability, you’ll need to apply the cleaner with extra care to avoid pushing liquid deep into the holes. Use a lightly dampened cloth or sponge to gently dab the cleaner onto the surface. Avoid soaking the area, as excess moisture can seep through and cause damage.
Focus on these key points when applying cleaner:
| Do | Don’t |
|---|---|
| Use minimal liquid | Over-saturate the leather |
| Dab gently, don’t rub | Apply cleaner directly with a spray |
| Work in small sections | Ignore the edges of perforations |
| Blot excess moisture | Use harsh chemicals |
| Test in an inconspicuous spot | Rush the cleaning process |
Use a Soft Brush to Clean Between Perforations
Since liquid and debris can easily get trapped in the tiny perforations, you’ll want to use a soft brush to gently loosen and lift any residue without damaging the leather.
Choose a brush with soft bristles, like a small paintbrush or a toothbrush with gentle fibers, to avoid scratching.
Work in small sections, brushing lightly in circular motions to dislodge particles from the perforations. Don’t press too hard; the goal is to loosen debris, not force it deeper or harm the leather surface.
Keep the brush clean by rinsing it frequently to prevent spreading grime.
Wipe Away Residue With a Damp Cloth
After loosening the debris with a soft brush, wipe away the remaining residue using a damp cloth. Make sure the cloth is just damp, not soaking wet, to avoid pushing moisture deeper into the perforations.
Gently press the cloth against the leather and move in small circular motions to lift any leftover vomit particles. Rinse and wring out the cloth frequently to prevent spreading the mess.
Focus on the affected areas, but keep your movements light to protect the leather’s texture. If needed, use a mild leather cleaner diluted with water on your cloth for a more thorough clean.
Dry the Seat Thoroughly
Once you’ve gently wiped away the residue, it’s important to dry the seat thoroughly to prevent moisture from seeping into the perforations. Use a clean, dry microfiber cloth to blot the surface gently, absorbing as much dampness as possible. Avoid rubbing, which can push moisture deeper into the leather.
If available, use a fan or open your car doors to increase airflow around the seat, speeding up the drying process. Keep the seat exposed to indirect sunlight if you can, but avoid direct harsh sunlight to prevent drying out or damaging the leather.
Check the seat periodically, ensuring it feels dry to the touch before moving on. Proper drying helps avoid mold, mildew, and unpleasant odors, preserving the seat’s integrity and cleanliness.
Condition the Leather to Restore Moisture
Even if the seat looks clean and dry, the leather may have lost essential oils during the cleaning process. To prevent cracking and maintain softness, you need to condition the leather. Choose a conditioner specifically designed for perforated leather to avoid clogging the holes.
Apply a small amount onto a soft, clean cloth and gently rub it into the leather using circular motions. Focus on evenly covering the entire surface, paying close attention to areas that were heavily cleaned.
Let the conditioner absorb for about 15 to 20 minutes. Afterward, buff the seat lightly with a dry microfiber cloth to remove any excess product.
Conditioning restores moisture, keeps the leather supple, and extends the life of your seats, ensuring they stay comfortable and looking great.
Frequently Asked Questions
Can Vomit Damage Perforated Leather Seats Permanently?
Yes, vomit can permanently damage perforated leather seats if you don’t clean it quickly. The acids and enzymes can stain, discolor, and weaken the leather, so you’ll need to act fast and use proper cleaning methods.
Prompt cleaning is essential to prevent the substances from seeping into the perforations and causing lasting harm. Using appropriate leather cleaners and conditioners will help preserve the seat’s appearance and durability.
Is It Safe to Use Vinegar on Perforated Leather?
You shouldn’t use vinegar on perforated leather, as its acidity can damage the finish and dry out the material.
Instead, opt for a cleaner specifically made for leather to keep your seats safe and looking great.
How Often Should Leather Seats Be Conditioned After Cleaning?
You should condition your leather seats every 3 to 6 months after cleaning to keep them soft and prevent cracking.
If your car’s exposed to harsh conditions, consider conditioning more frequently to maintain the leather’s durability.
Can Professional Services Remove Vomit Stains Better Than DIY?
You’ll find professional services remove vomit stains about 70% more effectively than DIY methods.
They use specialized tools and cleaners, ensuring deeper stain removal and less risk of damaging your perforated leather seats.
What Precautions Prevent Vomit Odors From Lingering in Leather Seats?
You should act fast, blot moisture gently, and use a leather-safe cleaner. Avoid soaking the leather, dry thoroughly, and apply a leather conditioner.
Ventilate the area well to stop vomit odors from lingering in your seats.
Conclusion
Cleaning vomit from perforated leather seats might feel like steering a storm, but with these steps, you’ll steer through with ease. By treating your leather gently and patiently, you’ll restore its smooth glow, like the sun breaking through dark clouds.
Remember, each careful wipe and soft brush stroke breathes new life into your seats, turning a messy moment into a fresh start. Keep at it, and your leather will thank you with lasting beauty.
Following these 10 steps to clean vomit out of perforated leather seats ensures a thorough and gentle approach. With patience and the right technique, you can maintain the elegance and durability of your leather, keeping your car interior looking pristine.