How to Repair a Tear in a Leather Coat in 3 Easy Steps
To repair a tear in your leather coat, start by assessing the damage carefully. Gather essential supplies such as leather glue and a matching leather patch to ensure a proper fix. These tools are critical for a durable and seamless repair.
Next, clean the torn area gently using mild soap. Be sure to dry it completely before moving on. Trim any loose edges around the tear to prepare the surface for the patch.
Finally, apply the leather patch underneath the tear with a strong adhesive. Press firmly to secure it in place and let it dry fully. Finish by smoothing the edges and conditioning the patch to blend it perfectly with your leather coat. Keep reading for detailed tips to achieve the best results.
Assessing the Damage and Gathering Materials

Before you begin repairing your leather coat, carefully assess the damage to determine what materials you’ll need. Check the size and type of tear, whether it’s a small puncture, a clean cut, or a frayed rip.
You’ll want to inspect both the front and back sides to understand the full extent. Look for any loose threads or peeling edges that might require trimming.
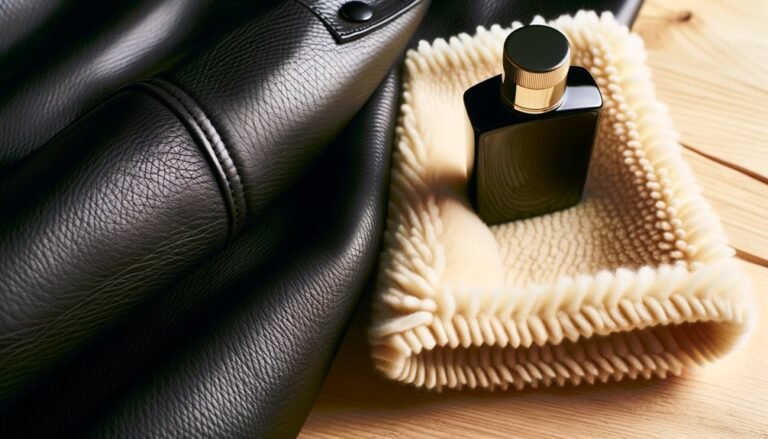
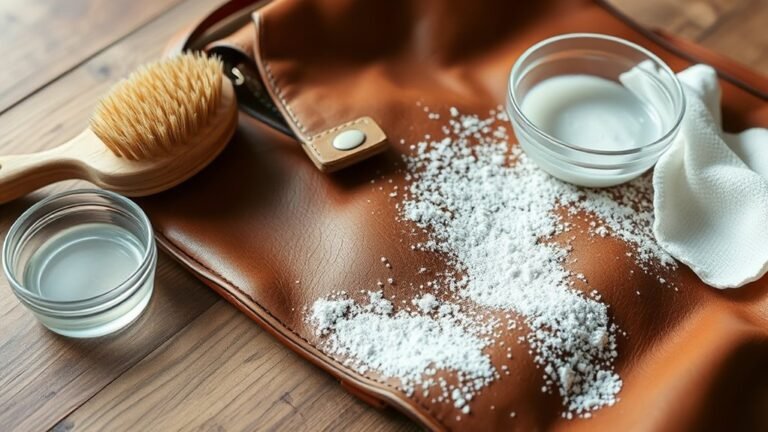
Once you know the damage, gather essential materials like leather glue, a patch if the tear is large, a leather cleaner, and a soft cloth.
Depending on the repair, you might also need sandpaper, a leather needle, and thread matching your coat’s color.
Having the right supplies ready will make the repair smoother and more effective.
Preparing and Cleaning the Torn Area

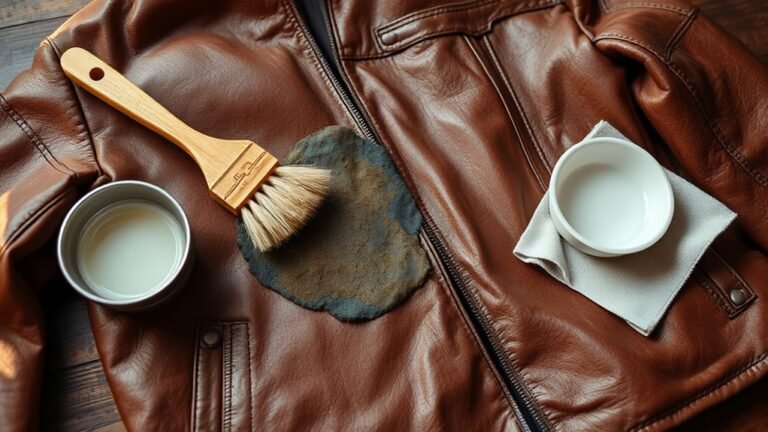
Once you’ve gathered your materials, focus on preparing the torn area to guarantee a strong repair. Begin by gently cleaning the leather around the tear using a soft cloth dampened with mild soap and water. Avoid soaking the leather; just wipe enough to remove dirt, oils, and debris.
Let it dry completely before proceeding. Next, trim any loose threads or jagged edges carefully with small scissors to create a neat surface. If the tear has curled edges, gently flatten them without stretching the leather.
This preparation helps the adhesive or patch adhere better, ensuring durability. Taking the time to clean and prep the area properly sets the foundation for a seamless, long-lasting repair on your leather coat.
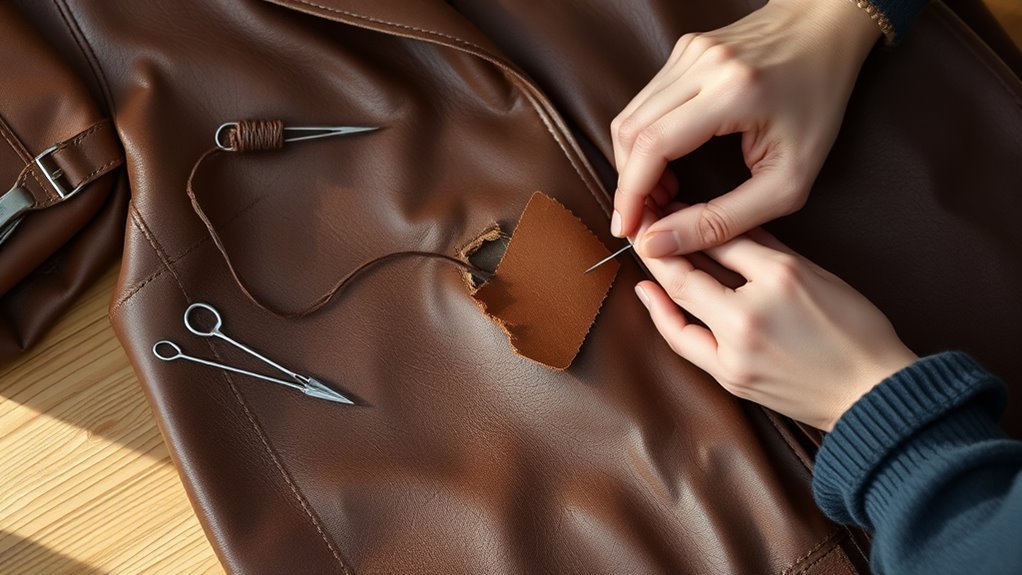
Applying the Patch and Finishing Touches

Although the preparation is essential, the real repair begins when you apply the patch to the torn area. First, cut a leather patch slightly larger than the tear.
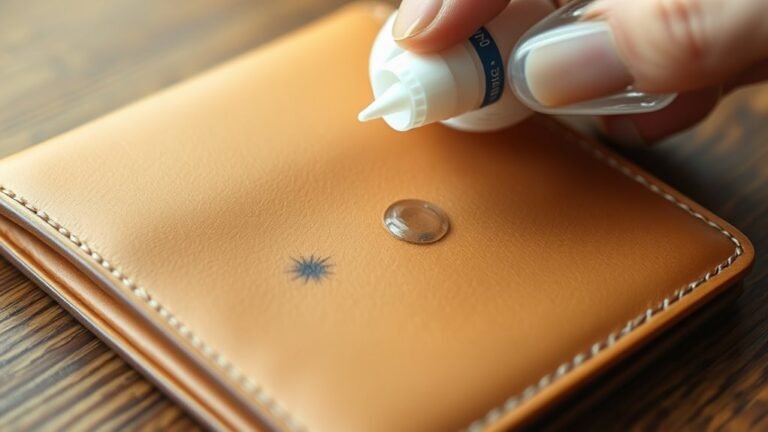
Use strong leather adhesive to secure the patch underneath the tear, pressing firmly to avoid bubbles. Let it dry completely.
Next, smooth the edges with fine sandpaper and apply leather conditioner to blend the patch with your coat. Finally, polish the entire area for a seamless look.
| Step | Tip |
|---|---|
| Cut Patch | Slightly larger than tear |
| Apply Adhesive | Use strong leather glue |
| Press Patch | Avoid air bubbles |
| Smooth Edges | Light sanding works best |
| Condition & Polish | Blend and protect patch |
Frequently Asked Questions
Can I Repair a Tear in Faux Leather the Same Way?
You can repair a tear in faux leather similarly, but use a vinyl or fabric adhesive designed for synthetic materials.
Avoid harsh glues and test on a small area first to guarantee a strong, invisible bond.
How Long Does the Leather Repair Typically Last?
A leather repair typically lasts several months to a few years, depending on how well you apply the repair, the type of damage, and how often you wear the coat.
Regular care helps it last longer.
Is Professional Repair More Cost-Effective Than DIY?
Professional repair is often more cost-effective since it guarantees durability and quality, saving you from repeated fixes.
DIY might seem cheaper initially, but mistakes can lead to higher expenses over time. Choose wisely!
What Types of Leather Are Easiest to Repair?
You’ll find smooth, full-grain, and top-grain leathers easiest to repair because they absorb adhesives well, blend colors easily, and resist further damage.
Rough, suede, or nubuck leathers pose more challenges during repairs.
Can Weather Affect the Durability of the Repair?
Yes, weather can impact the durability of your leather repair. Moisture and extreme temperatures weaken adhesives and leather fibers, so you’ll want to keep your coat dry and conditioned.
This will help ensure the repair lasts longer and stays strong. Taking these precautions can make a significant difference in maintaining the quality of your leather.
Conclusion
Now that you’ve patched your leather coat, it’s like giving it a new lease on life—ready to brave the elements again.
Remember, a little care goes a long way in keeping your coat looking sharp and durable.
By evaluating, cleaning, and applying the patch carefully, you’ve turned a tear into a triumph.
Keep these steps in mind, and your leather coat repair will keep your leather as tough and stylish as ever. You’ve got this!