How to Wrap a Handle With Leather Strips in 3 Easy Steps
To wrap a handle with leather strips in three easy steps, start by cleaning the handle and choosing leather strips slightly longer than the handle. Leather strips provide a comfortable and stylish grip, perfect for upgrading your tool or accessory. Secure one end with a tight knot or glue, ensuring the strip lies flat.
Then, pull the leather taut and wrap it evenly around the handle, overlapping slightly for a snug fit. This ensures durability and a neat appearance.
Finally, trim any excess and glue down the end securely for a polished grip. Keep going to uncover tips for a truly professional finish.
Preparing the Handle and Leather Strips

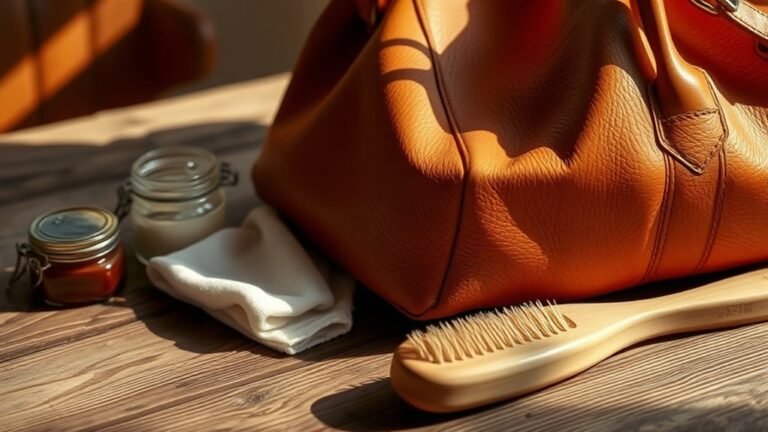
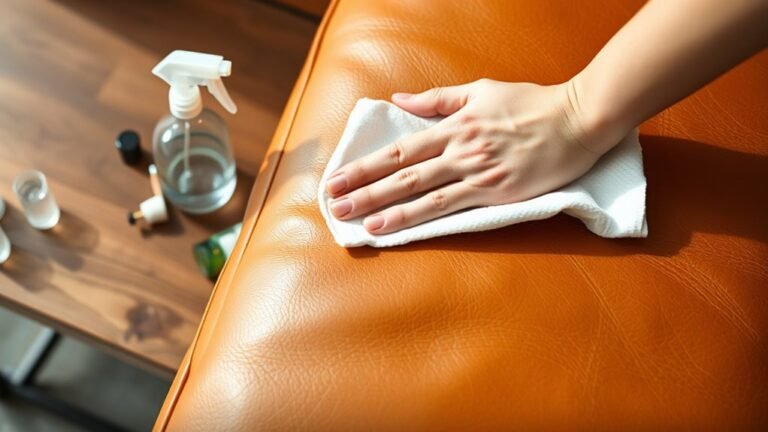
Before you begin wrapping, make sure the handle is clean and dry to help the leather strips adhere properly. Wipe it down with a damp cloth, then let it air dry completely.
Next, choose leather strips that fit the handle’s size and shape. Cut the strips to a length slightly longer than the handle to allow for overlap and secure wrapping.
If the leather feels stiff, gently bend and flex it to soften and make wrapping easier. Check the edges of the strips. If they’re rough or uneven, trim them neatly for a better finish.
Finally, gather any tools you’ll need, like scissors and adhesive, and lay out the strips in the order you’ll wrap them. This preparation sets you up for a smooth, professional-looking wrap.
Securing the Starting Point

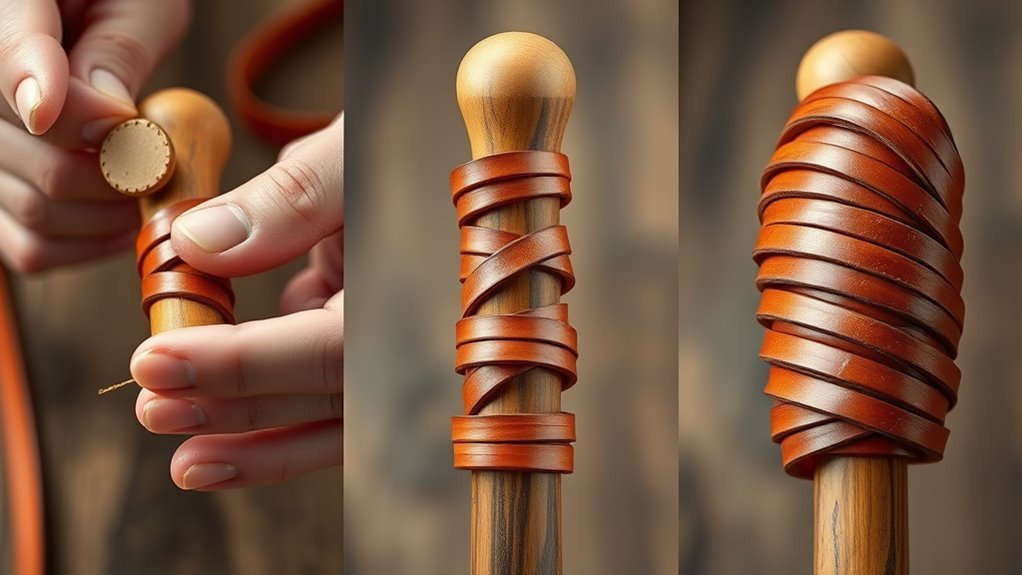
When you begin wrapping, secure the starting point firmly to prevent the leather strip from slipping. You can use a small dab of glue, a tight knot, or even tape temporarily.
Make sure the leather lies flat against the handle to avoid bumps. This initial step sets the foundation for a neat, durable wrap.
| Method | Tips |
|---|---|
| Glue | Use leather-friendly adhesive |
| Knot | Tie tightly, tuck ends |
| Tape | Remove after first few wraps |
| Clamps | Hold leather while drying |
| Pressing | Apply pressure for better grip |
Choose a method that fits your tools and handle type. A secure start means a smooth, lasting finish.
Wrapping and Finishing the Leather Grip

Although securing the starting point is essential, the real skill lies in wrapping the leather strips tightly and evenly around the handle. Begin by pulling the strip taut, then wrap it around the handle in smooth, consistent overlaps. Keep your tension steady to avoid gaps or loose spots.
As you wrap, you can slightly twist the strip for a snug fit and a textured look. When you reach the end, trim any excess leather, leaving enough length to secure the finish. Use strong adhesive or leather glue to fix the final edge in place. Press firmly and hold it for a minute.
Finally, if desired, you can burnish the edges with a slicker or apply leather conditioner to give your grip a polished, durable finish.
Frequently Asked Questions
What Type of Leather Is Best for Handle Wrapping?
You’ll want to use vegetable-tanned leather for handle wrapping. It’s durable, flexible, and develops a nice patina over time.
Plus, it grips well, making your handle comfortable and long-lasting without slipping or tearing easily.
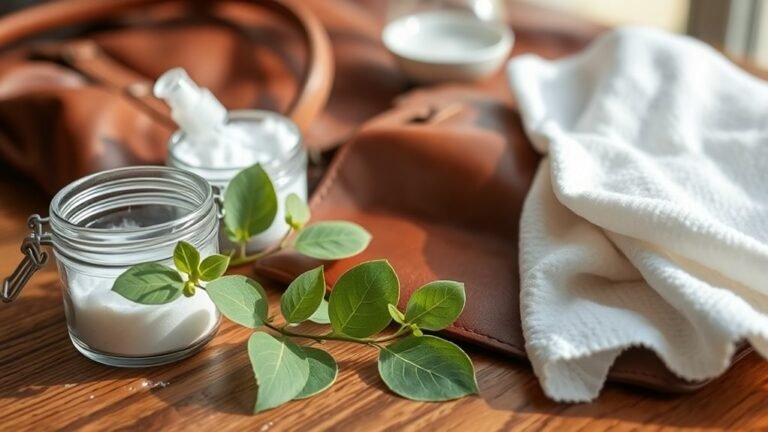
How Do I Clean and Maintain a Leather-Wrapped Handle?
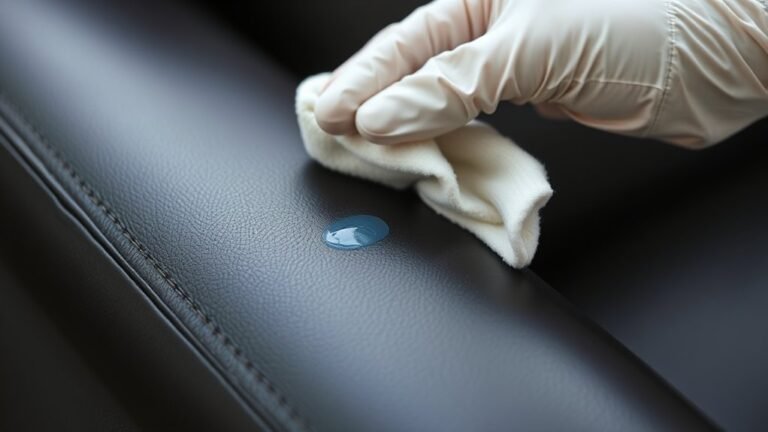
You’ll want to clean your leather handle gently with a damp cloth, then condition it regularly to prevent drying.
Coincidentally, as you care for it, you extend its lifespan and keep its grip comfortably secure.
Can I Use Synthetic Leather for Wrapping Handles?
Yes, you can use synthetic leather for wrapping handles. It’s durable, affordable, and easier to clean than genuine leather.
Just make sure it’s flexible enough to wrap tightly and secure properly for a comfortable grip.
How Long Does a Leather Wrap Typically Last on a Handle?
A leather wrap typically lasts several years with regular use, but its durability depends on the quality of leather, how well you maintain it, and the amount of wear and tear the handle experiences over time.
Higher-quality leather and proper care, such as regular cleaning and conditioning, can significantly extend the lifespan of the wrap.
On the other hand, exposure to excessive moisture, sun, or heavy use can cause the leather to deteriorate more quickly.
What Tools Are Needed Besides Leather Strips for Wrapping?
You’ll need scissors to cut leather strips, strong adhesive or leather glue for secure bonding, a ruler for precise measurements, and a needle with thread if stitching.
Don’t forget a clamp or tape to hold wraps tight while drying.
Conclusion
Now that you’ve wrapped your handle with leather strips, you’ve woven not just material but a story of grip and comfort into your hands. Like a tailor stitching strength into fabric, you’ve transformed an ordinary handle into a personal masterpiece.
Each twist and turn of the leather holds your effort and care, ready to weather every adventure. So, grip it tight—your handiwork is as enduring as the leather itself.
By mastering how to wrap a handle with leather strips, you’ve enhanced both function and style. This simple technique ensures a secure hold and adds a timeless touch to your gear. Your wrapped leather handle is now both practical and beautiful, built to last through countless uses.