How to Take Stains Out of Leather With a Step-By-Step Guide
First, identify your leather type to choose the right cleaning method. This is crucial for effective stain removal from leather. Gather soft cloths, mild soap, and a leather conditioner to prepare for the process.
Test your cleaner on a hidden spot to avoid damage. Gently remove surface dirt with a dry cloth before tackling stains. Use rubbing alcohol for ink, cornstarch for oil, and mild soap for food spills.
After cleaning, always condition the leather to keep it supple and healthy. Follow these steps, and you’ll be ready for more detailed stain removal tips.
Identifying the Type of Leather

Before you treat a stain, you need to identify the type of leather you’re working with. Different leathers react differently to cleaning methods, so knowing your leather *guarantees* you don’t cause damage.
Start by examining the texture and finish. Full-grain leather feels natural and has visible grain patterns, while corrected-grain leather is smoother and may have an artificial coating.
Suede has a soft, fuzzy surface, and nubuck feels velvety but is tougher than suede.
You can also check the label or product information if available. If uncertain, test a small, hidden area with a damp cloth to see how it reacts.
Identifying your leather type helps you choose the safest and most effective approach to removing stains without ruining your item.
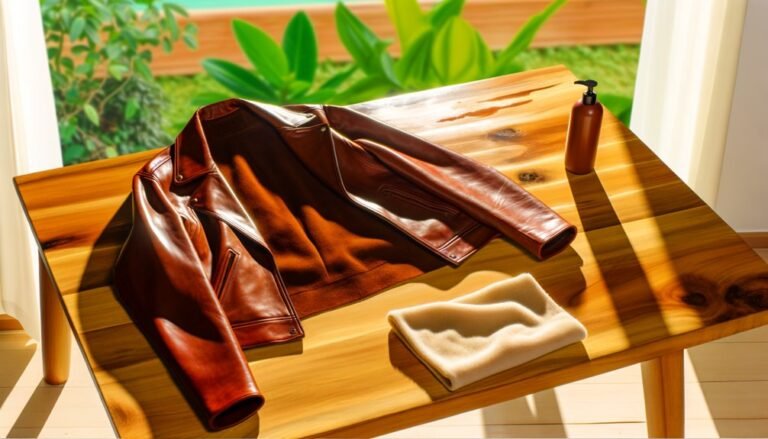
Gathering Essential Cleaning Supplies

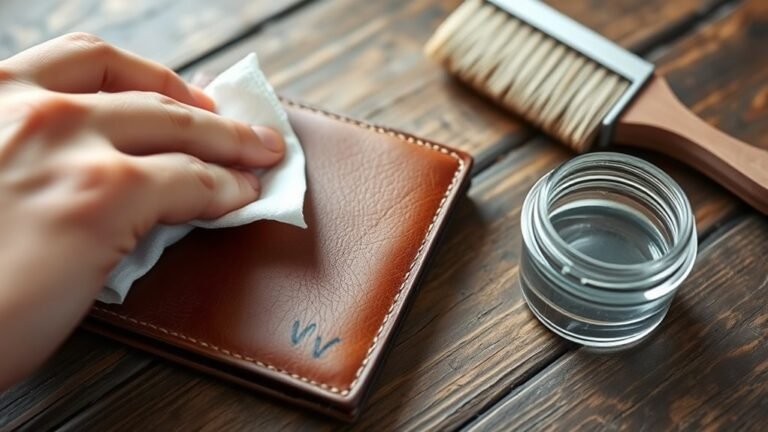
Although identifying your leather type is essential, gathering the right cleaning supplies is the next step to effectively tackle stains. You’ll need a few basics: a soft microfiber cloth for gentle wiping, a mild leather cleaner or a mix of water and a small amount of gentle dish soap, and a soft-bristled brush to reach into creases.
Have a spray bottle handy for diluting solutions, and keep some distilled water nearby to avoid mineral deposits. Avoid harsh chemicals or abrasive tools that can damage leather.
Finally, get a leather conditioner to restore moisture after cleaning. Having these items ready ensures you can treat stains promptly and safely, preserving your leather’s look and feel without unnecessary risks or damage.
Testing the Cleaning Solution on a Hidden Area

Since leather can react differently to various cleaning solutions, you should always test your mixture on a hidden spot first. This step helps prevent unexpected damage or discoloration. Here’s how to do it effectively:
- Choose an inconspicuous area, like the inside seam or under a flap, where any reaction won’t be noticeable.
- Apply a small amount of your cleaning solution with a cotton swab or soft cloth, gently dabbing the leather.
- Wait 10-15 minutes to observe any changes in color, texture, or finish.
If the leather remains unchanged, you’re safe to proceed with cleaning the visible stains.
If you notice fading, darkening, or stiffness, adjust your solution or try a different approach to avoid ruining your leather item.
Removing Surface Dirt and Dust
When you want to keep your leather looking its best, start by removing surface dirt and dust gently. Use a soft, dry cloth or a microfiber brush to avoid scratching. Light, circular motions work best to lift particles without pressing them into the leather.
Avoid using water at this stage, as it can cause spots or damage.
Here’s a quick guide to help you understand the cleaning tools and their impact:
| Tool | Purpose |
|---|---|
| Microfiber cloth | Picks up dust without scratching |
| Soft brush | Removes dirt in creases |
| Dry cotton cloth | Buffs surface gently |
| Vacuum (soft brush attachment) | Extracts loose debris |
| Leather cleaning sponge | Prepares surface for deeper cleaning |
Following this will prepare your leather for more thorough stain treatment.
Treating Ink and Pen Stains
Ink and pen stains can quickly mar the appearance of your leather, but you don’t have to panic. You can effectively remove these marks by acting fast and using the right approach.
First, dab the stain gently with a cotton ball dipped in rubbing alcohol. Don’t rub hard, or you’ll spread the ink.
Gently dab ink stains with rubbing alcohol using a cotton ball to avoid spreading the mark.
Next, apply a small amount of leather cleaner designed for ink removal, following the product instructions carefully.
Finally, condition the leather to restore moisture and prevent drying or cracking after cleaning. These steps keep your leather looking fresh without damage.
- Blot ink with rubbing alcohol, avoiding excessive pressure.
- Use a specialized leather cleaner to target residual stains.
- Condition leather to maintain softness and durability.
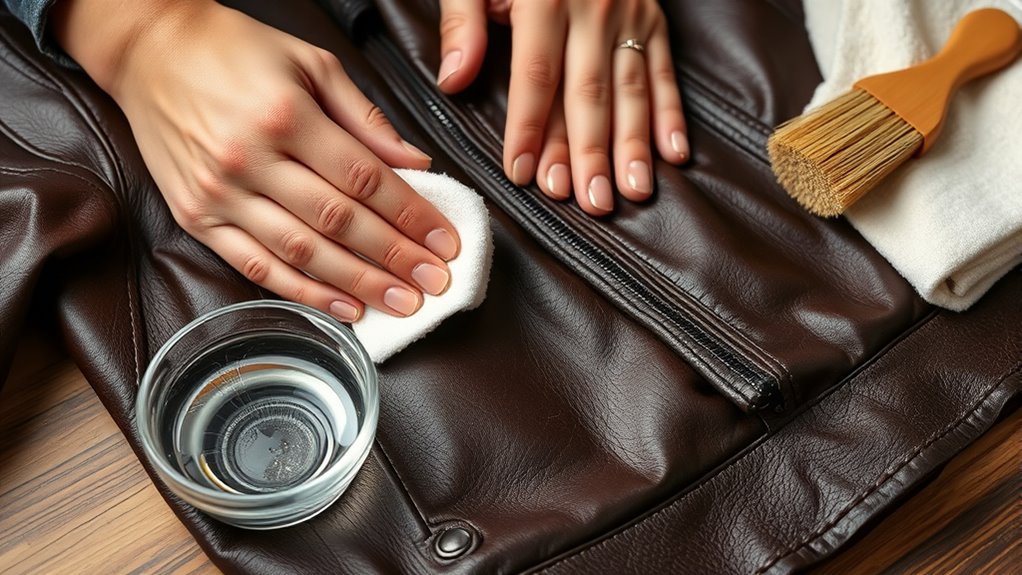
Eliminating Oil and Grease Spots
Although oil and grease spots can seem stubborn, you can remove them effectively with the right technique. Start by blotting the stain gently with a clean cloth to absorb excess oil, don’t rub, as that will spread it.
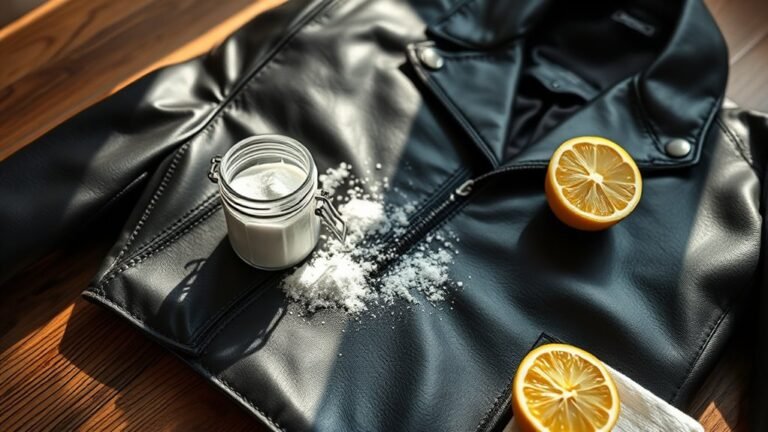
Next, sprinkle a small amount of cornstarch or talcum powder on the spot and let it sit overnight to draw out the grease. Brush off the powder carefully the next day.
If the stain remains, apply a few drops of mild leather cleaner or saddle soap using a soft cloth, working in gentle circular motions. Wipe off any residue with a damp cloth and let the leather air dry naturally.
Always test any product on a hidden area first to avoid discoloration or damage.
Handling Food and Drink Stains
If you spill food or drink on leather, act quickly to prevent permanent stains. Start by gently blotting the area with a clean, dry cloth to absorb as much liquid as possible without rubbing it in.
Next, mix a mild soap with warm water and lightly dampen a cloth. Wipe the stain carefully, avoiding soaking the leather.
Finally, dry the spot immediately with a soft towel to prevent moisture damage.
- Blot spills immediately with a dry cloth. Don’t rub.
- Use a gentle soap solution on a damp cloth to clean the spot.
- Dry the leather quickly with a soft towel to avoid water marks.
Quick action keeps your leather looking its best and avoids lasting damage.
Conditioning Leather After Cleaning
Once you’ve cleaned the stain, you’ll want to condition the leather to restore its moisture and flexibility. Conditioning prevents the leather from drying out and cracking over time.
Begin by selecting a leather conditioner suitable for your item. Apply a small amount to a soft cloth and gently rub it into the leather in circular motions. Focus on areas that appear dry or dull.
Let the conditioner absorb for about 20 minutes. Then wipe away any excess with a clean cloth. Avoid over-conditioning, as too much product can clog the leather’s pores.
Regularly conditioning your leather keeps it supple and extends its lifespan. This ensures it looks great and feels comfortable for years to come.
Frequently Asked Questions
Can I Use Household Cleaners on Leather Without Damaging It?
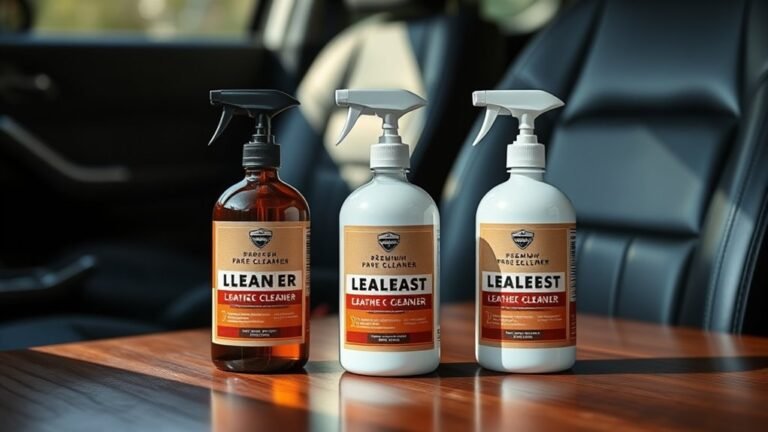
You shouldn’t use most household cleaners on leather, as they can damage it. Instead, use a cleaner specifically designed for leather or a mild soap solution.
Always test on a small area first to avoid harm.
How Often Should I Clean and Condition My Leather Items?
You probably love letting dirt build up, but you should clean and condition your leather every 3-6 months. This keeps it soft and prevents cracking—because who wants a stiff, sad-looking leather item, right?
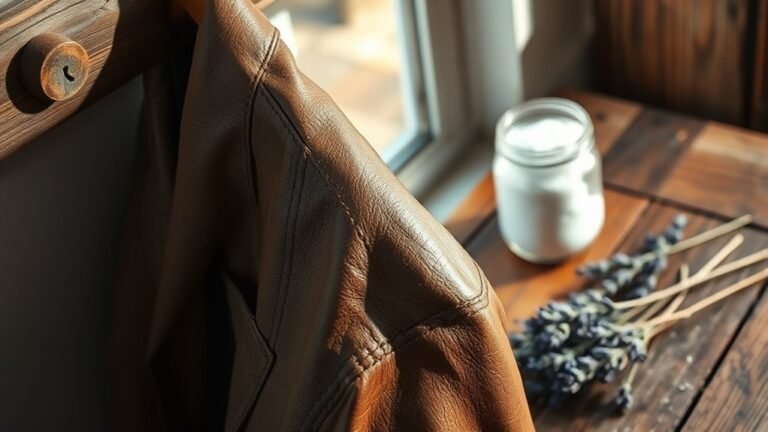
What Should I Do if My Leather Item Gets Moldy?
If your leather item gets moldy, wipe it gently with a mixture of equal parts water and rubbing alcohol.
Let it dry completely, then condition the leather to restore moisture and prevent cracking.
Is It Safe to Use Water on All Types of Leather?
Thou shalt not douse all leather with water, as some types, like suede, could suffer. Instead, test a hidden spot first. Using too much water might damage your leather, much like a knight mishandling his armor.
Can Leather Stains Be Removed Professionally if DIY Methods Fail?
Yes, you can have leather stains removed professionally if your DIY attempts fail. Experts use specialized products and techniques to restore your leather’s appearance safely without causing damage.
Conclusion
Just like a skilled gardener tends to each unique plant, you’ve learned to care for your leather with patience and the right touch. By identifying your leather type, testing solutions, and treating stains carefully, you’re preserving its beauty and strength.
Remember, a little attention now keeps your leather looking timeless, much like a classic novel that only grows richer with age. Keep this guide handy, and your leather will thank you for years to come.
With these stain removal tips for leather, you can maintain the quality and appearance of your leather items. Proper leather stain removal and regular care ensure your leather remains supple and beautiful over time.