How to Repair Leather Car Seats: Step-by-Step Guide
You can fix leather car seats yourself using a leather car seat repair kit that includes fillers, patches, adhesives, and colorants. These kits are designed to help you restore your seats without needing professional help.
Start by cleaning and prepping the damaged area thoroughly to ensure the repair materials adhere properly.
For holes or tears, insert a patch under the leather to provide a solid base. Apply filler in thin layers, allowing each layer to dry completely before sanding it smooth. This step helps create a seamless repair that blends well with the original leather.
Next, match and blend colorants carefully to restore the seat’s original appearance. Once the color is applied, seal the area and condition the leather to protect the repair and maintain its flexibility.
While this method saves money and works well for minor damage, more complex repairs might require a professional’s expertise. Keep exploring for detailed tips and techniques to achieve the best results.
Should You DIY or Visit a Professional?

Although professional repairs can cost over $200, you might choose a DIY leather repair kit if you’re on a budget, since they typically range from $20 to $50 and can be done in a weekend. If your leather damage is minor and you’re comfortable following instructions, a DIY repair can improve appearance and conceal scratches effectively.
However, keep in mind that professional repair offers higher-quality, longer-lasting results thanks to specialized tools and experienced technicians. While DIY fixes save money and time, they might not achieve the factory-finish look you’d get from a pro.
Ultimately, deciding between DIY repair or professional repair depends on how extensive the damage is, your skill level, and whether you prioritize cost savings or the best possible finish for your leather car seats.
Essential Products for Leather Seat Repair
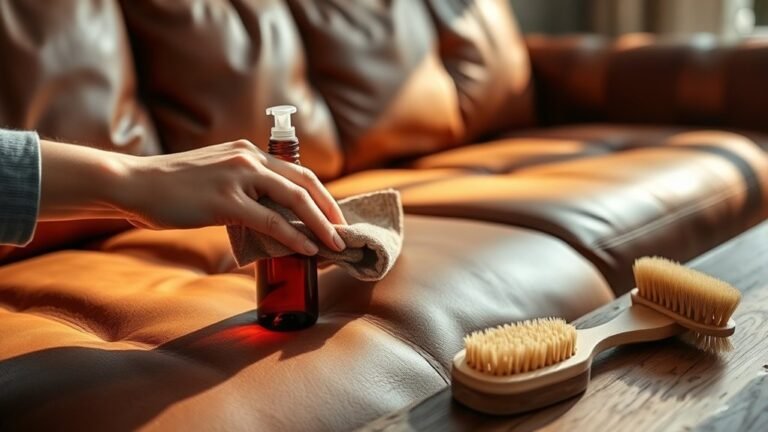
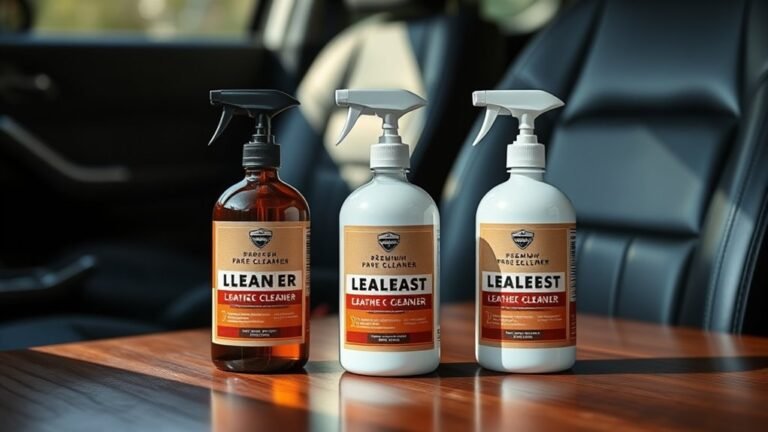
To repair your leather car seats effectively, you’ll need the right products, starting with a quality leather repair kit that includes fillers, adhesives, and colorants.
Don’t forget surface preparation tools like leather prep and abrasive pads to make sure the repair materials stick properly. Finally, color restoration products help blend the fix seamlessly with your seat’s original shade.
Leather Repair Kits
When you want to fix your leather car seats yourself, a leather repair kit offers all the essential products you’ll need. These kits typically include colorants, fillers, patches, adhesives, and finishing products to restore damaged areas effectively.
High-quality repair kits feature multiple shades of leather dye, helping you match your seat’s original color perfectly. Most kits also come with tools like spatulas, tweezers, and abrasive pads to apply repairs precisely.
Whether you’re dealing with small scratches or large tears, professional-grade kits designed for DIY use simplify the process. By using a thorough leather repair kit, you can achieve professional-looking results at home without extra hassle or expensive services.
This makes repairing your car seats both convenient and cost-effective.
Surface Preparation Tools
Before you apply any repair materials, you need the right surface preparation tools to guarantee your leather car seats heal properly. Leather prep products like cleaning solutions and alcohol cleaners remove oils and residues that block adhesion.
Use fine abrasive pads or sandpaper to roughen the surface, enhancing the bonding of your repair filler. Proper cleaning, degreasing, and light sanding ensure a strong, long-lasting repair that blends seamlessly.
| Tool Type | Purpose | Example Product |
|---|---|---|
| Leather Prep | Cleans and degreases leather | Leather Prep & Deglazing |
| Abrasive Pads | Roughens surface for bonding | Fine Sanding Pads |
| Alcohol Cleaner | Removes contaminants | Isopropyl Alcohol |
| Repair Filler | Fills cracks and holes | Leather Repair Filler |
Colour Restoration Products
Although cleaning and repairing your leather seats lays the groundwork, restoring their original colour truly brings them back to life. Colour restoration products, like leather colourant kits, are essential for this step.
These kits come with specially formulated dyes designed to match automotive leather, often including multiple shades or a universal colourant to blend perfectly with your seats. You’ll apply the colourant using a sponge or airbrush, layering thin coats and letting each dry to achieve a smooth, even finish.
These products are flexible and durable, preventing cracking or peeling over time. For the best leather care, use colour restoration kits only after thorough cleaning and repairing, ensuring optimal dye absorption and long-lasting results that revive your leather seats’ original vibrancy.
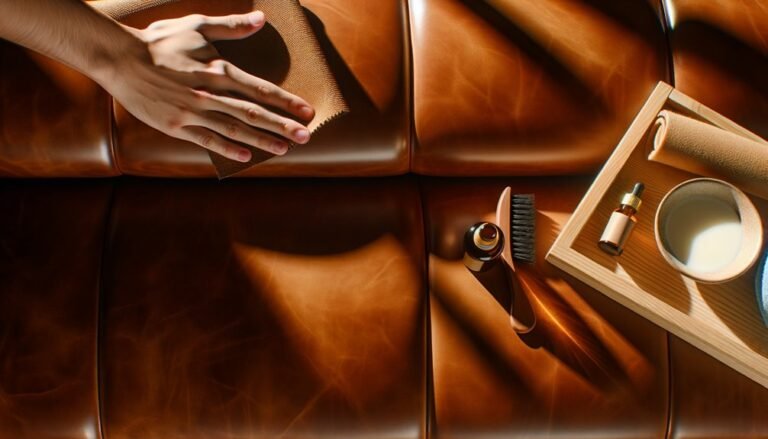
Preparing the Leather Surface for Repair
Before you start repairing, make sure to clean the leather thoroughly with Leather Prep and an abrasive pad to remove grease and dirt. Then, wipe the area with Alcohol Cleaner to eliminate any leftover dust or contaminants. Finally, trim away any loose fibers around the damage to create a smooth surface for the repair.
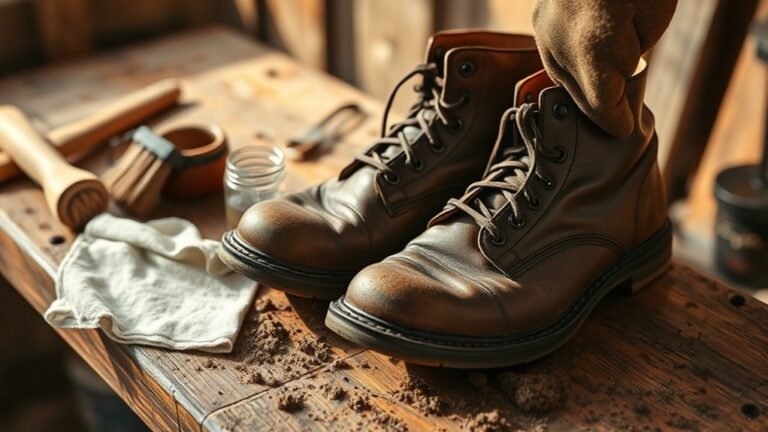
Cleaning and Degreasing
When you clean and degrease your leather car seats, you guarantee the repair products will adhere properly and last longer. Start by applying a Leather Prep solution with an abrasive pad to remove grease, oils, and dirt thoroughly. This cleaning step is vital for eliminating contaminants that can prevent a strong bond.
Next, wipe the area with an alcohol-based cleaner to get rid of any remaining dust or residue. Avoid using water or overly moist cleaners since excess moisture can interfere with adhesion. Proper cleaning and degreasing not only prepare the surface but also enhance the durability and seamless look of your repair.
Taking these steps guarantees your leather repair holds up well and looks professional over time.
Removing Loose Fibers
After thoroughly cleaning and degreasing your leather seats, the next step is to remove any loose fibers or peeling areas around the damage. Proper care at this stage guarantees a smooth surface for effective repair, regardless of the types of damage you’re addressing.
Use scissors or a scalpel to carefully trim away any loose threads and lip-like edges that could interfere with adhesion. Then, clean the area with an alcohol-based cleaner to remove dust and contaminants. Remember, a clean, dry surface is essential for strong bonding of repair materials.
- Use a leather prep and abrasive pad for thorough cleaning
- Trim loose fibers and peeling leather carefully
- Remove protruding edges around tears for a flat surface
- Wipe area with alcohol cleaner to eliminate residue
Step-by-Step Guide to Fixing Holes and Tears
Although fixing holes and tears in leather car seats might seem intimidating, you can tackle the repair effectively by following a clear, step-by-step process. Start by cleaning the damaged area thoroughly with Leather Prep and an abrasive pad to remove oils and dirt, ensuring better adhesion.
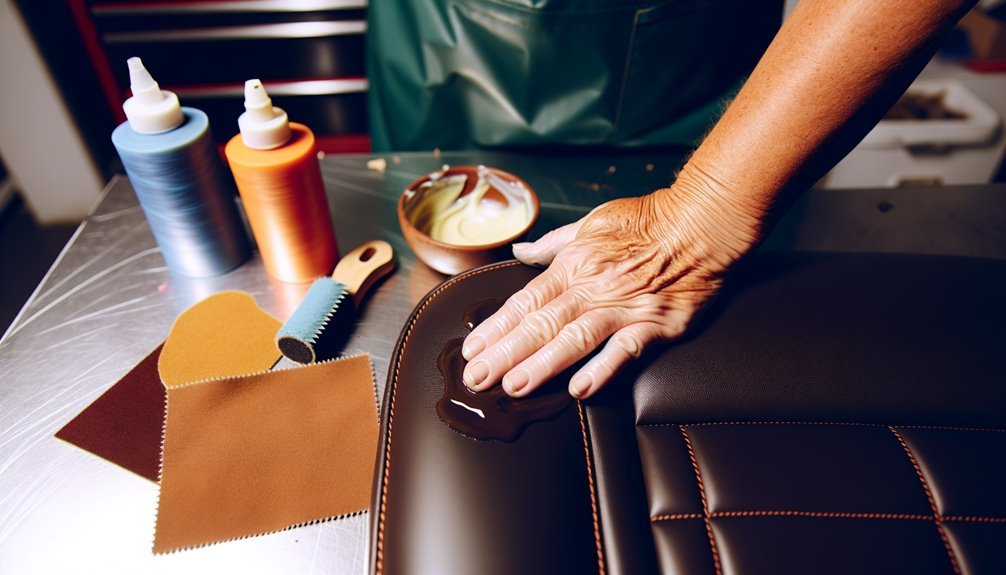
Next, cut a leather repair patch slightly larger than the hole and insert one side under the leather with tweezers, securing it with leather glue. Then, fill the hole using thin layers of heavy filler, letting each layer dry for about 20 minutes before adding more to build up the height.
Finally, sand the area lightly to smooth the surface before moving on to color matching and sealing. This method helps you achieve a durable and seamless repair.
Techniques for Applying Leather Filler and Patches
To achieve a durable repair, you’ll want to apply leather filler and patches carefully, guaranteeing each layer adheres well and blends smoothly with the surrounding seat. Start by cutting a sub-patch slightly larger than the hole, then insert and bond it firmly under the leather with Leather Glue. For deep holes, use a thin layer of Heavy Filler, applying it gradually and allowing each to dry about 20 minutes. Smooth each layer with a palette knife and sand lightly before adding the next.
Cut patches slightly larger than damage for secure bonding
Press patches firmly and seal edges with Leather Glue
Apply thin layers of filler, drying between coats
Smooth and sand each filler layer before proceeding
These steps ensure a strong, seamless leather repair.

How to Recolor and Blend the Repaired Area
Once you’ve built up the filler and patches to restore the seat’s structure, your next step is to recolor and blend the repaired area so it matches the original leather. Start by testing a matched colorant on a hidden spot to guarantee an exact shade.
Use a sponge or airbrush to apply thin, even coats of leather recoloring balm, layering multiple times for smooth blending. Allow each coat to dry for at least an hour to absorb properly.
After the final layer dries, lightly sand the area with fine-grit sandpaper to smooth any unevenness and enhance blending. Finish by applying a clear protective sealant to lock in the color and create a uniform, professional look that seamlessly restores your leather car seat.
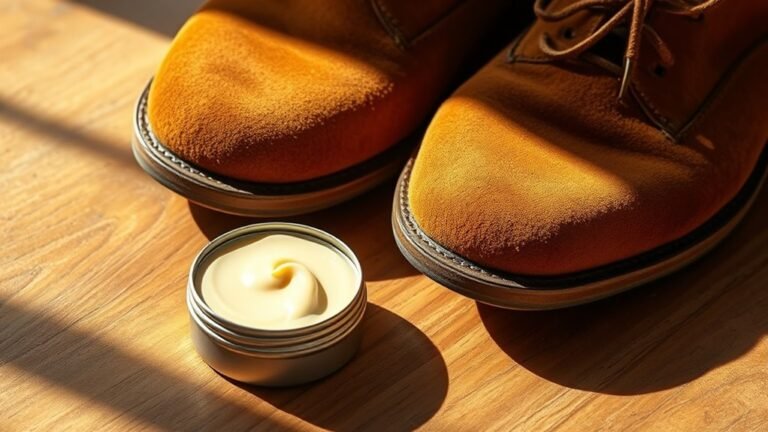
Conditioning and Protecting Your Leather Seats
Because leather naturally loses moisture and flexibility over time, you should regularly condition and protect your car seats to keep them soft and prevent cracking. To restore moisture effectively, start with a proper Guide To Cleaning to remove dirt and oils that block conditioner absorption.
Applying a high-quality leather conditioner every 3 to 6 months maintains flexibility and extends your seats’ lifespan. Use protectants with UV blockers to shield leather from sun damage and fading. These treatments create a barrier against wear, scratches, and spills, preserving softness and sheen.
- Clean leather thoroughly before conditioning
- Apply conditioner to restore moisture and prevent dryness
- Use UV-blocking protectants for sun damage resistance
- Condition regularly to maintain vibrancy and durability
Although repairing leather car seats yourself can save you a significant amount of money, it requires time, effort, and some skill to get good results. DIY leather seat repair kits cost between $20 and $50, making them a budget-friendly option for minor damages.
However, you’ll need to invest in proper Leather Cleaning beforehand to ensure the repair adheres well. On the other hand, professional repairs often start around $200 and can exceed $500 depending on the damage’s extent.
While pros deliver high-quality, factory-like finishes, you’ll face higher costs and longer wait times. This cost comparison highlights that if you’re on a tight budget and the damage is minor, DIY is a solid choice.
For extensive or complex issues, though, hiring a professional is usually worth the investment.

Tips for Achieving the Best Repair Results
To achieve the best repair results, you’ll want to carefully follow the manufacturer’s instructions when applying leather filler and colorant. Using the right tools is key to a smooth, professional finish. This Ultimate Guide helps you avoid common pitfalls by prepping properly and layering products correctly.
Remember to test color matches on a hidden spot before full application to get a natural look.
- Clean and sand the leather surface for better adhesion.
- Apply thin, even layers, allowing each to dry fully.
- Test colorant on an inconspicuous area first.
- Finish with a protective sealant to lock in color and protect your repair.
Stick to these tips, and your leather seats will look refreshed and last longer.
Frequently Asked Questions
How to Repair a Damaged Leather Car Seat?
You clean the damaged area, apply a leather repair patch with glue, fill scratches with leather filler, then color and blend the repair.
Finally, seal it with a protective coating and let it cure for 24 hours.
Do Leather Car Seat Repair Kits Work?
Yes, leather car seat repair kits work when you prepare properly, apply carefully, and use quality products. They’ll improve minor scratches, fill small holes, and restore color.
Deep tears often need professional attention for best results.
How Much Does It Cost to Fix Leather Seats in a Car?
Fixing leather seats can cost you between $20 and $200 or more. DIY kits are cheaper, around $20-$50, while professional repairs tend to be pricier but offer higher quality and longer-lasting results.
Does Autozone Sell Leather Repair?
Yes, AutoZone sells leather repair kits, and you’ll find products for small tears and scratches.
Remarkably, 70% of DIY car seat repairs use kits like these, saving you time and money compared to professional fixes.
Conclusion
Now that you’ve got the essentials down, repairing your leather car seats yourself can save you a fortune—and maybe even make you feel like a leather wizard!
With the right prep, products, and patience, you’ll fix holes and tears that look brand new. Just remember, taking your time to blend and condition properly is key.
Whether you DIY or go pro, your seats will thank you with comfort and style that lasts for miles. Proper leather car seat repair not only restores appearance but also extends the life of your vehicle’s interior.