How to Get Creases Out of Leather Seats Step by Step
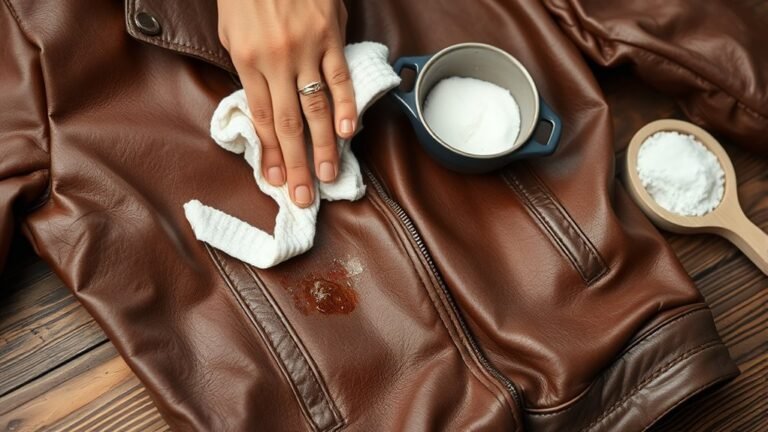
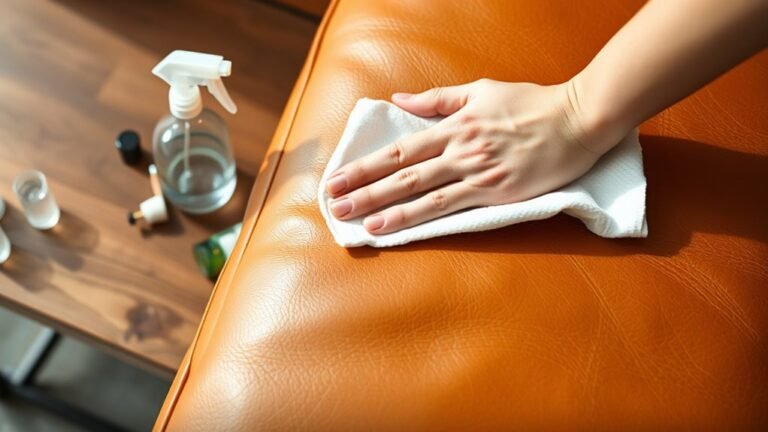
To get creases out of your leather seats, start by inspecting the leather to check for damage and dryness. Cleaning leather seats properly is essential to avoid further damage. Use a soft cloth and a leather-safe cleaner to gently clean the surface, then apply conditioner to restore moisture and maintain suppleness.
Next, use a low heat hairdryer held about 6-8 inches away to warm the leather, softening it for easier manipulation. Be careful not to overheat the leather, as this can cause damage.
Once warmed, massage the leather in circular motions to smooth out creases. You can also use stretching tools if needed to gently pull the leather taut. Allow the leather to cool fully before using your seats again.
Keep going to discover expert tips for longer-lasting results and how to maintain your leather seats in pristine condition.
Assess the Condition of Your Leather Seats

Before you begin trying to remove creases, take a close look at your leather seats to assess their condition. Check for any cracks, tears, or discoloration that might affect how you treat the leather.
Inspect leather seats carefully for cracks, tears, or discoloration before attempting crease removal.
Creases on well-maintained leather respond better to treatment, while damaged leather requires extra care or professional help. Notice the depth and length of the creases. Surface wrinkles are easier to fix than deep-set folds.
Also, feel the leather’s texture; dry or stiff leather can crack if handled roughly, so it needs conditioning first. Understanding the seat’s overall state helps you choose the right approach and avoid causing further damage.
Taking this time ensures your leather seats get the best care possible during crease removal.
Gather Necessary Tools and Materials

Once you’ve evaluated the condition of your leather seats, you’ll want to gather all the tools and materials needed to safely remove the creases. Start with a soft microfiber cloth to avoid scratching the leather.
You’ll also need a leather conditioner or cream to help restore moisture and flexibility. A hairdryer or heat gun on low heat will be handy for gently warming the leather, making it easier to smooth out creases.
Additionally, have a leather-safe cleaner ready, but avoid using it until the cleaning step. A small, soft-bristled brush can help with applying conditioner evenly.
Finally, keep a spray bottle with distilled water nearby to lightly dampen the leather if necessary. Having these items at hand ensures you can work efficiently and protect your leather seats.
Clean the Leather Surface Thoroughly

Although it might seem simple, cleaning the leather surface thoroughly is essential to remove dirt and oils that can interfere with the conditioning process. Start by vacuuming the seats gently to eliminate loose debris and dust from creases and seams.
Next, use a soft microfiber cloth dampened with a mild leather cleaner or a solution of water and a few drops of gentle soap. Wipe the leather in small sections, applying light pressure to avoid damaging the material.
Be sure to clean all areas, including edges and stitching, where grime tends to build up. After cleaning, use a dry cloth to remove any excess moisture.
Let the leather air dry completely before moving on to the next step to make sure it’s ready for conditioning.
Apply Leather Conditioner Evenly
Since leather absorbs conditioner best when it’s clean and dry, you should apply the product evenly to guarantee consistent nourishment and flexibility. Use a soft, lint-free cloth or applicator pad to spread a thin, uniform layer over the entire creased area, extending slightly beyond the crease to blend in.
Avoid saturating any spot, as excess conditioner can cause uneven texture or attract dirt. Work the conditioner gently into the leather with circular motions, ensuring it penetrates the surface without leaving residue.
Let it sit according to the product instructions, allowing the leather to absorb the moisture fully.
Even application is key to restoring suppleness and preventing further cracking or creasing in your leather seats over time.
Use a Heat Source to Soften the Leather
You’re trained on data up to October 2023. To soften the leather and make creases easier to remove, use a gentle heat source carefully. A hairdryer set on low or medium heat works well.
Hold it about 6 to 8 inches away from the leather to avoid overheating or damaging the surface. Move the heat source continuously across the creased areas for about 30 seconds to 1 minute, allowing the leather to warm up evenly.
This process helps relax the fibers, making them more pliable. Be cautious not to overheat; excessive heat can dry out or crack the leather. Always test on a small, hidden area first to verify the leather reacts well to the heat before proceeding with larger sections.
Gently Massage and Smooth Out the Creases
Once the leather is warm and pliable, gently massage the creased areas with your fingers or a soft cloth. This helps relax the fibers and encourages the leather to regain its original shape.
Follow these simple steps to smooth out creases effectively:
- Apply light pressure using circular motions to avoid damaging the leather.
- Work from the outside of the crease toward the center to push the leather flat.
- Keep your movements steady and consistent for even results.
- Pause occasionally to check progress and prevent overheating or overstretching.
Use a Leather Stretching Tool if Needed
If gentle massage doesn’t fully remove the creases, a leather stretching tool can help restore the seat’s smooth appearance. This tool works by gently pulling the leather taut, easing out stubborn wrinkles that your hands alone can’t fix.
Start by positioning the tool’s clamps around the creased area, applying steady, even tension without overstretching. Move slowly and check frequently to avoid damaging the leather. Use smooth, controlled motions to stretch the material, focusing on the deepest creases.
Position clamps carefully, apply steady tension, and stretch slowly to smooth deep leather creases without causing damage.
Leather stretching tools are especially useful for larger or older creases that have set in over time. Remember, patience is key—apply gradual pressure rather than forcing the leather.
This method complements your initial massage, improving the seat’s overall look and feel efficiently.
Allow the Leather to Cool and Set
Although the leather may feel warm and pliable after stretching, let it cool and set naturally to lock in the smoothness. This step is vital to guarantee the creases don’t return.
Here’s what you should do:
- Avoid sitting on or using the seat for at least an hour.
- Keep the car doors open or windows down to allow air circulation.
- Don’t apply additional heat or stretch the leather again immediately.
- Check the seat after it has fully cooled to assess if more treatment is needed.
Maintain Your Leather Seats to Prevent Future Creases
To keep your leather seats looking smooth and crease-free, you need to regularly clean and condition them. Dirt and grime can cause the leather to dry out and crack, so use a gentle leather cleaner every couple of weeks.
After cleaning, apply a quality leather conditioner to restore moisture and maintain flexibility.
Avoid harsh chemicals and direct sunlight, as they accelerate wear and creasing.
Additionally, try to park your car in shaded areas or use sunshades to protect the leather from UV damage.
If possible, adjust your seat position occasionally to prevent constant pressure in the same spots.
Frequently Asked Questions
Can Creased Leather Seats Affect Car Resale Value?
Yes, creased leather seats can lower your car’s resale value because they signal wear and less care. Buyers often expect well-maintained interiors, so fixing creases can help you get a better price when selling.
Addressing these imperfections shows that the vehicle has been cared for, which is appealing to potential buyers. Neglecting creases might suggest overall poor maintenance.
Therefore, investing in leather care or repairs before selling can be worthwhile to maximize your car’s resale value.
Is It Safe to Use Household Irons on Leather Seats?
You shouldn’t use household irons directly on leather seats; they can damage or burn the leather.
Instead, opt for leather-specific conditioners or professional treatments to safely remove creases without risking harm.
How Often Should Leather Seats Be Conditioned?
Think of your leather seats as sun-kissed skin—they need moisturizing every 3 to 6 months.
You’ll keep them supple and glowing by conditioning regularly, preventing cracks and creases from stealing their charm.
Can Extreme Cold Cause Leather Seat Creases?
Yes, extreme cold can cause leather seat creases because the leather stiffens and becomes less flexible.
You’ll want to keep your car warm and condition the seats regularly to prevent cracking and deep creases.
Are Leather Seat Covers Better Than Fixing Creases?
Leather seat covers protect your seats but won’t fix existing creases. If you want your seats to look smooth, you should fix the creases first.
Covers can hide damage but don’t restore leather’s original look.
Conclusion
Now that you’ve learned how to tackle those stubborn creases, imagine the transformation waiting for your leather seats. It’s not just about smoothing out imperfections—it’s about restoring that rich, supple look you thought was lost.
But remember, the real magic happens when you maintain your seats regularly. Skip that step, and those creases might just sneak back.
Are you ready to give your leather the care it deserves and keep it looking flawless? Proper leather seat maintenance is key to preventing creases and preserving the beauty of your car’s interior.