Fix Scratched Leather Car Seats in 5 Simple Steps
To fix scratched leather car seats effectively, start by cleaning the surface thoroughly with a leather cleaner to remove dirt and oils. Proper cleaning is essential for successful leather seat repair. Assess the scratch depth carefully and gather the necessary repair supplies like conditioner, filler, and matching dye.
Next, apply leather conditioner to nourish the material and a repair compound to smooth out the scratches. Allow the repair compound to dry completely before moving on to the next step. Once dry, sand gently for an even finish to ensure the repair blends seamlessly with the surrounding leather.
Finally, apply leather dye and a protectant to blend and seal the repair, restoring the seat’s original look and durability. Keep going to discover detailed tips for each step and make your leather car seats look like new again.
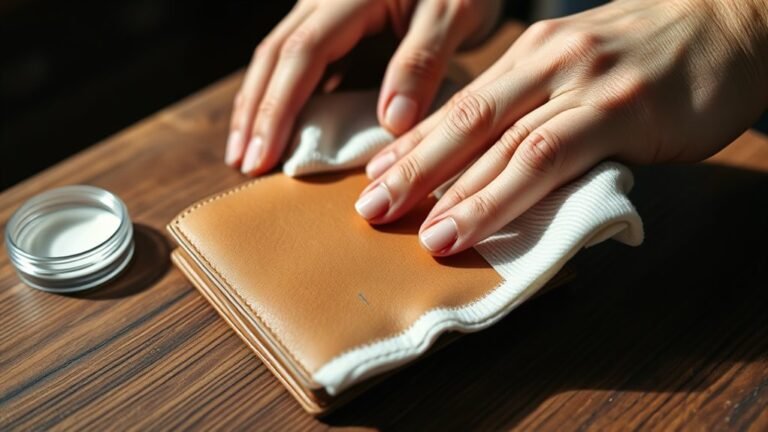
Clean the Leather Surface Thoroughly

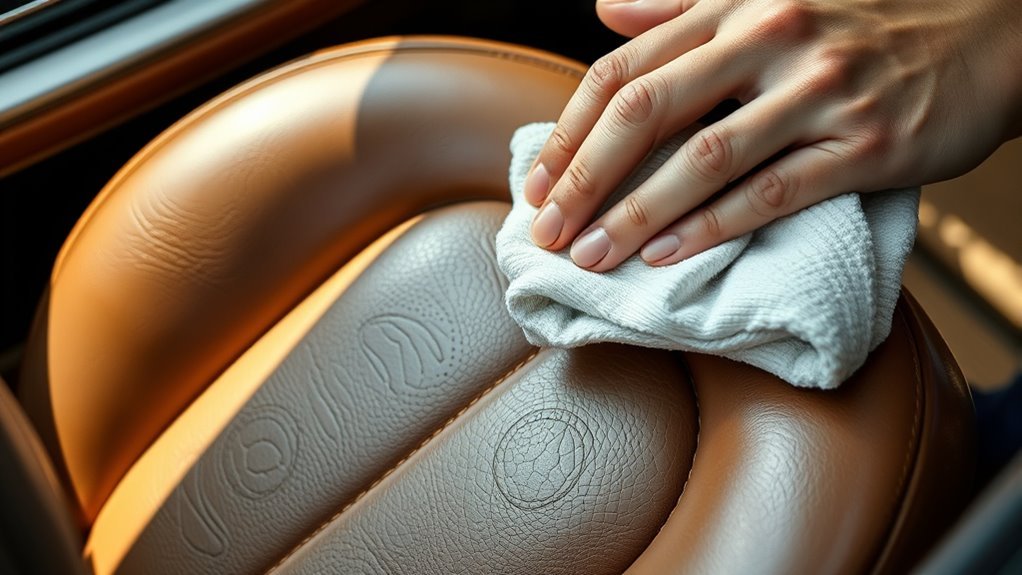
Before you begin repairing scratches, you need to clean the leather surface thoroughly. Start by vacuuming the seats to remove dust and debris from the crevices.
Next, use a soft cloth dampened with a mild leather cleaner or a mixture of water and a few drops of gentle soap. Gently wipe the scratched area and surrounding leather, avoiding excessive moisture. Don’t scrub hard; just clean enough to lift dirt and oils that could interfere with the repair.
After cleaning, dry the surface with a clean microfiber cloth. This step guarantees the leather is free from dirt, oils, and residues, which helps the repair products adhere better. Skipping this step might cause the repair to fail or look uneven.
Clean leather also gives you a clear view of the scratch before you start fixing it.
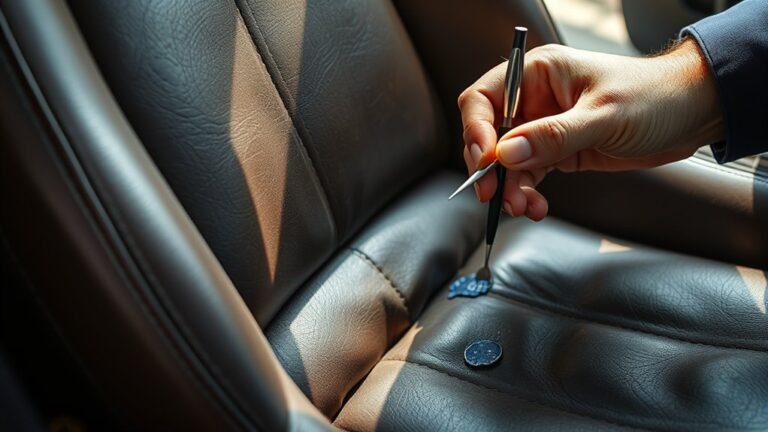
Assess the Damage and Gather Repair Supplies

Once your leather seats are clean and dry, take a close look at the scratches to determine their depth and severity. Light surface scratches might only affect the finish, while deeper ones could penetrate the leather’s top layer. Evaluating this helps you choose the right repair approach.
Next, gather the necessary supplies: a soft cloth, leather cleaner, leather repair compound, sandpaper (fine grit), and a color-matched leather dye or marker. You might also need a leather filler for deeper cracks.
Having everything ready before you start ensures a smoother repair process. Avoid rushing. Accurate assessment and proper tools set the foundation for restoring your leather seats effectively and preventing further damage.
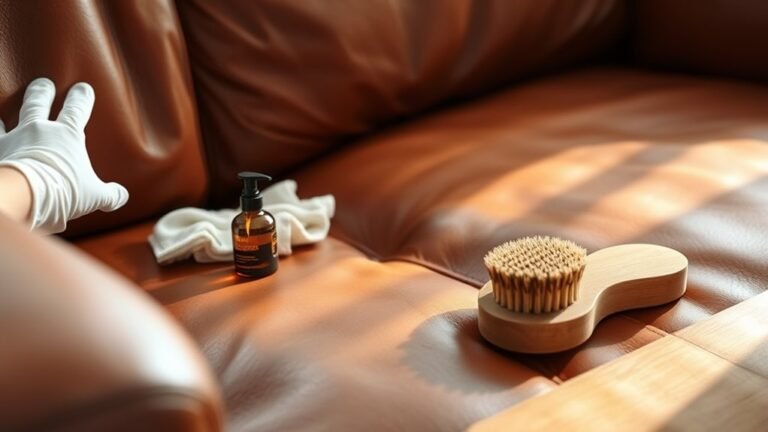
Apply Leather Conditioner and Repair Compound

Although you’ve assessed the damage carefully, applying a leather conditioner first will soften the material and prepare it for repair. Use a clean cloth to evenly rub the conditioner into the scratched area, allowing it to absorb fully.
This step restores moisture and flexibility, making the leather easier to work with. Once the conditioner has dried, take your leather repair compound and apply a thin layer over the scratches.
Use a small spatula or your finger to spread it smoothly, filling in the damaged spots. Be careful not to overapply; thin, even coats work best.
This compound bonds with the leather to rebuild the surface, creating a solid base for further restoration steps.
Smooth the Surface and Let It Dry
After applying the repair compound, gently smooth the surface using a fine-grit sanding pad or your fingertip to guarantee an even finish. This step helps blend the repair seamlessly with the surrounding leather, preventing any rough or raised areas.
Be careful not to sand too hard, as this could damage the leather further. Once you’re satisfied with the smoothness, wipe away any dust or residue with a clean, damp cloth.
Then, allow the repaired area to dry completely in a well-ventilated space. Drying times can vary, but it usually takes a few hours. Avoid touching the surface during this period to maintain the smooth finish.
Proper drying guarantees the repair compound sets firmly, preparing the seat for the next steps in restoring your leather car seats.
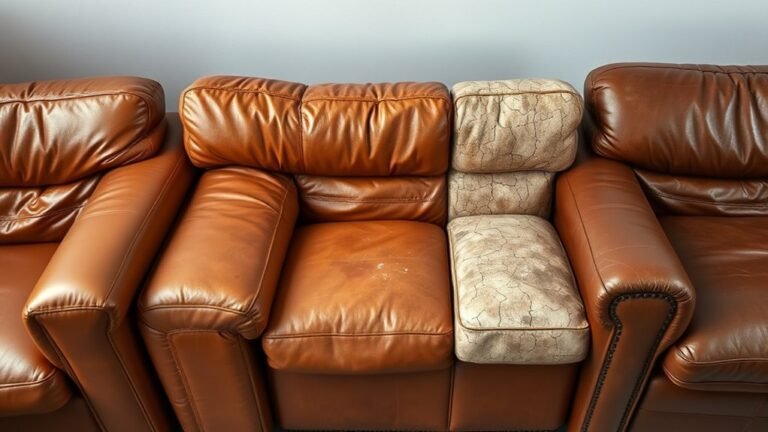
Finish With Leather Dye and Protectant
To restore your leather car seats’ color and protect your repair, you’ll apply leather dye that matches the original shade. Use a small sponge or applicator to dab the dye evenly over the repaired area, blending it smoothly with the surrounding leather.
Apply matching leather dye with a sponge, blending smoothly for a seamless, refreshed look.
Allow the dye to dry completely, which usually takes about 30 minutes. If needed, apply a second coat for deeper, more consistent color.
Once the dye is dry, protect your work by applying a leather protectant or conditioner. This seals the dye, prevents future damage, and keeps the leather supple.
Use a soft cloth to buff the area gently, ensuring an even finish.
Following these steps will leave your leather seats looking refreshed and shielded from everyday wear.
Frequently Asked Questions
Can Scratched Leather Car Seats Affect Vehicle Resale Value?
Yes, scratched leather car seats can lower your vehicle’s resale value because buyers often see them as signs of neglect.
You’ll want to repair or conceal scratches to keep your car looking well-maintained and valuable.
Are There Professional Services for Leather Seat Repair?
Yes, you’ll find professional services specializing in leather seat repair. They use expert techniques to fix scratches, restore color, and maintain your car’s value.
Just search locally or online for trusted leather repair specialists.
How Long Does a Leather Repair Typically Last?
A leather repair typically lasts anywhere from a few months to several years, depending on the repair quality and how well you care for your seats.
Regular cleaning and conditioning help extend its durability markedly.
Can Pet Scratches Be Fully Repaired on Leather Seats?
You might think pet scratches are permanent, but you can usually repair them fully with the right products and techniques.
While deep gouges may need professional help, most scratches blend in seamlessly after careful restoration.
Is It Safe to Use Household Items for Leather Repair?
It’s not always safe to use household items for leather repair because they might cause discoloration or damage.
Instead, you should use products designed for leather to guarantee proper treatment and avoid worsening the scratches.
Conclusion
Now that you know how to fix scratched leather car seats in just five simple steps, you can save both time and money on costly professional repairs.
Did you know that nearly 60% of car owners avoid fixing minor leather damage, which can lead to more expensive problems later? By acting quickly and following these steps, you’ll keep your leather looking great and extend its lifespan.
Give your car seats the care they deserve! Regular maintenance and prompt repair of scratches are essential to preserving the beauty and durability of your leather car seats.