How to Clean Auto Leather Seats: Step-by-Step Guide
To clean your auto leather seats effectively, start by vacuuming gently with a soft-bristle brush to remove dirt from seams and crevices.
Using the right leather cleaning products is essential for maintaining the quality and appearance of your seats.
Use a pH-balanced leather cleaner applied to a microfiber cloth, not directly on the seats, and clean using gentle circular motions.
For stubborn stains, apply cleaner directly and softly scrub.
After cleaning, wipe dry and apply a quality conditioner to keep leather soft and protected.
Keep this cleaning process regular to maintain your seats’ look and durability.
With consistent care, you’ll find even more ways to enhance their appearance and longevity.
Preparing Your Cleaning Supplies

Before you begin cleaning, gather all necessary supplies to guarantee an efficient process. You’ll need a pH-balanced leather cleaner, microfiber towels, a soft-bristle brush, and a vacuum cleaner with upholstery attachments.
Make sure your cleaning supplies are compatible with your leather type, whether natural, sealed, or synthetic. Before applying the leather cleaner broadly, perform a patch test on an inconspicuous area to avoid damage or discoloration.
Use microfiber towels to wipe down the seats gently, removing dust and dirt without scratching. Having all your tools ready and confirming compatibility helps you clean effectively while protecting your seats. This preparation sets the foundation for a thorough and safe leather cleaning process.
Vacuuming and Removing Loose Dirt
Start by attaching a soft-bristle brush to your vacuum to gently loosen dirt without damaging the leather. Focus on seams and crevices where debris often hides to guarantee a thorough clean.
Vacuum in a careful pattern to lift loose dirt and prepare the surface for deeper cleaning.
Choosing Vacuum Attachments
When you choose vacuum attachments for cleaning your auto leather seats, opt for a soft-bristle brush to avoid scratching the delicate surface. Use a crevice tool to reach tight seams and edges, effectively removing dirt and debris.
Vacuum in a crosshatch pattern, both vertically and horizontally, to maximize dirt removal. Avoid stiff-bristle tools that can damage leather. To maintain vacuum efficiency, regularly clean filters and attachments.
| Attachment | Purpose | Tips |
|---|---|---|
| Soft-bristle brush | Gently removes surface dirt | Prevents leather scratches |
| Crevice tool | Reaches tight seams | Removes hidden debris |
| Vacuum hose | Connects attachments | Check for clogs regularly |
| Filter | Maintains suction | Clean or replace often |
| Vacuum head | Main suction point | Use crosshatch pattern |
Cleaning Seat Crevices
Although seat crevices can be tricky to clean, using a vacuum with a soft brush attachment lets you effectively remove loose dirt and debris from seams, stitching, and corners. These tight spots often trap dirt that can damage your leather over time. To streamline your cleaning process, follow these steps:
- Use a vacuum with a soft brush attachment to gently loosen dirt and debris in crevices.
- Focus on seams, stitching, and corners where dirt tends to accumulate.
- Employ gentle, overlapping motions to avoid harming the leather.
- Use additional tools like a narrow brush or compressed air for hard-to-reach areas.
Regularly vacuuming these crevices prevents buildup, keeping your leather seats in great shape.

Preparing Surface Thoroughly
Before applying any cleaning products, you’ll want to vacuum your leather seats thoroughly to remove loose dirt and debris. Start by attaching a soft brush to your vacuum cleaner to protect the leather surface. Focus on seams, crevices, and under seat edges where dirt and crumbs tend to gather.
Use a gentle crosshatch pattern, vacuuming in overlapping straight lines, to guarantee you prepare the seats completely. Removing all loose dirt before cleaning prevents scratches and abrasive damage during the cleaning process. Make vacuuming a regular habit; doing it at least once a month helps maintain the cleanliness and longevity of your leather seats.
Taking these steps assures your leather seats are ready for an effective and safe cleaning.
Selecting the Right Leather Cleaner
Since your leather seats deserve gentle care, you’ll want to select a pH-balanced cleaner designed specifically for automotive leather. This guarantees you protect your seats’ natural oils while effectively cleaning leather without damage.
When choosing a leather cleaner for your auto leather seats, keep these tips in mind:
- Pick a product formulated for automotive leather to guarantee compatibility and efficient cleaning.
- Avoid cleaners with harsh chemicals that can strip or damage the leather.
- Opt for a cleaner that combines cleaning leather with leather conditioning for better car interior care.
- Test the cleaner on a hidden spot first to check for any discoloration or adverse effects.
Following these steps helps maintain your seats’ appearance and durability.
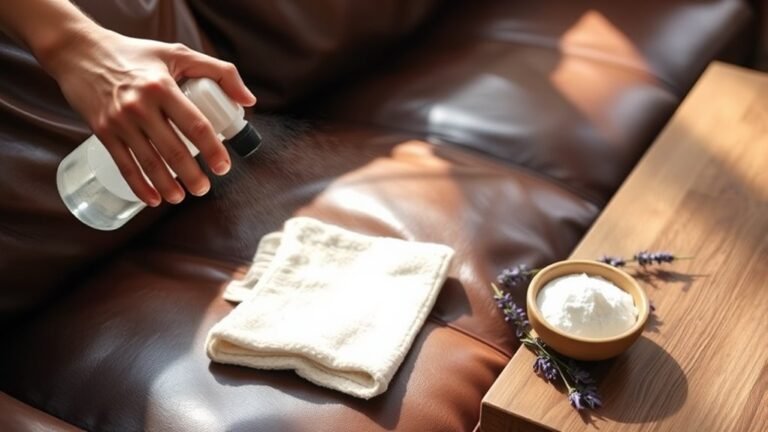
Applying Cleaner With Proper Technique
When you apply the cleaner, spray it onto a microfiber cloth or soft-bristle brush instead of directly on the leather seats to avoid oversaturation. Use gentle circular motions to spread the cleaner evenly, ensuring even coverage without applying too much pressure. This technique maximizes the cleaning power while protecting the leather’s surface.
After applying, wait about 10 seconds to let the cleaner loosen dirt and grime. Then, take your soft-bristle brush or a clean microfiber cloth to gently scrub the leather for roughly one minute, concentrating on heavily soiled areas. Finally, wipe away the cleaner and loosened dirt with a dry microfiber cloth to prevent residue buildup. This proper technique preserves your leather’s finish and prepares it for conditioning.
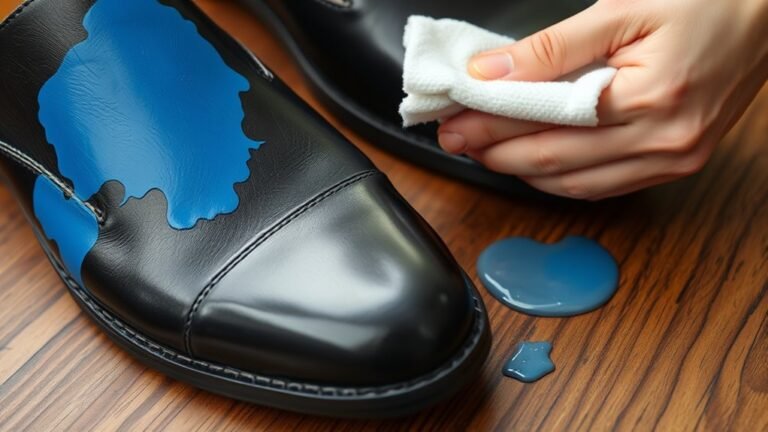
Addressing Stubborn Stains and Spots
If you notice stains that don’t come off with your regular cleaning routine, you’ll need to tackle them carefully to avoid damaging the leather. For stubborn stains like lipstick or crayon, apply a small amount of leather cleaner directly to the spot and gently scrub with a soft-bristle brush.
Use a damp microfiber cloth with a mild leather cleaner solution to lift deep-seated spots without harming the surface. Always test spot removal methods on a hidden area first. When stains persist, professional cleaning is the safest option.
Gently lift deep stains with a damp microfiber cloth and mild cleaner, testing first; seek professionals if needed.
Follow these steps:
- Apply leather cleaner to the stain.
- Gently scrub with a soft-bristle brush.
- Wipe with a damp microfiber cloth.
- Consult professional cleaning for tough spots.
This approach protects your seats while effectively addressing stubborn stains.
Wiping and Drying the Leather Surface
After you’ve applied the leather cleaner and gently scrubbed the surface, you’ll want to wipe away any remaining dirt and cleaner residue using a clean, dry microfiber towel. Use gentle patting motions to absorb moisture without rubbing, which can damage the leather.
Make sure to dry every section thoroughly, especially seams and crevices, to prevent water spots or mold growth. Use a fresh microfiber towel for each area to avoid transferring residual dirt and ensure effective drying.
| Step | Tip |
|---|---|
| Wipe | Use a clean, dry microfiber towel |
| Pat Dry | Gently absorb moisture, don’t rub |
| Change Towels | Use separate towels for each section |
| Dry Thoroughly | Focus on seams to prevent mold |
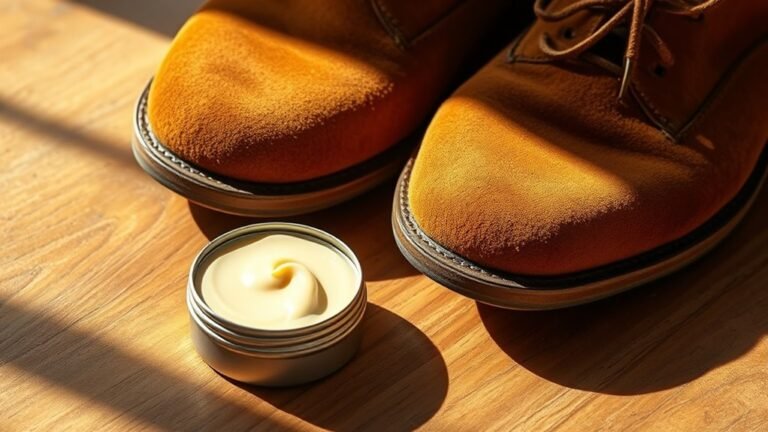
Conditioning and Protecting Your Leather Seats
Although cleaning your leather seats removes dirt and grime, conditioning them is essential to restore moisture and keep the leather soft. Using a high-quality leather conditioner prevents cracking and dryness, especially for high-quality leather.
Follow these steps for effective cleaning and conditioning:
- Apply the leather conditioner with a microfiber applicator or soft cloth.
- Evenly distribute the conditioner in circular motions to cover all surfaces.
- Allow several hours for the conditioner to bond and cure, ensuring maximum protection.
- Condition your seats at least twice a year to maintain a durable protective barrier against UV rays and daily wear.
This routine preserves your leather’s suppleness while extending its lifespan with consistent care.
Maintaining Clean and Healthy Leather Over Time
You’ll want to stick to a regular cleaning schedule every few months to keep dirt from building up and damaging your leather. Using pH-balanced cleaners and applying conditioner twice a year will protect your seats and maintain their softness.
Plus, avoiding harsh chemicals and shielding your leather from UV rays will help prevent cracking and fading over time.

Regular Cleaning Routine
If you want to keep your auto leather seats looking and feeling their best, cleaning them every one to three months is essential. This regular cleaning routine helps prevent dirt and grime buildup that can damage your leather.
Follow these steps to maintain clean leather seats effectively:
- Vacuum thoroughly to remove loose debris from seams and crevices, avoiding scratches during cleaning.
- Use a pH-balanced leather cleaner applied with a microfiber cloth for gentle cleaning that won’t harm the leather.
- Avoid household products; opt for dedicated interior care products to protect your leather.
- Remember to condition leather at least twice a year to restore moisture and maintain softness, preventing cracks.
Conditioning and Protection
Beyond regular cleaning, conditioning your leather seats plays a vital role in keeping them soft and resilient. Applying a high-quality leather conditioner at least twice a year helps maintain moisture and prevent cracking.
Leather conditioners contain oils and lanolin that restore suppleness while protecting against drying caused by sun exposure. For added protection, use a UV protectant along with your conditioner to greatly reduce color fading and surface damage over time.
After applying the conditioner, allow it to fully bond and cure for several hours before using your seats to guarantee maximum durability. Consistent conditioning is key to effective leather care, preserving both the softness and appearance of your seats while extending their lifespan and resale value.
Avoiding Damage Risks
While cleaning your leather seats is essential, using the wrong products or techniques can cause lasting damage. To maintain clean and healthy leather over time, you need proper cleaning habits to prevent deterioration.
- Always test cleaning products on a small, inconspicuous test area to avoid discoloration or damage.
- Avoid harsh chemicals like bleach or ammonia that strip natural oils, causing dryness and cracks.
- Use soft tools and gentle motions to avoid scratches and preserve the leather’s surface.
- Don’t oversaturate with water; excess moisture weakens leather and encourages mold growth.
Frequently Asked Questions
What Do Professional Car Detailers Use to Clean Leather Seats?
You’ll want to use pH-balanced leather cleaners professionals trust, applying them gently with soft-bristle brushes or microfiber cloths.
After cleaning, condition the leather with UV-protective products to keep it moisturized and prevent cracking or fading.
How to Clean Very Dirty Leather Car Seats?
Start by vacuuming thoroughly, then apply a pH-balanced leather cleaner with a soft brush. Let it sit briefly on tough spots, scrub gently, and wipe with a damp microfiber cloth.
Finish by conditioning the leather to protect it.
Can I Use Dawn Dish Soap to Wash My Leather Car Seats?
You shouldn’t use Dawn dish soap on your leather car seats because it can strip oils and cause damage. Instead, choose a pH-balanced leather cleaner to keep your seats soft, clean, and looking great without risking harm.
What Should You Not Put on a Leather Car Seat?
Think of your leather seats as delicate skin. You shouldn’t put harsh chemicals like bleach, ammonia, vinegar, alcohol, or dish soap on them. Those can strip oils, dry out, or scratch, ruining their smooth, supple feel.
Conclusion
So, unless you want your leather seats to look like a forgotten relic from a wild jungle expedition, you’ll want to give them some love. Skip the drama of mysterious stains or that “new car smell” fading into “old gym bag,” and follow these steps.
With a little effort, your seats will stay smooth, supple, and ready for your next adventure—without turning into a leather museum exhibit nobody asked for. Clean smart, drive happy!
Regular cleaning and conditioning are key to maintaining the beauty and durability of your auto leather seats. By following proper techniques to clean auto leather seats, you can preserve their softness and prevent cracking, ensuring your car interior stays fresh and inviting for years to come.