How You Can Change the Color of Leather Furniture Step by Step
To change the color of your leather furniture, start by cleaning and lightly sanding the surface to prepare it. This step is crucial for ensuring the dye or paint adheres properly. Choose a leather dye or paint that suits your leather type and desired finish.
Apply the color evenly in thin layers using a soft cloth or sponge, letting each layer dry before adding the next. This method helps achieve a smooth and uniform look.
Once dry, seal the leather to protect your work and keep it soft. Keep going to discover how to get a smooth, long-lasting result.
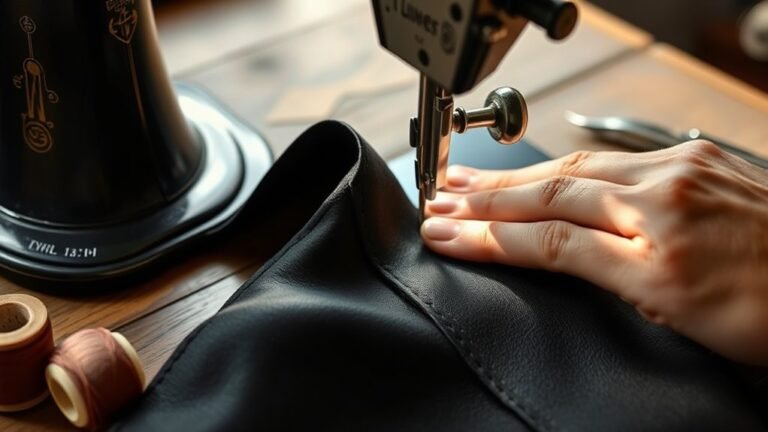
Gather Necessary Materials and Tools

Before you begin changing your leather furniture’s color, make sure you gather all the necessary materials and tools. You’ll need a quality leather dye or paint specifically designed for leather, a few soft cloths, and a sponge or foam applicator for smooth application.
Gather quality leather dye, soft cloths, and a sponge for a smooth, flawless color change.
Don’t forget leather cleaner to prepare the surface later, but hold off on using it now. Have a small bowl of water handy for dampening cloths, and gloves to protect your hands from stains.
Sandpaper or a leather prep pad might be required to lightly scuff the surface, but you’ll learn more about that in the next step.
Ultimately, get some painter’s tape to cover any areas you don’t want colored.
Having everything ready ensures you won’t interrupt your project once you start.
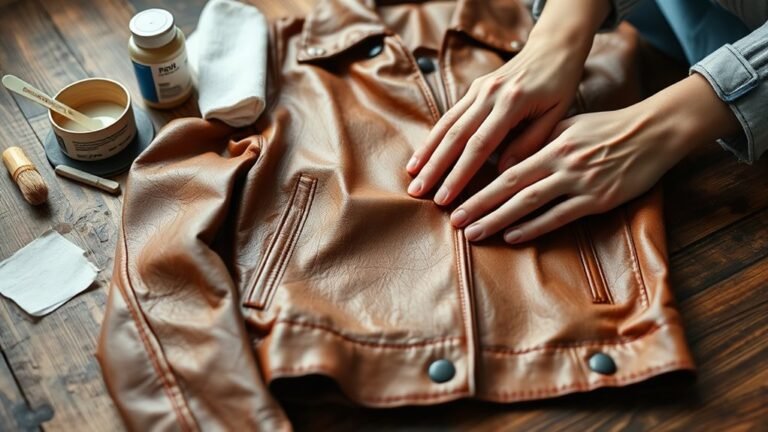
Prepare the Leather Surface for Coloring

Since a clean, smooth surface is essential for the dye to adhere properly, you’ll need to start by thoroughly cleaning and lightly sanding your leather furniture.
Begin by wiping down the leather with a damp cloth to remove dust and dirt.
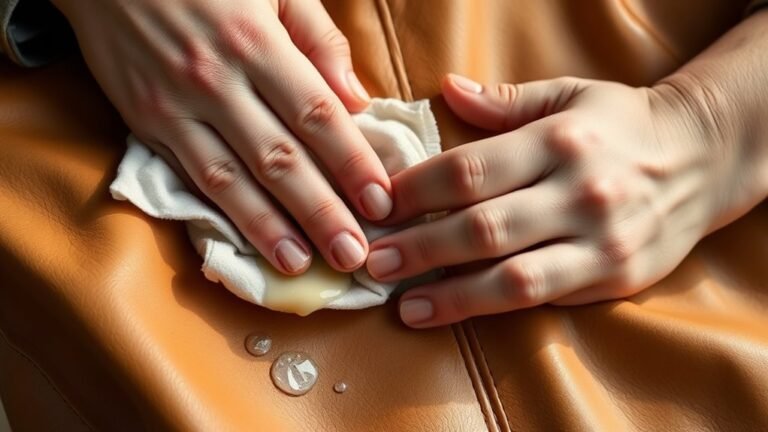
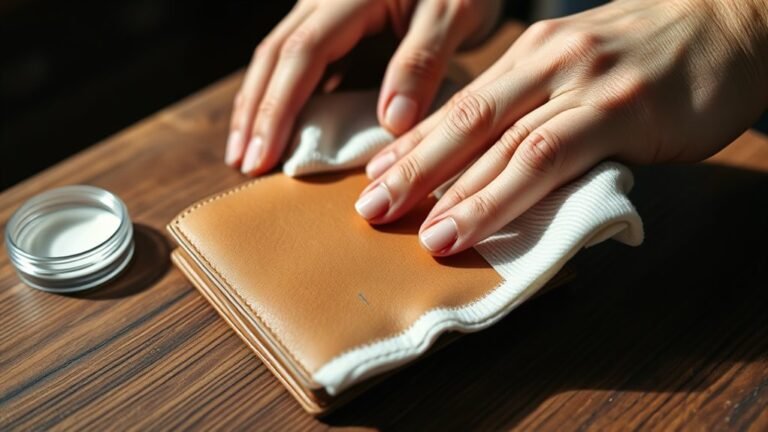
Next, apply a leather cleaner or a mild soap solution using a soft cloth, scrubbing gently in circular motions.
After cleaning, let the leather dry completely.
Then, use fine-grit sandpaper (around 400 grit) to lightly sand the surface, which helps the dye grip better.
Be careful not to over-sand, as you don’t want to damage the leather’s texture.
Finally, remove any sanding residue with a tack cloth or a slightly damp cloth, ensuring the surface is spotless and ready for coloring.
Choose the Right Leather Dye or Paint

When selecting a leather dye or paint, you’ll want to think about the type of leather you’re working with and the finish you desire.
Aniline and semi-aniline leathers absorb dye differently than pigmented ones, so choose a dye designed specifically for your leather type.
Water-based dyes are great for a natural look and are easier to clean up.
Alcohol-based dyes offer deeper penetration and durability.
If you want a more vibrant or opaque color, consider leather paints, which sit on the surface and provide solid coverage.
Always pick a product labeled for leather use to guarantee flexibility and prevent cracking.
Testing the dye or paint on a hidden spot first helps confirm the color and finish before you commit to the entire piece.
Apply the Dye or Paint Evenly
After selecting the right dye or paint for your leather, you’ll want to focus on applying it evenly to achieve a smooth, professional finish. Use a soft cloth, sponge, or airbrush to spread the color in thin, consistent layers. Avoid soaking the leather; instead, build up color gradually.
Work in small sections and maintain a steady hand to prevent streaks or blotches.
| Step | Tip |
|---|---|
| Preparation | Clean and dry the leather first |
| Application | Use thin, even coats |
| Technique | Apply in circular motions |
| Tools | Choose soft cloth or sponge |
| Consistency | Let each layer set before next |
Following these tips helps you get an even, vibrant color without damage.
Allow the Leather to Dry Completely
Although applying the dye evenly is essential, you need to let the leather dry completely before moving on. If you rush this step, the color may not set properly, leading to uneven patches or smudges.
Find a well-ventilated area to place your furniture and avoid direct sunlight, which can cause the dye to dry too quickly and crack.
Depending on the dye type and room conditions, drying can take anywhere from a few hours to overnight.
Resist the urge to touch or use the furniture during this time, as moisture can transfer and ruin your work.
Patience here guarantees the color bonds deeply and lasts longer, setting a solid foundation for the next steps in your leather color-changing process.
Seal and Protect the Newly Colored Leather
Once the leather is completely dry, you’ll want to lock in that fresh color to keep it looking vibrant and prevent wear. Start by applying a leather sealer or finisher designed for your dye type.
Use a clean, soft cloth or sponge to spread a thin, even coat over the entire surface. Let it dry fully, then apply a second coat if needed for extra protection. This sealing layer shields the leather from moisture, stains, and fading.
After sealing, finish with a leather conditioner to restore softness and flexibility.
Regularly condition your furniture to maintain its appearance and prolong the new color’s life. Taking these steps guarantees your leather stays beautiful and durable for years to come.
Frequently Asked Questions
Can I Change the Color of Leather Without Stripping the Original Finish?
You can change leather color without stripping the original finish by using a leather dye or paint designed for topcoat application.
Just clean the surface well and apply thin, even layers for the best results.
How Long Does the Color Change Process Typically Last?
Think of your leather as a butterfly—once transformed, its vibrant hues can last anywhere from 5 to 10 years.
But just like a butterfly needs care, you’ll want to maintain it to keep colors bright.
Is It Possible to Repair Color Mistakes on Leather Furniture?
Yes, you can repair color mistakes on leather furniture. Just gently clean the area, apply matching leather dye carefully, and let it dry.
You might need to repeat the process for a seamless finish.
Will Changing the Leather Color Affect Its Texture or Softness?
Changing your leather’s color is like painting a delicate butterfly’s wings—while you can brighten its hues, you might slightly alter its softness or texture.
But with care, you won’t damage its natural grace or feel.
Can I Use Fabric Dye Instead of Leather Dye for Furniture?
You shouldn’t use fabric dye on leather furniture because it won’t adhere properly and can damage the surface.
Instead, stick to leather-specific dyes designed to maintain softness and durability for the best results.
Conclusion
So, now that you’re basically a leather whisperer, changing your furniture’s color is a breeze—no magic wand required. Just remember, leather dye isn’t a miracle potion; it demands patience, precision, and maybe a little elbow grease.
Skip the chaos of buying new pieces and embrace your inner DIY artist. After all, who needs a perfect couch when you can have a perfectly colorful adventure?
Happy dyeing, Picasso of the sofa world! With these leather furniture color change tips, you’re ready to transform your space with confidence and style.