What Blade Cuts Faux Leather on Cricut? Complete Guide
You’ll want to use the Fine Point Blade on your Cricut for most thin to medium faux leather projects because it cuts cleanly and precisely. This blade is ideal for achieving detailed designs without tearing the material.
If your faux leather is thicker or tougher, switch to the Deep-Point Blade to handle extra thickness with better pressure.
Thinner, larger pieces work well with the Rotary Blade, which glides smoothly over the surface to prevent snagging.
For very dense faux leather over 3mm thick, the Knife Blade may be necessary, as it allows multiple passes for a clean cut.
Keep your settings and placement tight for the best results. There’s more to explore on perfecting your cuts, so experiment with blade types and pressures to find what works best for your specific faux leather project.
Overview of Cricut Blades for Faux Leather

When cutting faux leather with your Cricut, choosing the right blade makes all the difference. The Fine Point Blade is your go-to for most faux leather projects, delivering clean cuts on standard thicknesses.
If you’re working with thicker faux leather or need intricate designs, the Deep-Point Blade steps up by applying increased pressure to handle tougher material without sacrificing detail.
For thinner faux leather, the Rotary Blade provides smooth, precise cuts, especially on larger, simpler shapes.
While the Knife Blade is designed for very thick or dense faux leather, it’s less common for everyday faux leather cutting. Understanding these options helps you pick the perfect blade, ensuring your cutting projects come out sharp and professional every time.
Choose wisely to get the best results.
Selecting the Best Blade for Different Faux Leather Thicknesses

Selecting the Best Blade for Different Faux Leather Thicknesses
Although selecting the right blade might seem straightforward, matching your blade to the thickness of your faux leather is essential for clean cuts and project success. For thin to medium-weight faux leather, the Fine Point Blade excels, especially on the paper-thin setting, delivering precise cutting.
When dealing with thicker or denser faux leather up to 3mm, opt for the Deep Point Blade, which offers more power for smooth results. If your project involves thin faux leather with larger, simpler shapes, the Rotary Blade provides effortless, continuous cuts without scoring.
For very thick or dense faux leather over 3mm, the Knife Blade is best, though it requires longer cut times and multiple passes. Always perform test cuts to refine your blade selection based on your material’s thickness and design complexity.
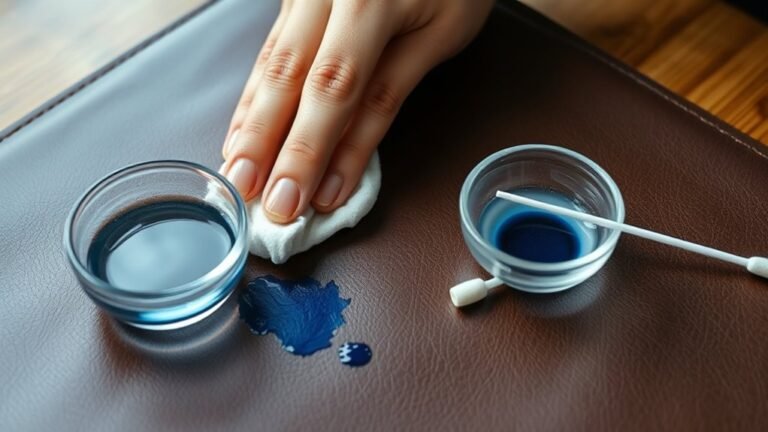
Proper Material Placement and Preparation for Cutting Faux Leather

Choosing the right blade sets the stage, but how you place and prepare your faux leather on the mat can make or break your cut quality. Always place the faux leather face down on a Strong Grip cutting mat to prevent shifting and ensure smooth cuts.
Use a brayer or scraper to firmly burnish the material onto the mat, eliminating wrinkles and air bubbles. Check that the faux leather surface is even, without bumps or tears.
For textured or coated faux leather, apply transfer tape to the rough side before placing it on the mat. No mirroring needed. Finally, secure all edges with painter’s tape within an inch of the corners to keep the material perfectly still during cutting.
Proper material placement is key for precise, clean cuts.
Adjusting Machine Settings for Optimal Faux Leather Cuts
To get the best cuts on your faux leather, you’ll want to select the right blade, either Fine Point or Deep-Point, and adjust pressure based on thickness. Don’t forget to carry out test cuts on scraps to dial in your settings before the final cut. These steps ensure clean edges and prevent wasted material.
Pressure Settings Adjustment
When cutting faux leather on your Cricut, adjusting the pressure settings is key to achieving clean, precise cuts. You’ll want to start with default pressure and increase it gradually, especially with the Fine Point Blade, performing test cuts each time.
The Deep-Point Blade generally requires higher pressure for thicker faux leather. Cricut Explore users can manually tweak pressure in Design Space, while Cricut Maker adjusts it automatically. Always test to avoid damaging your material.
| Blade Type | Pressure Setting | Cutting Tip |
|---|---|---|
| Fine Point Blade | Start default, increase gradually | Test cut to avoid overcutting |
| Deep-Point Blade | Higher than default | Needed for thicker faux leather |
| Cricut Explore | Manual adjustment | Use Design Space pressure settings |
| Cricut Maker | Automatic adjustment | Rely on material presets |
Blade Type Selection
How do you pick the right blade for cutting faux leather on your Cricut? It depends on the thickness and density of your material. If you’re working with thin, paper-like faux leather, the Fine Point Blade works well when you increase pressure and adjust settings carefully.
For thicker or denser faux leather, the Deep-Point Blade is your best choice because it handles tougher materials with precision. The Rotary Blade suits larger, simpler cuts on thinner faux leather, offering clean edges.
Avoid the Knife Blade unless the faux leather is very thick, as it needs multiple passes and longer cutting times. Choosing the right blade type and calibrating your machine settings guarantees smooth, accurate cuts every time you craft with faux leather.
Test Cut Importance
Although selecting the right blade is essential, performing a test cut on a small piece of your faux leather guarantees you dial in the perfect machine settings before starting your main project. A test cut helps you verify if the chosen blades and settings suit the thickness and texture of your material.
It also lets you adjust pressure and blade depth to avoid tearing or blade damage. By monitoring the test cut, you can see if multiple passes or further tweaks are needed for clean cuts. Regularly doing test cuts ensures consistent results across different faux leather types and projects.
- Confirm blade compatibility with your faux leather
- Adjust pressure and blade depth precisely
- Prevent material tearing and blade wear
- Determine if extra passes are necessary
- Maintain consistent cut quality across projects
Troubleshooting Common Faux Leather Cutting Issues
If your faux leather cuts come out uneven, check if your blade is dull or your mat isn’t sticky enough. A worn blade can cause tearing, while poor mat adhesion leads to shifting during cutting. You’ll want to replace the blade and clean or change the mat to get precise results.
Uneven Cuts Causes
When your faux leather cuts come out uneven, dull blades and the wrong blade type are often to blame. To get smooth, consistent cuts, pay close attention to blade selection and cut settings. Using a Fine Point Blade on thick faux leather can cause incomplete cuts, while dull blades struggle to slice cleanly.
Also, poor adhesion leads to material shifting, creating jagged edges. Make sure your leather sticks firmly to the mat for best results.
Here are common causes of uneven cuts:
Dull blades that fail to cut cleanly
Incorrect blade selection for your faux leather thickness
Insufficient pressure or too few cut passes in cut settings
Poor adhesion causing material movement during cutting
Cutting too fast or with improper machine speed settings
Check these factors to improve your Cricut faux leather projects.
Blade Dulling Signs
Uneven cuts often signal that your blade is losing its sharpness, which can make slicing faux leather much trickier. When cutting faux leather, blade dulling signs include ragged, frayed, or fuzzy edges and incomplete cuts that may require multiple passes or increased pressure with your Cricut blade.
You might also feel more resistance when inserting or removing the blade from its housing, indicating wear. Consistent tearing or shredding along the cut line clearly shows the blade’s sharpness is compromised. Even after adjusting settings, if the edges remain jagged or fuzzy, it’s time to replace your blade.
Paying attention to these blade dulling signs helps maintain clean, precise cuts on faux leather and ensures your Cricut projects turn out professional every time.
Mat Adhesion Problems
Why does your faux leather shift or slip during cutting? It usually comes down to poor mat adhesion on your StrongGrip mat. Without a solid grip, the material moves, causing uneven cuts and frustration.
To fix this, make sure you burnish the faux leather firmly with a brayer before cutting. Also, secure the edges using painter’s or masking tape to keep everything in place. Avoid air bubbles or wrinkles by smoothing the surface thoroughly.
Lastly, check your mat’s condition regularly. Worn or dirty mats lose their stickiness and need cleaning or replacement.
- Burnish faux leather firmly onto the StrongGrip mat
- Use painter’s or masking tape along edges
- Smooth out air bubbles and wrinkles before cutting
- Clean or replace worn mats to restore adhesion
- Confirm mat adhesion for precise faux leather cutting
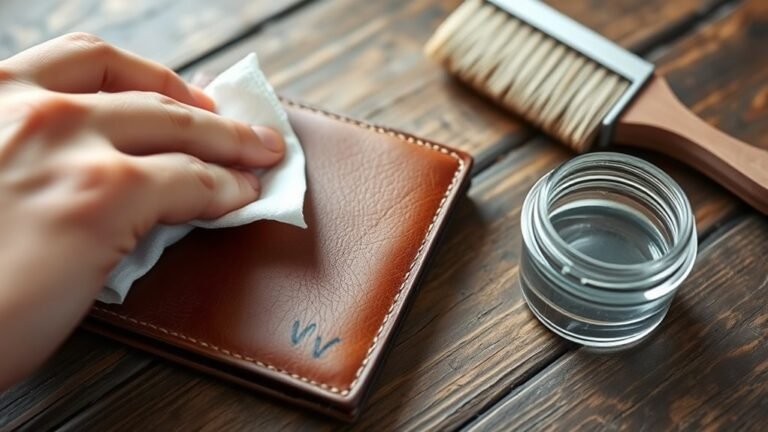
Expert Tips for Achieving Clean Cuts on Faux Leather
Although cutting faux leather can be tricky, using the right blade and settings on your Cricut makes all the difference. For clean cuts, the Fine Point Blade on a paper-thin setting works best with most faux leather.
If your material is thicker or stiffer, try the Deep-Point Blade to cut through effectively. Always perform a test cut on a scrap piece to find the ideal blade and pressure settings before your main project.
Secure the faux leather firmly with painter’s tape and press it onto a StrongGrip mat to prevent shifting during cutting. Finally, adjust the cut pressure and number of passes in Design Space to avoid rough edges or blade damage, ensuring your cutting results in crisp, clean cuts every time.

Frequently Asked Questions
What Blade to Cut Faux Leather Cricut?
You’ll want to use the Fine Point Blade for most faux leather cuts. If your material’s thicker, try the Deep-Point Blade.
For larger, simple shapes on thin faux leather, the Rotary Blade works smoothly and efficiently.
What to Cut Faux Leather With?
You should cut faux leather with a Fine Point Blade for thinner materials or a Deep Point Blade for thicker ones.
Always test your settings first to guarantee clean cuts and prevent damaging your project or machine.
Can Explore 3 Cut Leather?
Yes, you can cut thin faux leather with your Explore 3, but not thick leather or genuine leather. You’ll use the Fine Point Blade, adjust settings, and test cuts, ensuring clean shapes without damaging your machine.
What Thickness Leather Can a Cricut Maker Cut?
You can cut genuine leather up to about 6-7 oz. (1.0-1.2 mm) thick with your Cricut Maker.
Thinner leather, around 2-3 oz., works well with standard blades and settings for easy, precise cuts.
Conclusion
Cutting faux leather with your Cricut doesn’t have to feel like steering a maze. With the right blade—usually the Deep-Point or Rotary blade—you’ll slice through material like a hot knife through butter.
Remember to prep your material carefully and tweak your settings for smooth, clean cuts every time. Keep these tips in mind, and your projects will shine with professional precision, turning your creative ideas into stunning realities without a hitch.
Using the correct blade is essential when you want to cut faux leather on Cricut. The Deep-Point and Rotary blades are specifically designed to handle this material efficiently, ensuring clean edges and detailed designs.