How to Fix Peeling Faux Leather Jackets Step by Step
To fix a peeling faux leather jacket, start by cleaning the surface thoroughly with mild soap and water. This step removes dirt and oils that can interfere with the repair process. Next, gently remove any loose flakes or peeling pieces to prepare a smooth base for repair.
After cleaning and prepping, apply a thin layer of repair adhesive or compound to the damaged areas. Smooth it evenly to ensure a seamless finish. Allow the adhesive to dry completely before moving on to the next step.
Once dry, lightly sand the repaired spots to create a smooth surface. Then, paint over the area with a matching color to blend the fix with the rest of the jacket. Finally, condition the faux leather and apply a protective layer to help prevent future peeling.
Keep going to discover detailed steps and tips to restore your jacket effectively. Following these steps will extend the life of your faux leather jacket and keep it looking great.
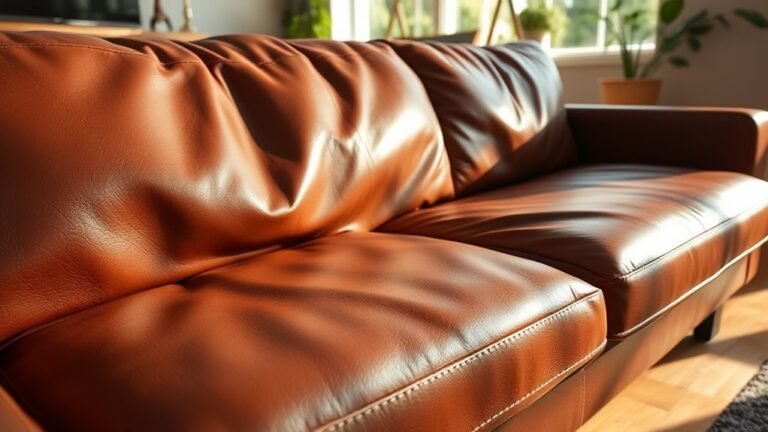
Identify the Extent of Peeling and Damage

Before you begin any repairs, carefully examine your faux leather jacket to determine how much peeling and damage it has. Run your fingers over the surface to feel for rough or flaky areas. Check both the exterior and interior layers, since damage can sometimes start beneath the surface.
Look closely for cracks, splits, or discoloration, which indicate deeper wear. Assess if the peeling is localized or widespread, as this will influence your repair approach. Take note of any stiff or brittle spots, as these areas might need extra attention.
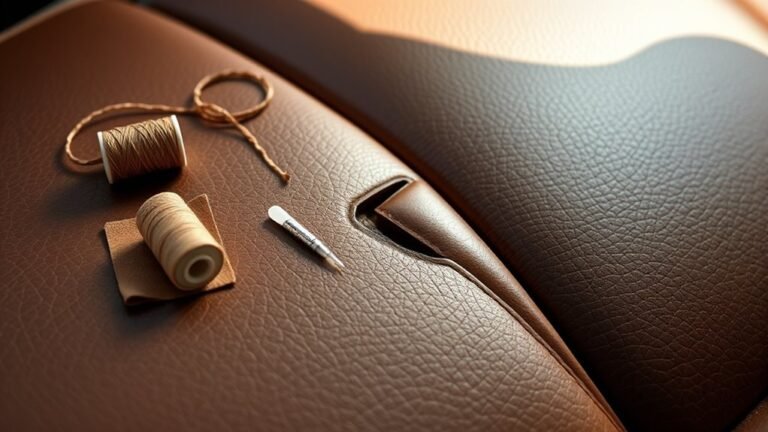
Gather Necessary Materials and Tools

Once you’ve assessed the damage, gather all the materials and tools you’ll need to fix your faux leather jacket. You’ll want to have a faux leather repair kit, which typically includes adhesive, a backing fabric, and color compounds.
Start by collecting a repair kit with adhesive, backing fabric, and color compounds for your faux leather jacket.
Get some fine-grit sandpaper to smooth rough edges around the peeling areas. Have a pair of scissors ready to trim any loose flakes. You’ll also need a clean cloth or sponge for applying solutions and wiping surfaces.
A small brush or applicator helps you spread adhesive evenly. Additionally, keep some rubbing alcohol or a gentle cleaner handy to prepare the surface later on.
Finally, find a flat workspace with good lighting to work comfortably and avoid further damage. Having everything ready makes the repair process smoother and more effective.
Clean the Jacket Surface Thoroughly

After gathering your materials, the next step is to clean the jacket surface thoroughly. Start by wiping the jacket with a soft cloth dampened with warm water and a mild soap or leather cleaner. Gently rub the surface in circular motions to remove dirt, oils, and grime.
Avoid soaking the fabric, as excess moisture can damage faux leather. Once cleaned, use a separate damp cloth to wipe away any soap residue.
Allow the jacket to air dry completely in a well-ventilated area, away from direct sunlight or heat sources.
This guarantees the surface is free of contaminants and ready for repair. A clean jacket surface helps adhesives and repair products bond better, making your fixing process more effective and long-lasting.
Remove Loose and Flaking Pieces
Although it might be tempting to skip this step, you need to carefully remove any loose or flaking pieces from your faux leather jacket. This prepares a smooth surface for repair and prevents further peeling. Use a soft brush or your fingers to gently lift and peel away the damaged areas. Avoid harsh scraping to prevent damage to the underlying material.
| Tool | Purpose | Tip |
|---|---|---|
| Soft Brush | Remove flaking fragments | Use gentle sweeping motions |
| Fingertips | Lift loose pieces | Work slowly to avoid tears |
| Tweezers | Extract stubborn flakes | Hold firmly but don’t pull hard |
After clearing the surface, you’ll have a clean base to proceed with the next repair steps.
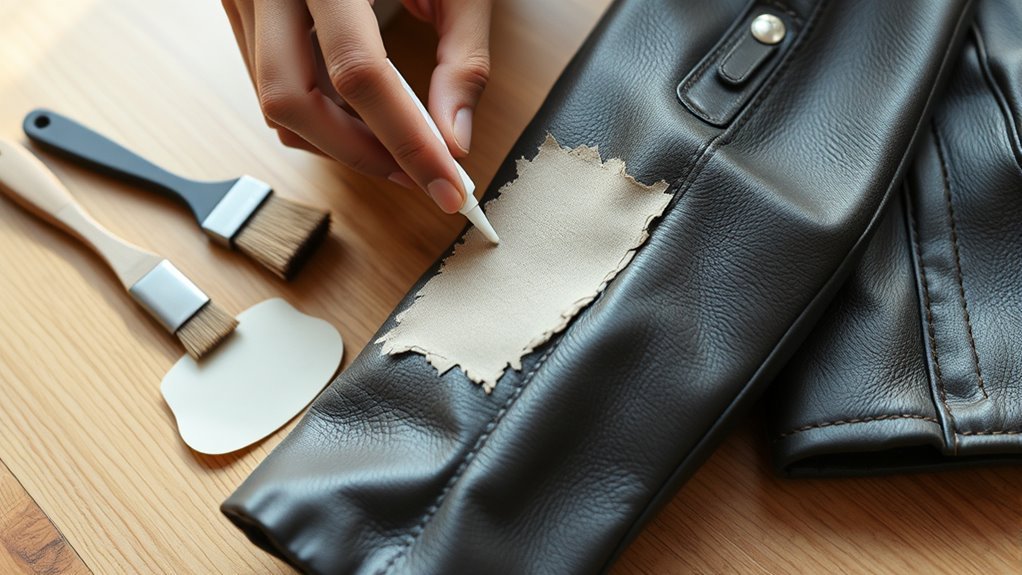
Apply Leather Repair Compound or Adhesive
Before you start applying any repair compound or adhesive, make sure the jacket’s surface is completely clean and dry. This step guarantees better bonding and a longer-lasting fix.
Choose a leather repair compound or adhesive designed for faux leather to avoid damage.
Apply a thin, even layer over the peeled areas using a small spatula or brush. Don’t rush; take your time to cover every exposed spot carefully.
You’ll feel a sense of accomplishment as you see your jacket slowly regain its charm.
Witness your jacket’s charm return and enjoy the satisfaction of breathing new life into it.
Remember, this step is vital because:
- It seals peeled sections to prevent further damage
- It restores the jacket’s smooth texture
- It strengthens weak spots effectively
- It prepares the surface for a flawless finish
- It brings hope to your favorite worn-out jacket
Smooth and Blend the Repaired Area
Once the repair compound has dried, you’ll want to smooth and blend the area to match the rest of your jacket seamlessly. Begin by gently sanding the patch with fine-grit sandpaper, using light, circular motions to avoid damaging surrounding material. This step helps eliminate any unevenness or rough edges.
Next, wipe away dust with a clean, damp cloth and let it dry.
To blend the color, apply a small amount of matching leather paint or dye with a sponge or fine brush, feathering the edges to merge with the original surface. Allow the paint to dry between layers, adding more if needed for a uniform look.
Taking your time here ensures the repair is discreet and your jacket looks as good as new.
Let the Repair Cure and Dry Completely
After you’ve smoothed and blended the repaired area, let the repair cure and dry completely to guarantee durability. This step is vital because rushing it can cause the patch to peel again or crack.
Find a warm, dry spot with good air circulation, but avoid direct sunlight or heat sources, which might damage the faux leather. Be patient—this process usually takes several hours to a full day depending on the product used.
While waiting, imagine:
- Your jacket regaining its sleek, flawless look
- The pride of saving a favorite piece
- Avoiding the frustration of repeated repairs
- The joy of wearing your renewed jacket confidently
- How this small pause ensures long-lasting results
Give your jacket the time it deserves for a perfect finish.
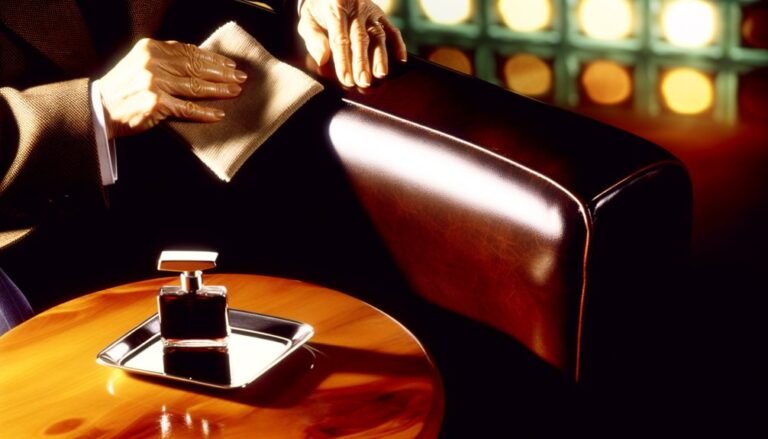
Condition and Protect the Faux Leather Surface
Giving your jacket time to cure sets the stage for maintaining its quality long-term. Once dry, you need to condition the faux leather to keep it flexible and prevent future peeling.
Choose a conditioner specifically made for faux leather or vinyl. Apply a small amount onto a clean, soft cloth and gently rub it over the entire surface in circular motions. This helps restore moisture and adds a protective layer.
Avoid over-saturating the material, as excess product can cause damage.
After conditioning, protect your jacket by spraying a water and stain repellent designed for synthetic leather. This will shield it from moisture and dirt.
Regular conditioning and protection will extend your jacket’s life and keep it looking fresh and supple.
Frequently Asked Questions
How Can I Prevent Faux Leather Jackets From Peeling in the First Place?
You can prevent peeling by keeping your faux leather jacket clean and dry, avoiding excessive heat or sunlight, storing it properly on a hanger, and using a conditioner designed for faux leather to maintain its flexibility and durability.
Regular maintenance is key to extending the life of your jacket. Make sure to wipe down any spills or dirt promptly to avoid damage.
Also, avoid folding or crushing the jacket, as this can cause creases that may lead to peeling over time.
Are There Specific Brands of Faux Leather That Resist Peeling Better?
Yes, you’ll find brands like Matt & Nat and Nanushka use higher-quality faux leather that resists peeling better.
Choose jackets with polyurethane coatings or vegan leather blends to guarantee durability and prevent premature wear and tear.
Can I Wash a Faux Leather Jacket in a Washing Machine?
You shouldn’t wash a faux leather jacket in a washing machine because it can damage the material and cause peeling.
Instead, spot clean with a damp cloth and mild soap, then air dry it gently.
How Long Does a Typical Faux Leather Jacket Last With Proper Care?
If you care for your faux leather jacket like Lisa, who conditions it regularly and stores it properly, it can last 3 to 5 years.
You’ll keep it looking fresh by avoiding moisture and harsh cleaning methods.
Is It Safe to Use Household Glue for Quick Faux Leather Repairs?
You shouldn’t use household glue for faux leather repairs because it can damage the material or leave a sticky residue.
Instead, opt for fabric glue or a product designed specifically for faux leather to guarantee a safe, lasting fix.
Conclusion
By following these steps, you’ll breathe new life into your peeling faux leather jacket, turning its cracked surface into a smooth canvas once more. Think of your jacket as a weathered canvas, ready for your careful touch to restore its shine and strength.
With patience and care, you’ll not only fix the damage but also protect it from future wear. This process ensures your jacket remains durable and stylish.
Wrapping yourself in a jacket that feels as good as new—your own wearable masterpiece—is within reach. Proper maintenance and repair of peeling faux leather jackets will extend their life and keep them looking fresh.