How to Dye Leather Shoes at Home in 7 Easy Steps
To dye leather shoes at home, first gather materials like leather dye, cloths, gloves, and cleaner. Cleaning and preparing the leather properly is essential for a successful leather shoe dyeing project. Lightly sand the leather to ensure smooth dye adherence and remove any dirt or oils.
Choose the right type of leather dye for your shoes, then apply it evenly with a cloth or brush using circular motions. Let the dye dry completely before deciding if additional coats are necessary.
Once you’re satisfied with the color, finish by sealing the leather with a protective coat to enhance durability. Follow these steps to revitalize your shoes, and you’ll discover tips for perfect, lasting results.
Gather Your Materials

Before you begin dyeing your leather shoes, gather all the necessary materials to guarantee a smooth process. You’ll need leather dye in your chosen color, a few clean cloths, and a pair of disposable gloves to protect your hands.
Start by gathering leather dye, clean cloths, and disposable gloves for a smooth shoe dyeing process.
Have a small bowl or container ready to pour the dye into for easier application. A soft-bristled brush or sponge can help you apply the dye evenly.
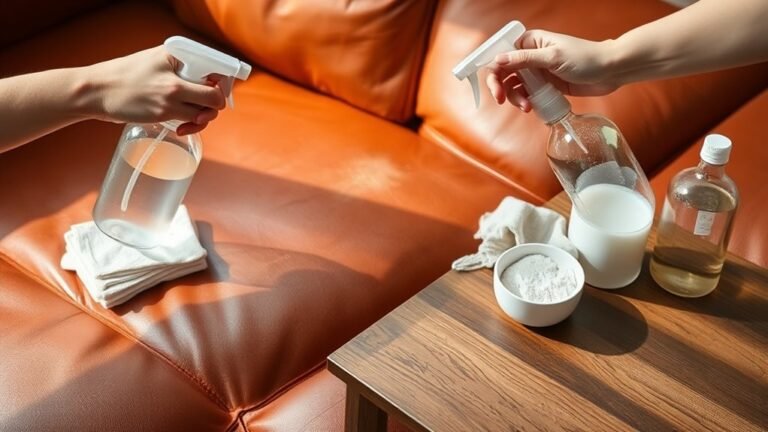
Don’t forget a leather conditioner to restore moisture after dyeing and a sealant to protect the finish. Additionally, keep some rubbing alcohol or leather cleaner on hand to clean the shoes before dyeing.
Finally, prepare a well-ventilated workspace and some old newspapers or plastic sheets to avoid messes. With these materials ready, you’ll be set for the next steps.
Prepare the Leather Surface

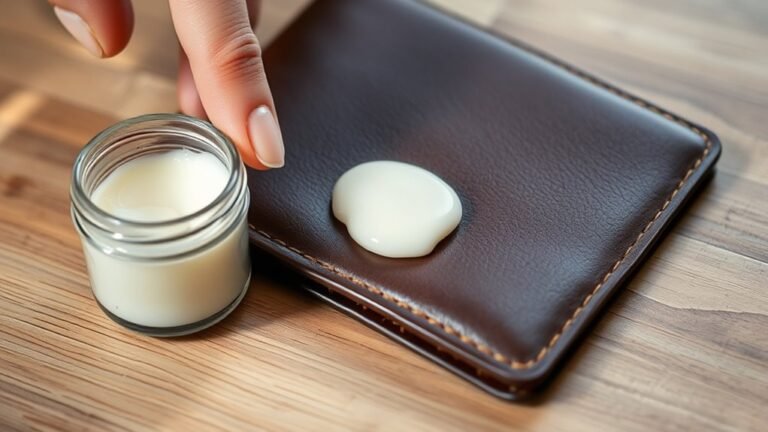
Once you have all your materials ready, focus on preparing the leather surface to guarantee the dye adheres properly. Start by cleaning the shoes thoroughly with a leather cleaner or a mild soap and water solution.
Use a soft cloth or sponge to remove dirt, oils, and residues that can prevent the dye from soaking in evenly. After cleaning, let the shoes dry completely in a well-ventilated area away from direct sunlight or heat.
Next, lightly sand the leather with fine-grit sandpaper or a sanding sponge to create a slightly rough texture, helping the dye penetrate better.
Finally, wipe down the shoes with a damp cloth to remove any sanding dust.
Proper preparation ensures your dye job will be smooth and long-lasting.
Choose the Right Leather Dye

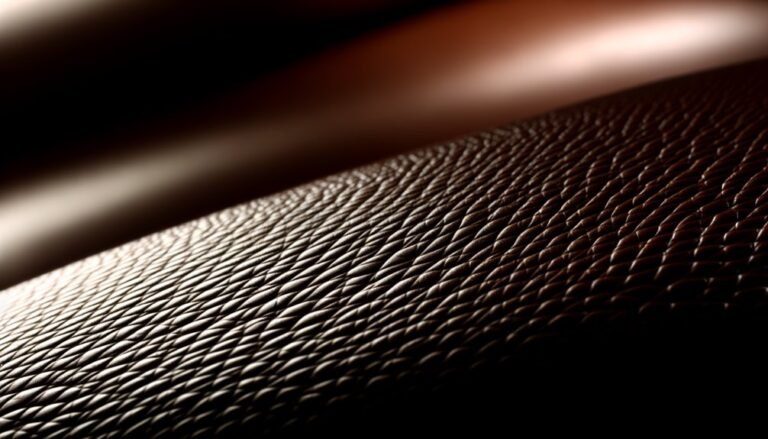
Although selecting the right leather dye might seem overwhelming, choosing a product that matches your shoe type and desired finish is essential for a successful result. First, identify whether your shoes are made of smooth, aniline, or nubuck leather, as each requires different dye types.
Choosing the right dye for your leather shoes depends on the leather type and desired finish for best results.
For smooth leather, oil-based or alcohol-based dyes work best, offering rich color and durability. If you want a natural look, water-based dyes are gentler and eco-friendly but may need multiple coats. Avoid fabric dyes—they won’t penetrate leather properly.
Also, consider the finish: matte, glossy, or satin. Test the dye on a hidden area to ensure color accuracy and compatibility.
Picking the right dye upfront saves time and prevents damage, setting you up for a flawless dye job.
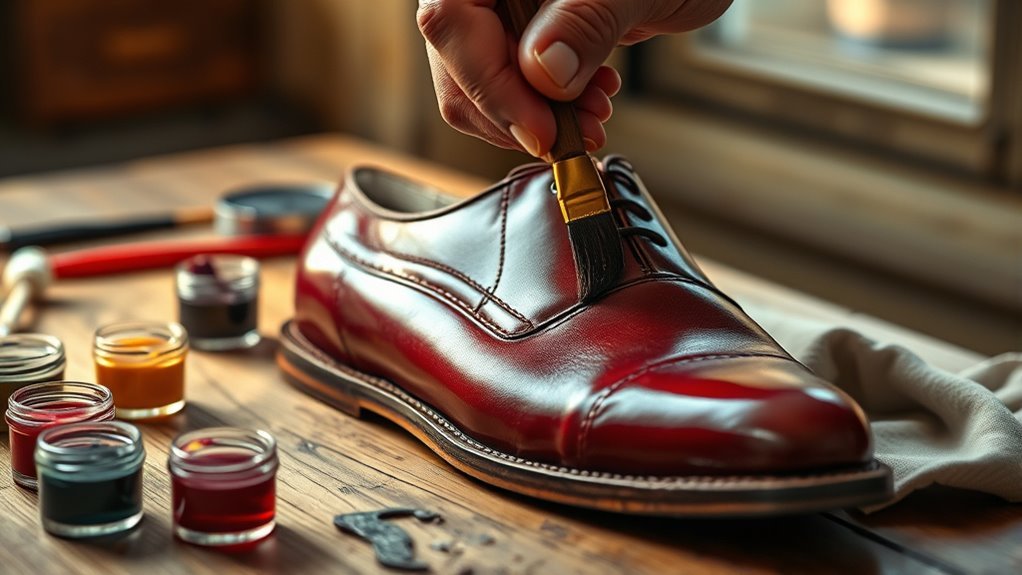
Apply the Leather Dye Evenly
To achieve a smooth, consistent color, you’ll need to apply the leather dye evenly across the shoe’s surface. Start by dipping a clean, soft cloth or a foam brush into the dye, removing any excess to avoid drips.
Work in small sections, using gentle, circular motions to spread the dye uniformly. Be sure to cover every area, including seams and edges, to prevent patchiness.
Avoid heavy applications, as too much dye can cause streaks or uneven drying later. If you notice any spots with too little dye, quickly blend them in while the dye is still wet.
Keep your strokes consistent in direction and pressure to maintain an even finish. Taking your time here guarantees a professional-looking result you’ll be proud of.
Allow the Dye to Dry Completely
After applying the dye evenly, you need to let it dry completely before handling the shoes further. This prevents smudges and guarantees the color sets properly.
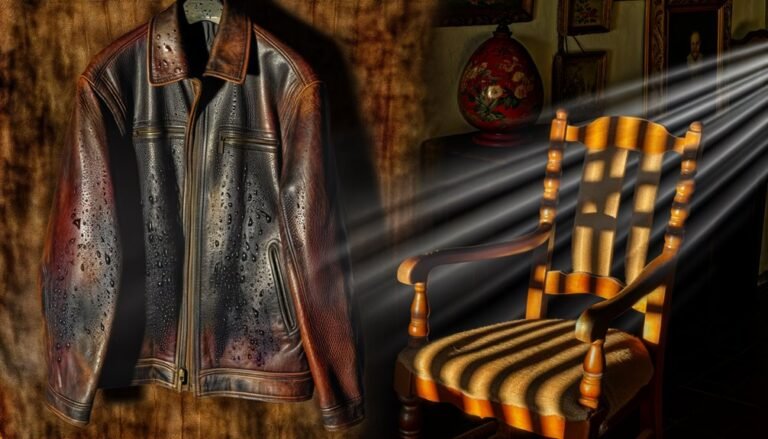
Place your shoes in a well-ventilated area away from direct sunlight or heat sources, which can cause uneven drying or cracking. Drying times vary based on temperature and humidity, so be patient. Typically, it takes about 4 to 6 hours.
| Condition | Ideal Drying Time | Tips |
|---|---|---|
| Warm & Dry | 4 hours | Use a fan for airflow |
| Cool & Humid | 6+ hours | Avoid closed spaces |
| Moderate Climate | 5 hours | Rotate shoes occasionally |
Don’t rush this step, as fully dried dye provides a smooth, lasting finish.
Apply Additional Coats if Needed
If the color looks uneven or too light once the first coat dries, you’ll want to apply additional coats to achieve a richer, more consistent finish. Don’t rush this step. Patience ensures the best results. Here’s how to proceed effectively:
If the first coat appears uneven or light, apply more coats patiently for a richer, consistent finish.
- Wait for the previous coat to dry completely before applying the next.
- Use thin, even strokes with your applicator to avoid streaks or blotches.
- Check your progress under good lighting to spot any uneven areas.
- Repeat the process until you reach your desired shade, usually 2–3 coats.
Applying multiple coats lets you build depth gradually, giving your shoes a professional look.
Just remember to keep the layers light and even for smooth, lasting color.
Seal and Protect the Dyed Leather
Once you’ve achieved the perfect color, sealing the leather is essential to protect your work from wear and moisture. Start by choosing a leather sealer or a clear acrylic finish specifically designed for leather.
Apply it evenly with a clean cloth or sponge, using light, circular motions to avoid streaks. Allow the first coat to dry completely, then apply a second coat for extra durability. Make sure to cover all dyed areas thoroughly.
Sealing not only locks in the color but also adds a protective barrier against water, stains, and scratches. After sealing, let your shoes dry in a well-ventilated space. Proper sealing ensures your leather shoes look great and last longer, maintaining that vibrant color you worked hard to achieve.
Frequently Asked Questions
Can I Dye Synthetic Leather Shoes at Home?
You can dye synthetic leather shoes at home, but it’s trickier than real leather. You’ll need special fabric or acrylic paints instead of traditional leather dyes to get good, lasting results without damaging the material.
These types of paints adhere better to synthetic surfaces and provide more vibrant colors. Before dyeing, clean the shoes thoroughly to remove any dirt or oils.
Test the paint on a small, inconspicuous area first to ensure compatibility. With patience and the right materials, you can successfully refresh your synthetic leather shoes at home.
How Long Does Leather Dye Typically Last on Shoes?
Leather dye typically lasts about 6 to 12 months on shoes. You’ll enjoy knowing 70% of wearers notice fading after this period.
To keep colors vibrant, you’ll need regular touch-ups and proper care.
Is It Safe to Dye Shoes Indoors Without Ventilation?
No, it’s not safe to dye shoes indoors without ventilation. The fumes can be harmful, so you should always work in a well-ventilated area or use a mask to protect yourself while dyeing leather shoes.
Can I Change the Color of Suede Leather Using Dye?
Yes, you can change suede leather’s color using dye, but you’ll want to use a special suede dye or spray.
Make sure to prep the surface well and test a small area first to avoid uneven results.
How Do I Remove Dye Stains From My Skin or Clothes?
Did you know 70% of people struggle with dye stains? To remove dye from skin, use rubbing alcohol or hand sanitizer.
For clothes, soak in cold water with detergent ASAP to prevent permanent staining.
Conclusion
Dyeing your leather shoes at home is like painting a canvas—you bring new life and color with each careful stroke. By gathering your materials, prepping the surface, and applying dye evenly, you guarantee a smooth transformation.
Let the dye dry fully, add extra coats if needed, and seal your work to protect it. With patience and attention, your shoes won’t just look renewed—they’ll tell a vibrant story of your craftsmanship.
Following these steps will ensure successful leather shoe dyeing at home, giving your footwear a fresh, personalized look while preserving their quality and durability.