How Do Iron Patches Work on Leather Successfully
To successfully apply iron-on patches to leather, it is essential to understand how iron patches work on leather. Start by cleaning and drying the area thoroughly. If the leather surface is glossy, gently buff it to help the patch adhere better.
Next, position the patch carefully on the desired spot. Cover it with a thin cloth, then iron on medium heat without steam for 30-45 seconds.
Allow the patch to cool completely before handling to ensure strong adhesion. Be cautious with the heat to avoid damaging the leather. For extra security, consider sewing the edges of the patch.
Keep following for more tips to avoid common problems and ensure lasting adhesion on your leather items.
Understanding Iron-On Patch Adhesives and Leather Compatibility

Although iron-on patches offer a quick way to customize your leather items, you need to understand how their adhesives interact with leather. Most iron-on patches use heat-activated glue, designed primarily for fabrics like cotton or polyester.
Iron-on patches use heat-activated glue meant for fabrics, so their bond with leather can be tricky.
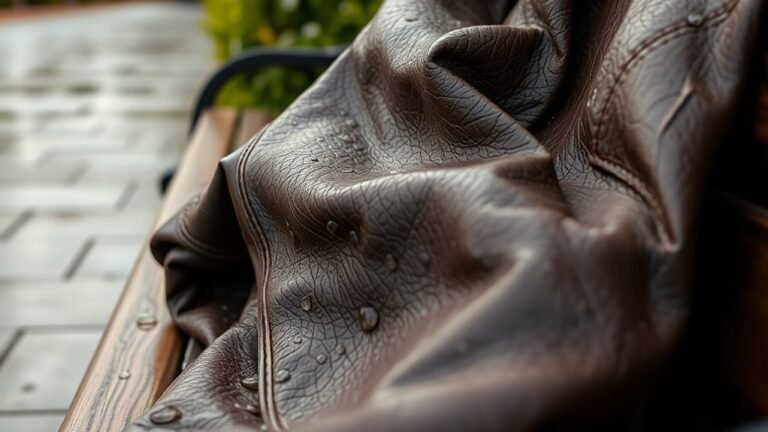
Leather, however, is sensitive to heat and can be damaged or warped if exposed to high temperatures. Additionally, the smooth, non-porous surface of leather prevents adhesives from bonding as effectively as they do to fabric.
This means the patch mightn’t stick well or could peel off over time. When you apply heat, the adhesive melts and tries to bond, but the leather’s texture and heat sensitivity require careful handling.
Knowing these factors helps you decide whether iron-on patches are suitable for your leather pieces or if alternative methods might work better.
Preparing Leather Surfaces for Patch Application

Since leather’s texture and heat sensitivity affect how well iron-on patches stick, you’ll need to prepare the surface properly before applying any patch. Prepping ensures better adhesion and prevents damage.
Follow these key steps to get your leather ready:
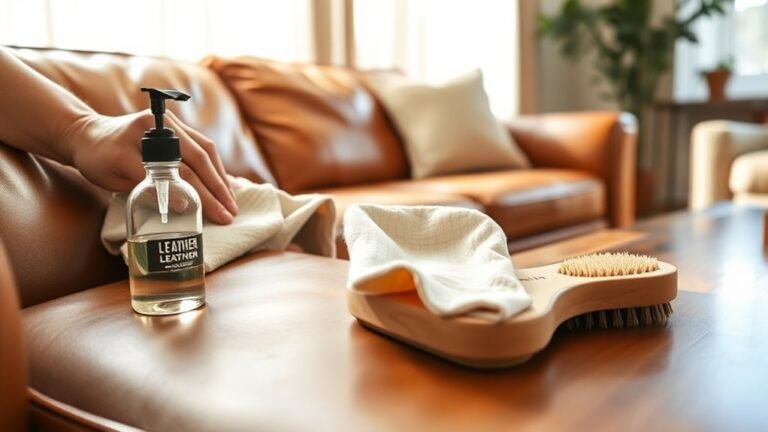
1. Clean the area
Use a soft cloth and mild leather cleaner to remove dirt and oils.
2. Dry completely
Let the leather air dry to avoid trapping moisture under the patch.
3. Smooth the surface
Gently buff the patch area with fine sandpaper if the leather is too glossy or coated.
4. Test a hidden spot
Apply heat briefly on an inconspicuous area to check how the leather reacts.
Proper preparation sets the stage for a strong, lasting bond between your patch and leather.
Step-by-Step Guide to Applying Iron Patches on Leather

Before you apply an iron patch on leather, make sure you’ve thoroughly prepared the surface to guarantee strong adhesion. Here’s a straightforward guide to help you get it right:
- Position the patch on the clean, dry leather.
- Cover the patch with a thin cloth to protect it.
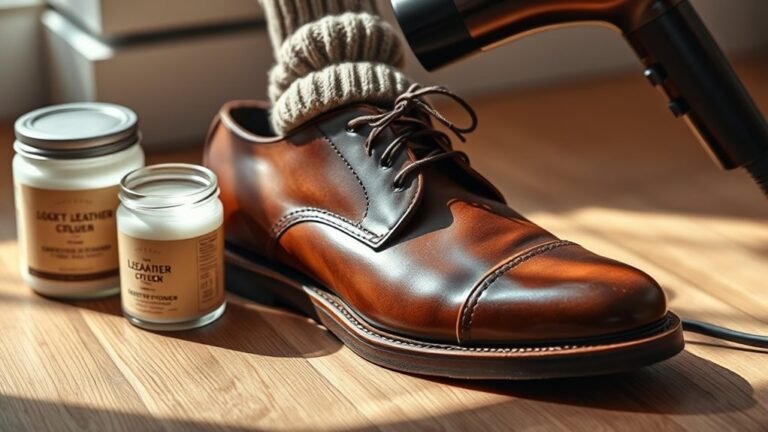
- Set your iron to medium heat, no steam.
- Press the iron firmly on the patch for 30-45 seconds.
- Let it cool completely before handling.
| Step | Temperature | Time (Seconds) |
|---|---|---|
| Position Patch | N/A | N/A |
| Iron On Patch | Medium Heat | 30-45 |
| Cooling | Room Temp | 60 |
Following these steps ensures a smooth, durable bond between the patch and leather.
Common Challenges and How to Avoid Damage
Applying iron patches to leather can be straightforward if you follow the right steps, but challenges often arise that can affect the final result. To avoid damage and ensure your patch sticks well, keep these common issues in mind:
- Heat Damage: Using too high a temperature can scorch or warp leather. Always test on a scrap piece first.
- Uneven Pressure: Pressing unevenly may cause bubbles or poor adhesion. Apply firm, even pressure during ironing.
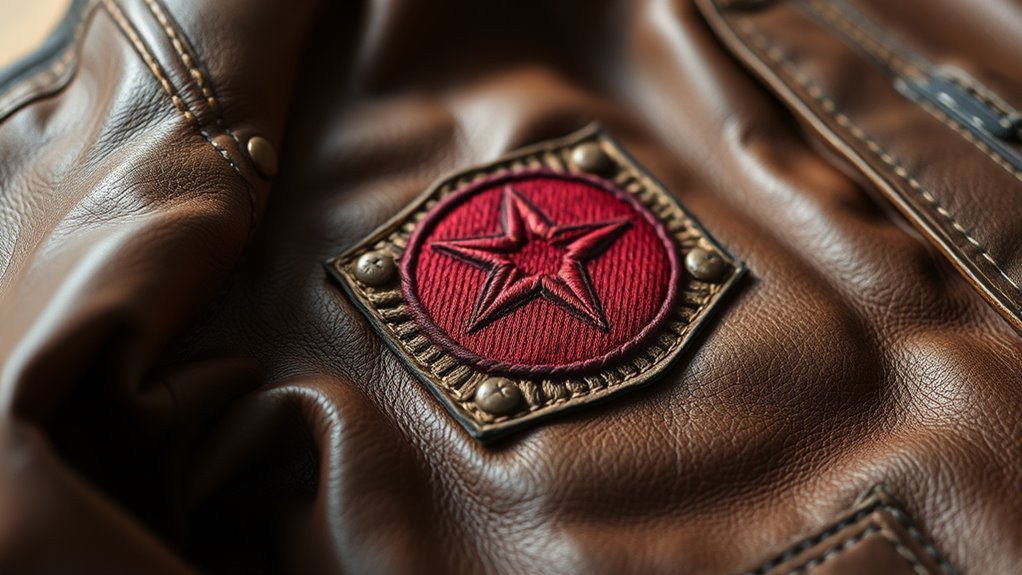
- Incorrect Patch Placement: Misaligned patches look unprofessional and may peel off quickly. Position carefully before ironing.
- Incompatible Leather Finish: Some leathers resist heat or adhesives. Verify your leather type’s suitability before proceeding.
Tips for Maintaining and Securing Iron-On Patches on Leather
Although iron-on patches provide a quick fix for leather, you’ll want to take specific steps to keep them secure and looking great over time. First, always let the patch cool completely after ironing to ensure the adhesive sets properly.
Avoid excessive bending or stretching around the patch area to prevent peeling.
When cleaning, use a damp cloth instead of soaking the leather, and never put the patched item in a washing machine or dryer.
If you notice edges lifting, reapply heat with a protective cloth between the iron and patch, pressing firmly but briefly.
For extra security, consider sewing around the patch edges after ironing.
Following these tips helps maintain your patch’s appearance and adhesion, keeping your leather looking sharp and personalized for longer.
Frequently Asked Questions
Can Iron Patches Be Removed Without Damaging Leather?
You can remove iron patches from leather carefully by reheating the patch and peeling it off slowly. Use a cloth to protect the leather and avoid damage, but be cautious as some adhesives might still leave residue.
If residue remains, you can gently clean the area with a leather-safe adhesive remover or rubbing alcohol. Always test any cleaning product on a small, hidden area first to ensure it does not discolor or damage the leather. Patience and gentle handling are key to preserving the leather’s quality during the removal process.
Are Iron Patches Reusable on Leather?
You can’t reuse iron patches on leather once they’ve bonded; the adhesive melts and sticks permanently. Trying again risks damaging your leather or patch.
Instead, prepare a fresh patch for a flawless, lasting repair every time.
Do Iron Patches Affect Leather’s Breathability?
Yes, iron patches can reduce leather’s breathability because they create a sealed area where air can’t pass through.
Can Iron Patches Be Applied on All Leather Types?
You can’t paint every canvas the same way—iron patches don’t suit all leather types. Delicate or untreated leather might suffer damage, so always test a small area first to avoid ruining your prized piece.
How Long Do Iron Patches Typically Last on Leather?
Iron patches typically last several months to a year on leather, depending on wear and care.
You’ll want to avoid excessive moisture and friction to keep them secure and looking good as long as possible.
Conclusion
When you think iron patches and leather don’t mix, remember that with the right prep and gentle heat, they actually do. It’s like finding the perfect fit where two unlikely materials come together and create something stronger.
You might hesitate, but once you see how well they bond, you’ll realize patience and care turn a simple patch into lasting style.
So go ahead—your leather’s ready for a little extra character. Iron patches on leather work successfully when applied with care and the right technique.