7 Good Tips for Cleaning Leather Car Seats Effectively
To clean your leather car seats effectively, start by gathering gentle cleaners, a soft microfiber cloth, and a small brush for crevices. Proper leather car seat cleaning helps maintain their appearance and prolongs their life. Vacuum thoroughly to remove dirt without damaging the leather.
Test any cleaner on a hidden spot before applying it widely. Use gentle motions with your cloth to avoid scratches, then condition your seats to keep them supple. Keep them out of direct sunlight while drying to prevent cracking.
Explore these tips more deeply to keep your seats looking their best longer. Following these steps ensures your leather seats stay clean, conditioned, and protected from wear.
Gather the Right Cleaning Supplies

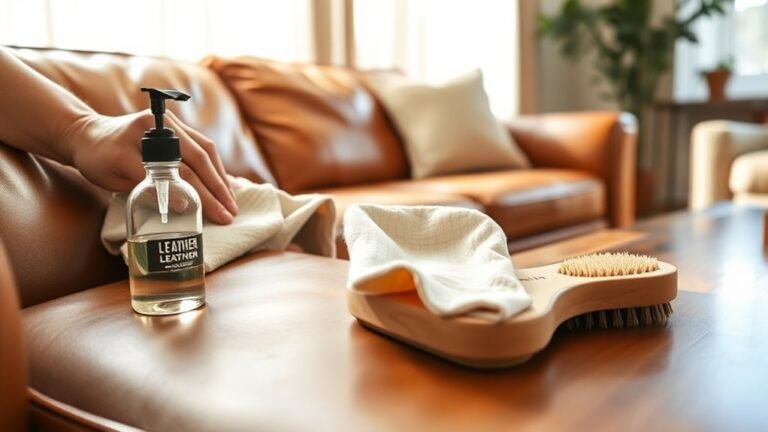
Before you begin cleaning your leather car seats, make sure you have the right supplies on hand. Start with a soft microfiber cloth to avoid scratching the leather surface. You’ll also need a gentle leather cleaner specifically designed for automotive seats. Avoid harsh chemicals that can damage or dry out the leather.
Use a soft microfiber cloth and gentle leather cleaner to protect your car seats from damage and dryness.
A small, soft-bristled brush helps loosen dirt from seams and crevices without causing wear. Don’t forget a leather conditioner to restore moisture and keep your seats supple after cleaning.
Additionally, have a spray bottle filled with distilled water handy for diluting cleaners if necessary.
Having these essentials ready ensures a smooth, effective cleaning process that protects your leather and keeps your car interior looking fresh and well-maintained.
Vacuum Your Seats Thoroughly

Although it might seem simple, vacuuming your leather car seats thoroughly is a crucial step to remove dirt and debris trapped in seams and crevices. Skipping this can cause scratches during cleaning and reduce the leather’s lifespan. Use a vacuum with a soft brush attachment to avoid damaging the leather surface.
Here’s a quick guide for effective vacuuming:
| Step | Tip |
|---|---|
| 1. Choose Attachment | Use a soft brush or upholstery tool |
| 2. Adjust Vacuum Settings | Set to low suction to protect leather |
| 3. Cover All Areas | Focus on seams, folds, and crevices |
| 4. Move Slowly | Ensure thorough dirt removal |
| 5. Empty Vacuum Bag | Prevent dirt re-depositing |
Following these steps ensures your seats are ready for the next cleaning phase.
Use a Gentle Leather Cleaner

Since leather is sensitive, you’ll want to choose a gentle cleaner specifically designed for it to avoid drying or damaging the material. Harsh chemicals or all-purpose cleaners can strip natural oils from the leather, causing it to crack or fade over time.
Opt for a pH-balanced leather cleaner that effectively lifts dirt without compromising the seat’s finish. Apply the cleaner sparingly with a soft cloth or sponge, working in small sections to ensure even coverage.
Choose a pH-balanced cleaner and apply gently with a soft cloth in small sections for best results.
Avoid soaking the leather, as excess moisture can seep into seams and weaken the material. After cleaning, wipe away any residue with a clean, damp cloth to prevent buildup.
Using the right cleaner keeps your leather seats looking fresh and helps maintain their durability for years.
Test Cleaners on a Hidden Area First
To prevent unexpected discoloration or damage, always test your leather cleaner on a hidden spot first. This step helps you verify the product is safe and effective for your car seats.
Follow these simple steps:
- Choose a discreet area, like under the seat or inside a crease.
- Apply a small amount of cleaner and wait a few minutes.
- Check for any color change, fading, or texture damage.
- If the leather stays intact, proceed with cleaning the visible areas.
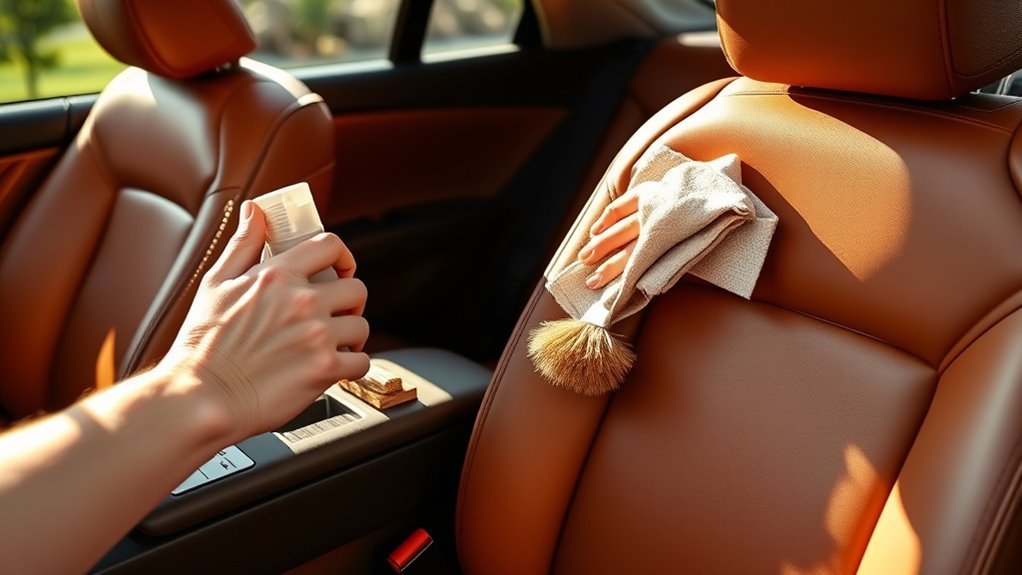
Clean With Soft, Microfiber Cloths
When cleaning your leather car seats, use soft, microfiber cloths to avoid scratching or damaging the surface. These cloths gently lift dirt and grime without being abrasive, preserving the leather’s natural texture.
Avoid rough materials like paper towels or sponges, which can cause wear over time. For best results, dampen the cloth slightly with water or a mild cleaner, then wipe in gentle, circular motions.
Remember to use different cloths for cleaning and drying to prevent streaks.
| Type of Cloth | Texture | Best Use |
|---|---|---|
| Microfiber | Soft, smooth | Cleaning, dusting |
| Cotton | Soft, absorbent | Drying, light wiping |
| Terrycloth | Thick, rough | Avoid for leather surfaces |
Stick with microfiber to keep your seats looking pristine.
Condition the Leather After Cleaning
Although cleaning removes dirt and grime, conditioning your leather seats restores their softness and prevents cracking.
After cleaning, apply a high-quality leather conditioner to nourish the material. Here’s how to do it right:
- Use a clean, soft cloth to apply a small amount of conditioner evenly over the surface.
- Work the conditioner into the leather with gentle, circular motions to ensure absorption.
- Let the conditioner sit for 10-15 minutes to penetrate deeply and hydrate the leather.
- Buff the seats with a dry microfiber cloth to remove any excess product and enhance the leather’s natural shine.
Conditioning regularly keeps your seats supple, extends their lifespan, and maintains their luxurious feel.
Make it a part of your car care routine for the best results.
Avoid Direct Sunlight and Heat During Drying
Since leather is sensitive to extreme conditions, you should never dry your car seats in direct sunlight or near heat sources. Doing so can cause the leather to dry out, crack, or fade over time.
After cleaning, let your seats air dry naturally in a shaded, well-ventilated area. Avoid using hair dryers, heaters, or placing the car under the sun to speed up drying; these methods can damage the leather’s texture and color.
Instead, open the car doors or windows to promote airflow, helping the leather dry evenly and safely. Taking these precautions preserves your seats’ softness and appearance, extending their lifespan.
Frequently Asked Questions
Can Leather Seat Colors Fade Over Time With Frequent Cleaning?
Yes, leather seat colors can fade over time if you clean them too frequently or use harsh products.
To keep the color vibrant, you should use gentle cleaners and condition the leather regularly to protect it.
How Often Should Leather Car Seats Be Professionally Cleaned?
Imagine your leather seats looking dull after years of neglect. You should get them professionally cleaned every 12 to 18 months to maintain their shine and longevity.
This keeps your car feeling fresh and luxurious for years.
Are There Any Homemade Leather Cleaning Solutions That Are Safe?
Yes, you can safely use a mix of equal parts water and white vinegar or mild dish soap diluted in water.
Just test a small area first, and avoid soaking the leather to prevent damage.
What Are the Signs That Leather Seats Need Repair Instead of Cleaning?
You’ll know your leather seats need repair, not just cleaning, if you see deep cracks, peeling, discoloration, or persistent stains.
Also, if the leather feels brittle or tears easily, it’s time to repair instead of clean.
Can Pet Hair Damage Leather Car Seats During Cleaning?
Yes, pet hair can damage leather seats if you scrub harshly; coincidentally, the same gentle touch you use to care for your pet works best here.
Conclusion
By following these simple steps, you’re not just cleaning your leather seats—you’re giving them a little extra TLC to keep them feeling pampered and looking their best.
Remember, leather is a delicate companion that thrives on gentle care and a bit of patience. Avoid rushing the drying process or exposing it to harsh conditions, and you’ll enjoy that soft, supple feel for many journeys to come.
Your car deserves this quiet kindness. Proper leather seat cleaning not only enhances the appearance but also extends the life of your car’s interior, ensuring your leather car seats remain in top condition.