How to Sew Leather on a Sewing Machine in 3 Easy Steps
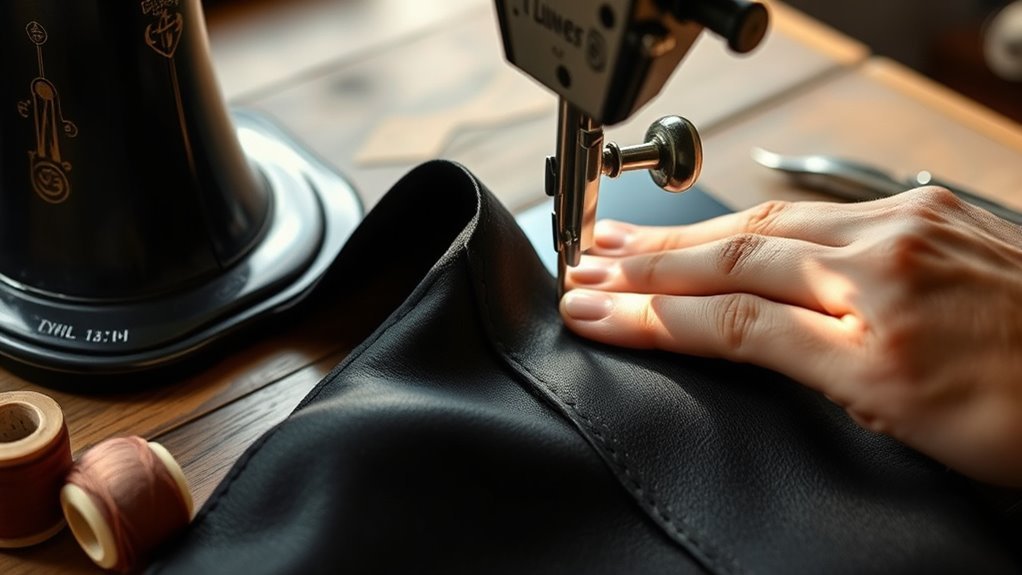
To sew leather on your sewing machine, start by cleaning and adjusting your machine. Lower the feed dogs and set a longer stitch length to ensure smooth feeding of the leather. These initial steps are crucial for working effectively with leather materials.
Next, select a sharp leather needle, preferably size 90/14 or 100/16. Use heavy-duty thread such as bonded nylon to prevent breakage during stitching. This combination helps maintain strong and durable seams.
Finally, sew using a straight stitch, making sure to backstitch at the start and end for added durability. With these basics, you’ll create strong seams suitable for leather projects. There’s plenty more to explore to achieve professional results in leather sewing.
Preparing Your Sewing Machine and Leather

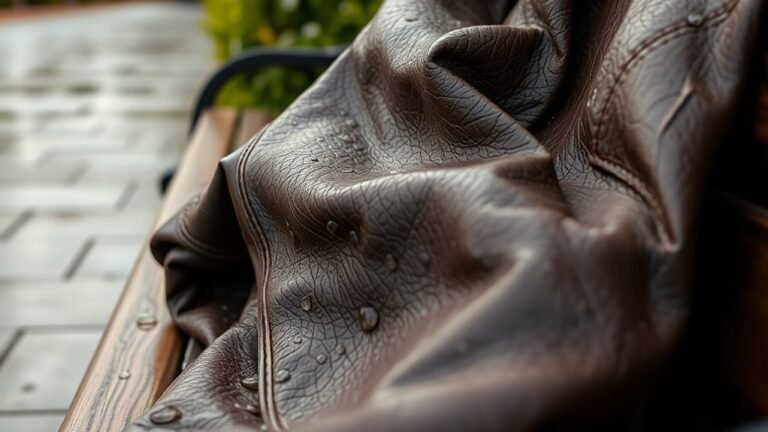
Before you start sewing leather, you’ll need to prepare your sewing machine properly to handle the material’s thickness and toughness. Begin by cleaning your machine thoroughly, removing lint and dust that could interfere with smooth stitching.
Properly prepare your sewing machine by cleaning it to ensure smooth stitching on thick leather materials.
Next, adjust the presser foot pressure to accommodate leather’s density. Too much pressure can cause marks or uneven stitching. Lower the feed dogs slightly to help the leather glide without slipping or scratching.
Also, set your machine to a longer stitch length, as short stitches can perforate and weaken leather. Finally, test these settings on a scrap piece of leather similar to your project to guarantee smooth feeding and balanced tension.
Taking these steps guarantees your machine is ready for leatherwork without damage or frustration.
Selecting the Right Needle and Thread

How do you guarantee your stitches hold strong when working with leather? Start by choosing the right needle. Opt for a leather needle with a sharp, wedge-shaped point designed to pierce tough material without causing damage.
Size matters: a 90/14 or 100/16 needle works well for most leather thicknesses. Next, pick a heavy-duty thread like bonded nylon or polyester. These offer strength and durability essential for leather projects.
Avoid standard cotton threads; they tend to break under stress. Also, consider thread thickness: a thicker thread provides better hold and a professional finish.
Finally, always test your needle and thread combination on a scrap piece of leather first to ensure smooth stitching and prevent skipped stitches or damage before working on your actual project.
Stitching Techniques for Durable Seams

When sewing leather, you’ll want to use stitching techniques that guarantee your seams stay strong and durable over time. Opt for a straight stitch with a medium to long stitch length to avoid perforating the leather excessively.
Backstitch at the beginning and end of your seam to lock stitches in place. Using a walking foot helps feed thick leather evenly, preventing skipped stitches.
| Technique | Purpose | Tip |
|---|---|---|
| Straight Stitch | Strong basic seam | Use 3-4 mm stitch length |
| Backstitch | Secures seam ends | Stitch 3-4 stitches backward |
| Double Stitch | Extra reinforcement | Stitch twice along seam line |
| Lock Stitch | Prevents unraveling | Use at start/end of seams |
| Walking Foot | Even leather feeding | Prevents skipped stitches |
These techniques ensure your leather projects last longer and look professional.
Frequently Asked Questions
Can I Sew Leather Without a Walking Foot Attachment?
You can sew leather without a walking foot, but it’s trickier. Use a leather needle, strong thread, and lots of patience.
Feeding can be uneven, so try using tissue paper to help the leather glide smoothly.
How Do I Prevent Leather From Stretching While Sewing?
Like a tightrope walker balances with care, you’ll prevent leather from stretching by using a stabilizer underneath, sewing slowly with a leather needle, and avoiding pulling the material—let your machine guide the stitch smoothly.
Using a stabilizer provides support to the leather, helping it maintain its shape throughout the sewing process.
Sewing slowly gives you better control, reducing the risk of stretching or distorting the leather.
Avoid tugging or pulling on the leather as this can cause it to stretch or warp.
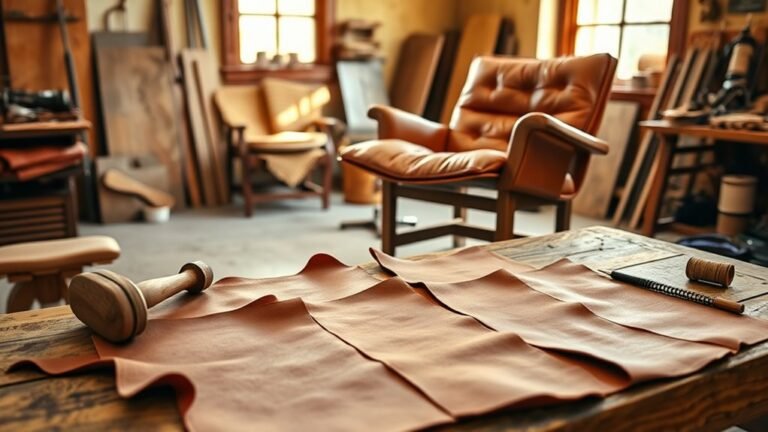
What Type of Leather Is Easiest to Sew by Machine?
You’ll find lambskin and cowhide the easiest leathers to sew by machine since they’re softer and more flexible.
Avoid thick or stiff leathers like full-grain, as they’re tougher to handle and require special needles and machines.
How Do I Repair Mistakes When Sewing Leather?
When a stitch slips like a dropped thread in a song, you can carefully snip it with a small seam ripper, then realign the leather layers and resew slowly, ensuring your needle matches the thickness to avoid new holes.
Take your time to maintain even tension in the thread to prevent puckering or further mistakes.
If you notice any holes from the previous stitching, try to sew slightly off from them to keep the leather looking smooth and intact.
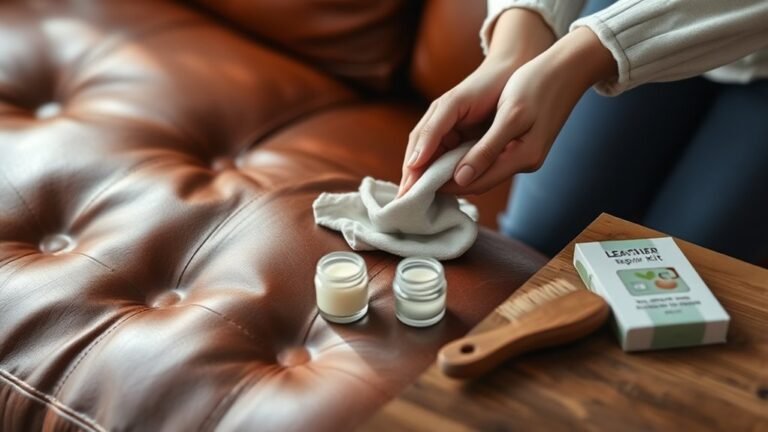
Can I Wash Leather Items After Machine Sewing?
You shouldn’t wash leather items in a machine after sewing; it can damage the leather and stitching.
Instead, clean them gently with a damp cloth and use leather conditioner to keep the material supple and protected.
Conclusion
Now that you’ve mastered sewing leather on your machine, you’re ready to stitch like a pro. Remember, the right needle and thread are your trusty allies, and careful preparation sets the stage for success.
With these techniques, your seams will be as strong as a ship’s anchor, holding your projects together through wear and time. Keep practicing, and soon sewing leather will feel as natural as breathing.
By following these simple steps, you’ll confidently sew leather on a sewing machine, creating durable and professional-looking results every time.