How to Repair Scratches on Leather Boots in 5 Easy Steps
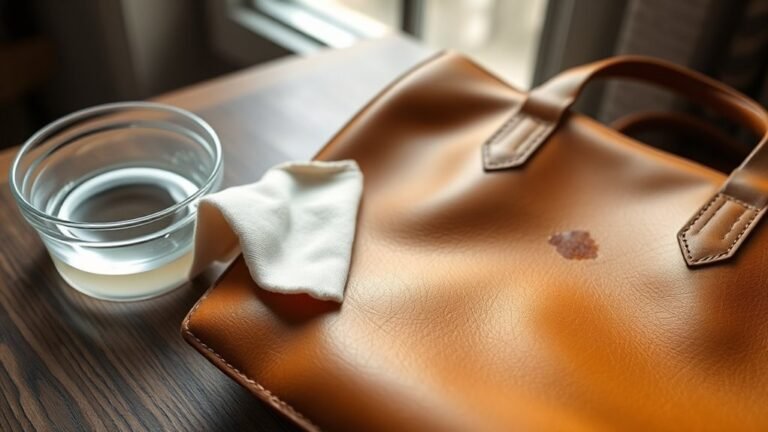
First, check your leather boots for scratches and clean them gently with a damp cloth or a specialized leather cleaner. Proper cleaning prepares the surface for effective repair and helps maintain the leather’s natural look.
Next, apply a leather conditioner in circular motions to soften and smooth the scratched areas. This step nourishes the leather and can reduce the appearance of minor scratches.
For deeper scratches, use a leather repair kit that includes filler and matching dye. Carefully apply the filler to the damaged spots, then tint the area with the dye to restore the original color.
Buff the repaired area lightly to blend the fix seamlessly with the surrounding leather. This helps the repair look natural and smooth.
Finally, finish by spraying a waterproof protector evenly over the boots. This protects the leather from future damage and keeps your boots looking their best. Keep going to discover how to make your boots look their best again.
Assess the Damage and Clean the Boots

Before you begin repairing your leather boots, take a close look at the scratches to determine their depth and severity. Light surface scratches can often be smoothed out easily, while deeper gouges may need more attention.
Once you’ve assessed the damage, clean your boots thoroughly to remove dirt and oils that could interfere with the repair process. Use a soft cloth slightly dampened with water or a leather cleaner specifically designed for your type of leather.
Gently wipe the surface, focusing on scratched areas, and avoid soaking the leather. Let your boots dry completely at room temperature before moving on.
Proper assessment and cleaning set the foundation for effective repair, ensuring that any products you apply later will adhere well and work as intended.
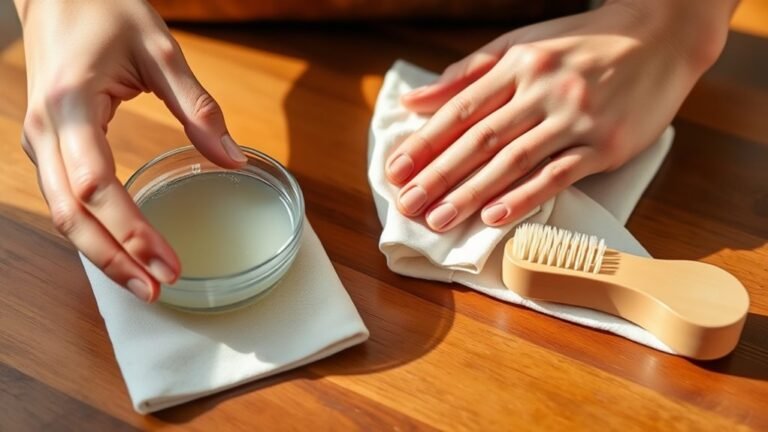
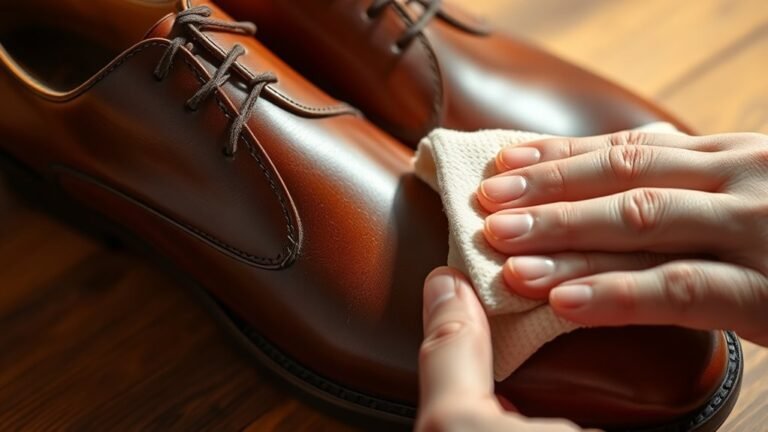
Apply Leather Conditioner

Once your boots are clean and dry, apply a leather conditioner to nourish the material and restore its natural oils. Use a soft cloth or sponge to gently rub a small amount of conditioner into the scratched areas, moving in circular motions. This helps the leather absorb the conditioner evenly, softening the fibers and reducing the appearance of minor scratches.
Don’t over-apply; a thin, even layer is enough. Let the conditioner sit for about 15 to 20 minutes to penetrate the leather fully.
Afterward, buff the boots lightly with a clean cloth to remove any excess product and enhance the leather’s natural shine.
Regular conditioning not only repairs scratches but also keeps your boots flexible and prevents future damage.
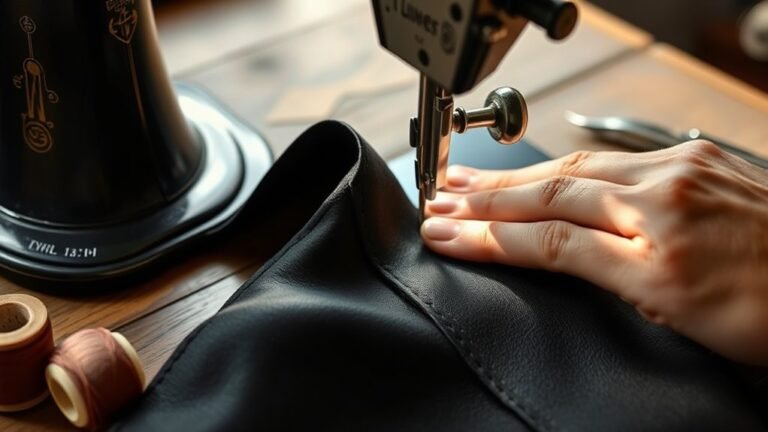
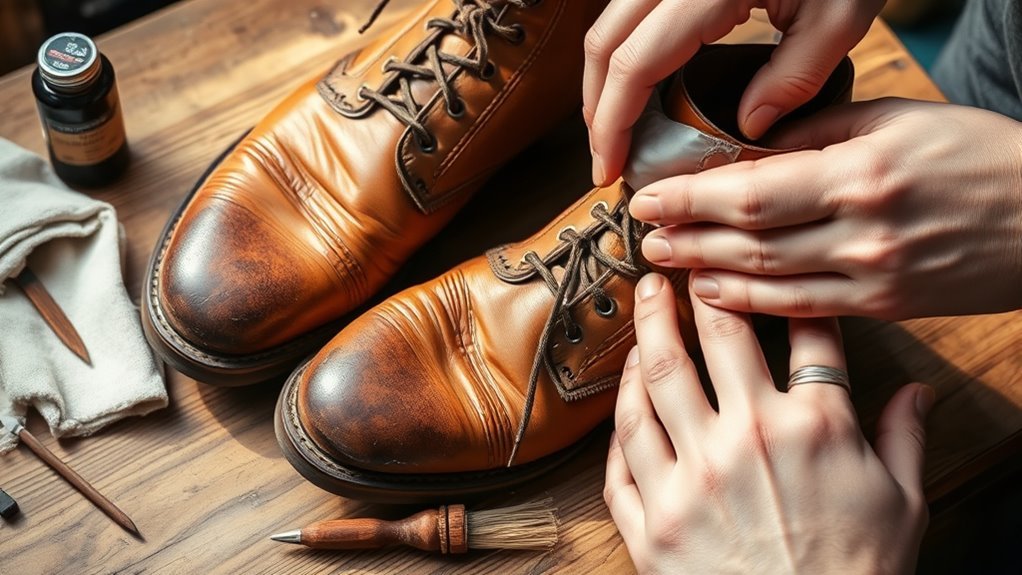
Use a Leather Repair Kit for Deep Scratches

If your leather boots have deep scratches that conditioner can’t fix, you’ll need a leather repair kit to restore them properly. These kits come with everything you need to fill and color the damaged areas. Here’s how to use one:
- Clean the area thoroughly to remove dirt and oils.
- Apply the filler compound included in the kit to the scratch, smoothing it evenly.
- Let the filler dry completely, following the manufacturer’s instructions.
- Use the colorant or dye from the kit to match the leather’s shade and apply it over the repaired spot.
Buff the Boots to Blend the Repair
After applying the filler and colorant from the repair kit, you’ll want to buff your boots to blend the repair seamlessly with the surrounding leather. Use a soft, clean cloth or a buffing brush to gently rub the repaired area in small circular motions.
This will help smooth out any unevenness and remove excess product. Be patient and apply light pressure to avoid damaging the leather.
Buffing not only evens out the texture but also helps the colorant settle, making the repair less noticeable. Once you’re satisfied with the blend, wipe away any residue with a slightly damp cloth.
This final step guarantees your boots look natural and well-maintained, restoring their original charm without obvious signs of repair.
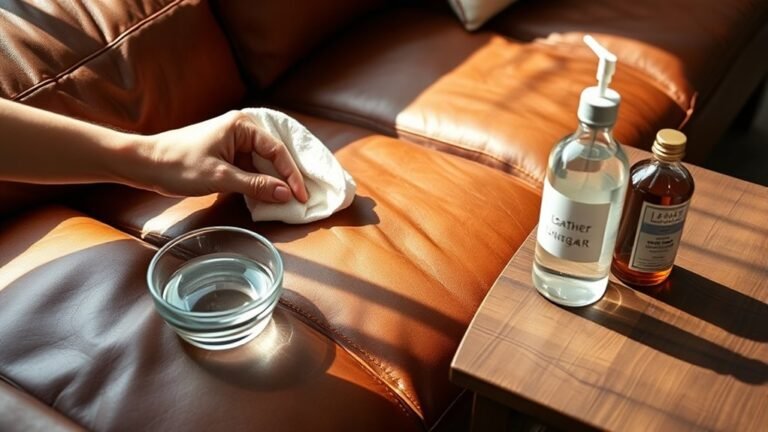
Protect Your Boots With a Waterproof Spray
Although you’ve restored your leather boots beautifully, protecting them with a waterproof spray will keep your repair and the leather safe from moisture and stains.
Protect your beautifully restored leather boots with waterproof spray to guard against moisture and stains.
Here’s how to do it right:
- Choose a spray specifically designed for leather to avoid damage.
- Clean your boots thoroughly to remove dust and dirt before applying.
- Hold the spray about 6-8 inches away and apply an even coat over the entire surface.
- Let the boots dry completely in a well-ventilated area, away from direct heat or sunlight.
Frequently Asked Questions
Can I Use Household Oils to Repair Leather Scratches?
You can use household oils like olive or coconut oil to soften leather scratches, but be cautious—they might darken the leather or cause buildup.
Test a small area first to make certain it won’t damage your boots.
How Often Should I Condition My Leather Boots?
You should condition your leather boots every 3 months—unless you want them looking like Grandpa’s forgotten wallet in a rainstorm.
Keep them nourished and shiny so they don’t scream, “I’ve seen better days!”
Are There Eco-Friendly Leather Repair Products Available?
Yes, you’ll find eco-friendly leather repair products made from natural ingredients and biodegradable materials. They’re great because they’re safer for the environment and your boots, letting you fix scratches without harmful chemicals or waste.
Can Scratched Leather Boots Be Repaired at Home Professionally?
You can absolutely repair scratched leather boots at home professionally; with patience and the right tools, your handiwork rivals expert results.
Though it seems intimidating, mastering techniques transforms your boots, blending personal effort with polished perfection effortlessly.
What Causes Leather Boots to Crack or Scratch Easily?
Leather boots crack or scratch easily because you’re exposing them to dryness, harsh weather, or lack of proper care.
When leather loses moisture or gets rough treatment, it becomes brittle and more prone to damage.
Conclusion
Now that you’ve tackled those scratches, remember that “a stitch in time saves nine.” Taking quick care of your leather boots prevents small damage from turning into bigger problems.
By cleaning, conditioning, repairing, buffing, and protecting, you’re extending their life and keeping them looking sharp. Keep up this routine, and your leather boots will stay ready for every step you take.
With regular maintenance and proper care, your boots will look as good as new for years to come. Following these simple leather boot repair steps ensures durability and style with every wear.