How to Repair Leather Tear in Car Seat in 5 Easy Steps
To repair a leather tear in your car seat, start by assessing the damage and gathering essential materials like adhesive, patches, and filler. Proper preparation is key for a successful leather repair in car seats.
Clean the torn area gently and allow it to dry completely. This ensures the adhesive will bond well.
Apply leather adhesive under the tear, press the edges together firmly, and insert a patch inside for added support.
Next, fill the tear with leather filler, smooth it out carefully, and sand the area once it is dry to achieve a smooth surface.
Finally, apply matching dye to blend the repair with the rest of the seat, and seal the repair for a seamless finish.
Keep going to discover detailed tips for a flawless repair.
Assess the Damage and Gather Materials

Before you begin repairing the leather tear in your car seat, carefully assess the damage to understand its size and depth. Look closely to see if the tear is shallow or if it exposes the padding underneath.
This helps you decide what repair materials you’ll need. Gather essential items like leather adhesive, a patch if necessary, sandpaper, and a leather repair kit that includes color compounds matching your seat.
You’ll also want a pair of scissors and a clean cloth ready. Knowing the tear’s extent assures you don’t waste materials or miss hidden damage.
Taking this initial step seriously sets the stage for a smoother repair process, preventing surprises and helping you restore your seat effectively.
Clean and Prepare the Torn Area

Once you’ve gathered your materials and understood the tear’s size, focus on cleaning the damaged area thoroughly. Use a soft cloth dampened with mild soap and water to remove dirt, oils, and debris around the tear. Avoid soaking the leather; just gently wipe the surface.
After cleaning, let the area dry completely to ensure proper adhesion later.
Allow the cleaned area to dry fully to guarantee the best adhesion for your repair.
Next, use a pair of small scissors or tweezers to carefully trim any loose threads or jagged edges around the tear. This will create a smooth surface for repair.
Finally, lightly sand the edges with fine-grit sandpaper to help the adhesive bond better, but be gentle to avoid further damage. Preparing the area well sets the foundation for a strong, lasting repair.
Apply Leather Adhesive and Patch

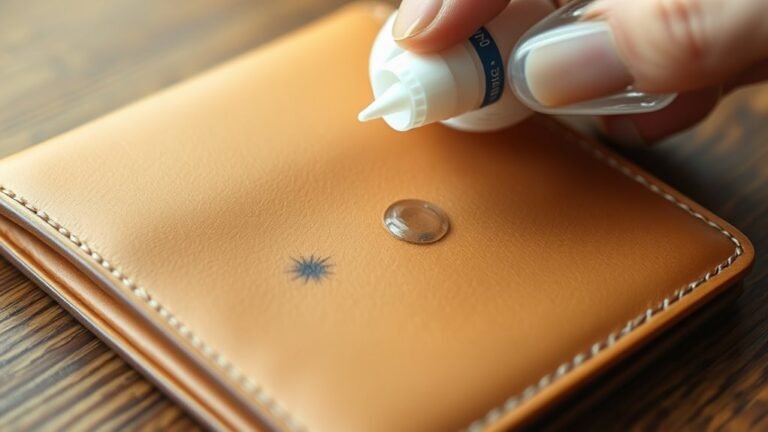
Although the torn leather may look challenging to fix, you can restore it effectively by applying leather adhesive carefully. Start by lifting the edges of the tear gently and apply a thin layer of leather adhesive underneath using a small brush or toothpick.
Press the edges together firmly to bond the leather, wiping away any excess adhesive immediately with a damp cloth.
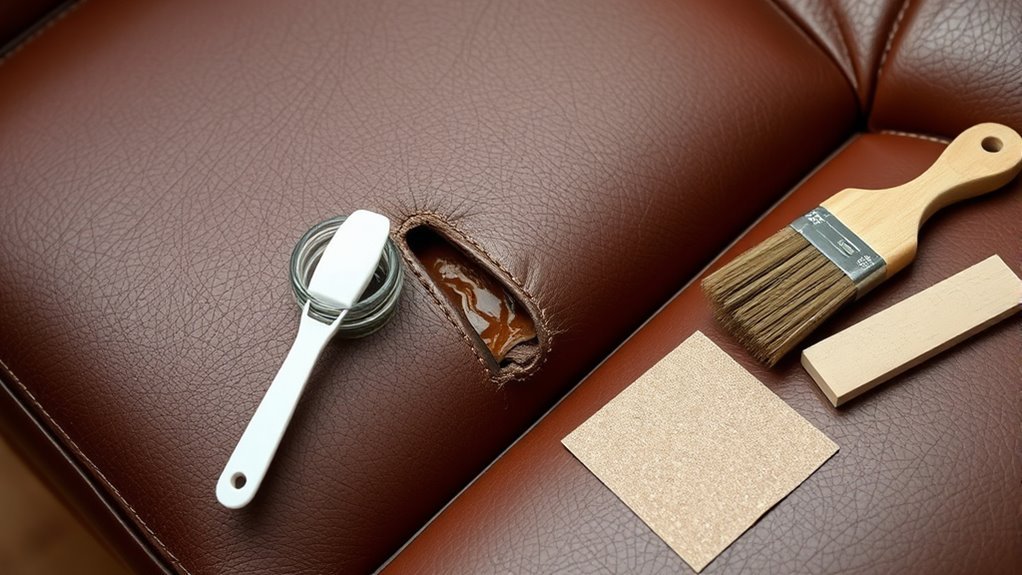
Next, cut a leather patch slightly larger than the tear from a repair kit or matching leather piece.
Apply adhesive to the patch’s back, then place it underneath the tear inside the seat cushion for added support.
Press the patch firmly in place and allow the adhesive to dry completely, usually for several hours. This step strengthens the repair and prevents the tear from worsening.
Fill and Smooth the Tear With Leather Filler
After securing the patch and letting the adhesive dry, you’ll want to fill the tear to create a smooth, even surface.
Grab a leather filler and apply it carefully into the tear using a palette knife or a similar flat tool. Press the filler firmly, making sure it fully covers the area and fills any gaps or holes.
Avoid overfilling, as you’ll sand it down later. Let the filler dry completely, which typically takes about 30 minutes to an hour depending on the product.
Once dry, gently sand the filled area with fine-grit sandpaper until it’s flush with the surrounding leather.
This step guarantees a seamless base, making the repair less noticeable and ready for the next phase of the restoration process.
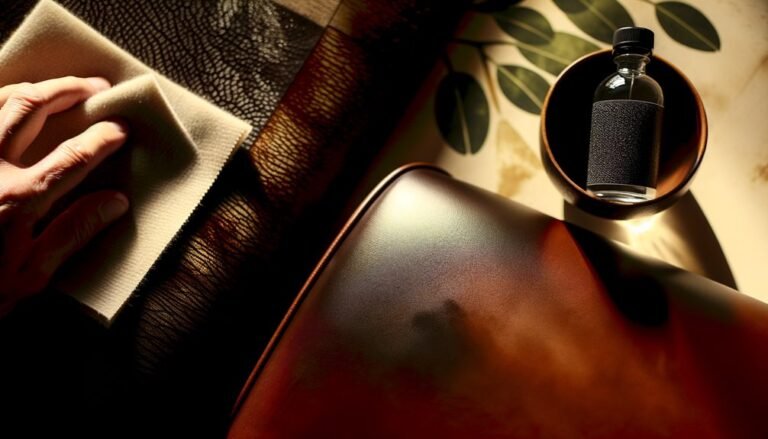
Color and Finish for a Seamless Look
To blend the repaired area with the rest of the seat, you’ll need to apply color that matches the original leather. Start by selecting a leather dye or paint designed for automotive use, making certain it closely replicates your seat’s shade.
Use a small sponge or soft brush to apply thin, even coats over the repaired section. Allow each layer to dry completely before adding the next to avoid uneven patches.
Once the color matches perfectly, seal the area with a leather finish or clear coat to protect the repair and restore the seat’s original sheen.
This step not only enhances durability but also ensures the repair remains discreet, helping your car seat look as good as new.
Frequently Asked Questions
Can I Use Household Glue Instead of Leather Adhesive?
You shouldn’t use household glue because it’s not flexible or durable enough for leather.
Instead, opt for a proper leather adhesive to guarantee a strong, long-lasting repair that won’t crack or peel over time.
How Long Does a Leather Repair Typically Last?
Like a trusty steampunk pocket watch, a leather repair typically lasts several years if you care for it properly.
You’ll want to avoid harsh conditions and clean it gently to keep that fix holding strong.
Is It Safe to Repair Leather Seats Myself or Should I Hire a Professional?
You can safely repair leather seats yourself if you follow instructions carefully and use quality materials. However, hiring a professional guarantees a flawless finish and durability, especially for large or complex tears.
Choose based on skill and confidence.
What Tools Do I Need Besides Those Listed in the Article?
You’ll need a soft-bristle brush to dance away dust, a magnifying glass to spot secret cracks, and a gentle leather conditioner to whisper life back into worn fibers.
These tools help your repair sing smoothly and strong.
Can Temperature Affect the Leather Repair Process or Outcome?
Yes, temperature can affect your leather repair. Too cold, and adhesives won’t bond well; too hot, and the leather might warp.
You’ll want to work in a moderate, dry environment for the best results.
Conclusion
Now that you’ve assessed the damage and gathered your materials, cleaned and prepared the torn area, applied the adhesive and patch, filled and smoothed the tear, and finished with color, you’ve restored your car seat’s look and durability.
You’ve saved money, avoided a costly replacement, and gained confidence in your repair skills. By following these steps, you take control, show care, and bring new life to your leather seat.
Repairing a leather tear in your car seat not only improves its appearance but also extends its lifespan. With these easy steps, you can maintain your car’s interior and enjoy a professional-quality leather repair at home.